How It’s Done
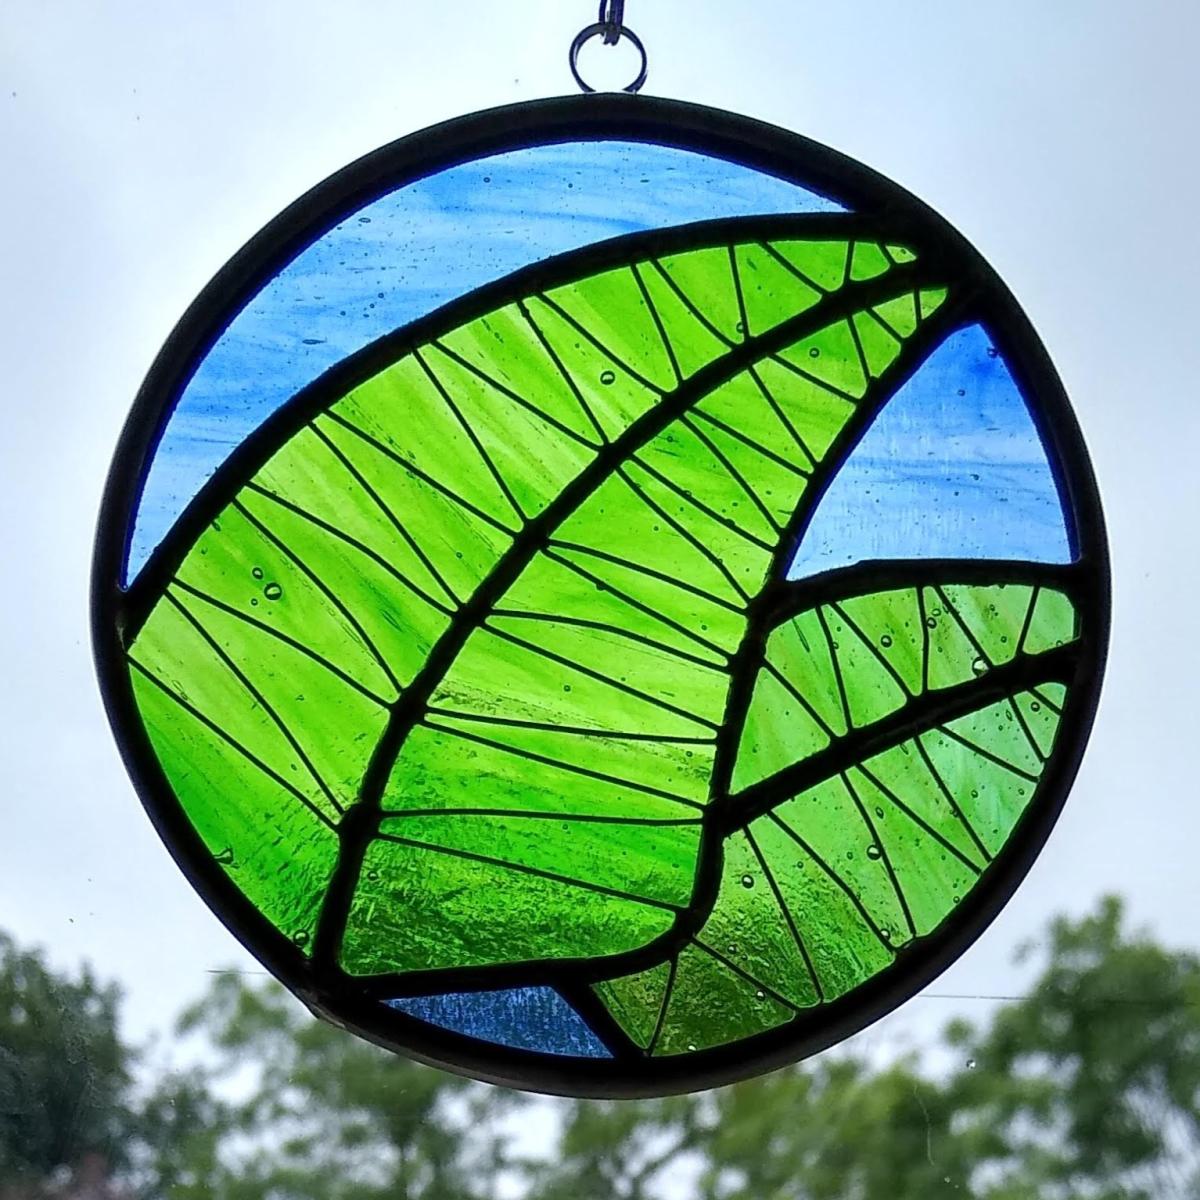
I love making these small circular suncatchers. There are many suncatchers out there that are shaped as the subject matter and the patterns mean the finished suncatcher can be vulnerable to damage as a result. I like to fit the subject matter into a circle (or, in the case of Giraffe, an oval) with a lead came edge. It makes a nice strong item that will last many years. Most importantly for the market, these suncatchers can be sold at a price that is achievable to many people.
This section shows a step-by-step guide to making a 100mm diameter suncatcher.
Materials referred to are:
Solder - an alloy of 60% tin and 40% lead used to join everything together by melting it with a soldering iron.
Flux - an acid that removes oxidation from the copper, lead and solder to allow them to fuse together properly and for the solder to flow.
Lead Came - this is a lead extrusion used to edge the suncatcher. Came is available in different sections and sizes for a variety of purposes in building stained glass panels.
Step 1 - the idea and sketch. In this case my intial ideas were to try to replicate the fronds typical of a fern. It quickly became apparent that there would be too many pieces of glass, so an alternative idea was explored. 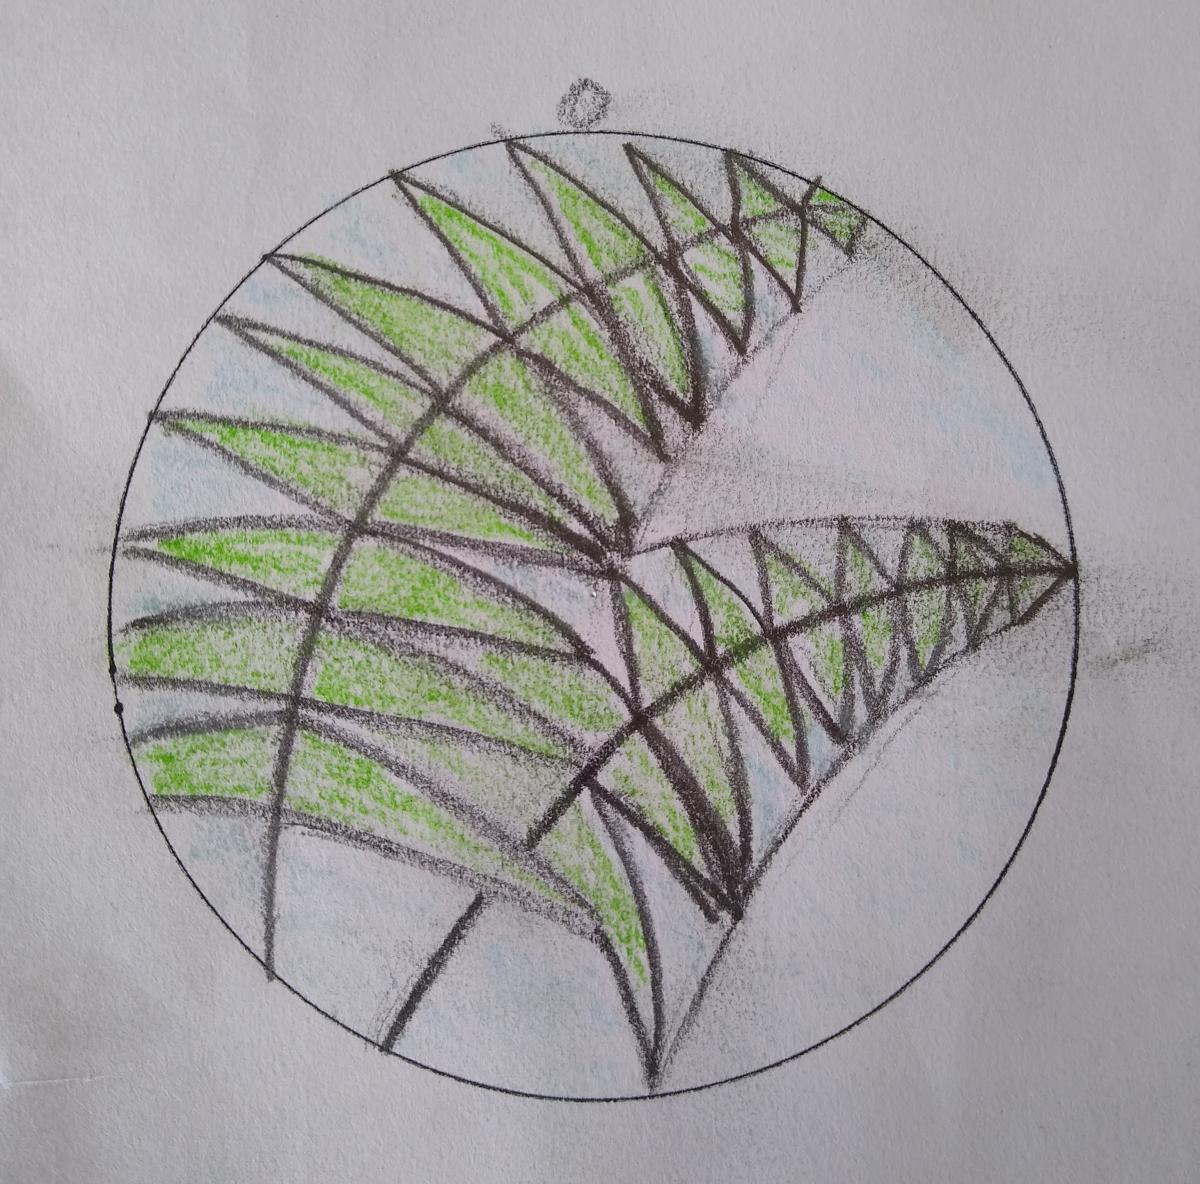
Step 2 - the working design. I reduced the number of pieces to 8 (and then to 7 when I was cutting the glass!) with wire details to represent the fronds. This is used to transfer the shapes to the glass for cutting and assembly. 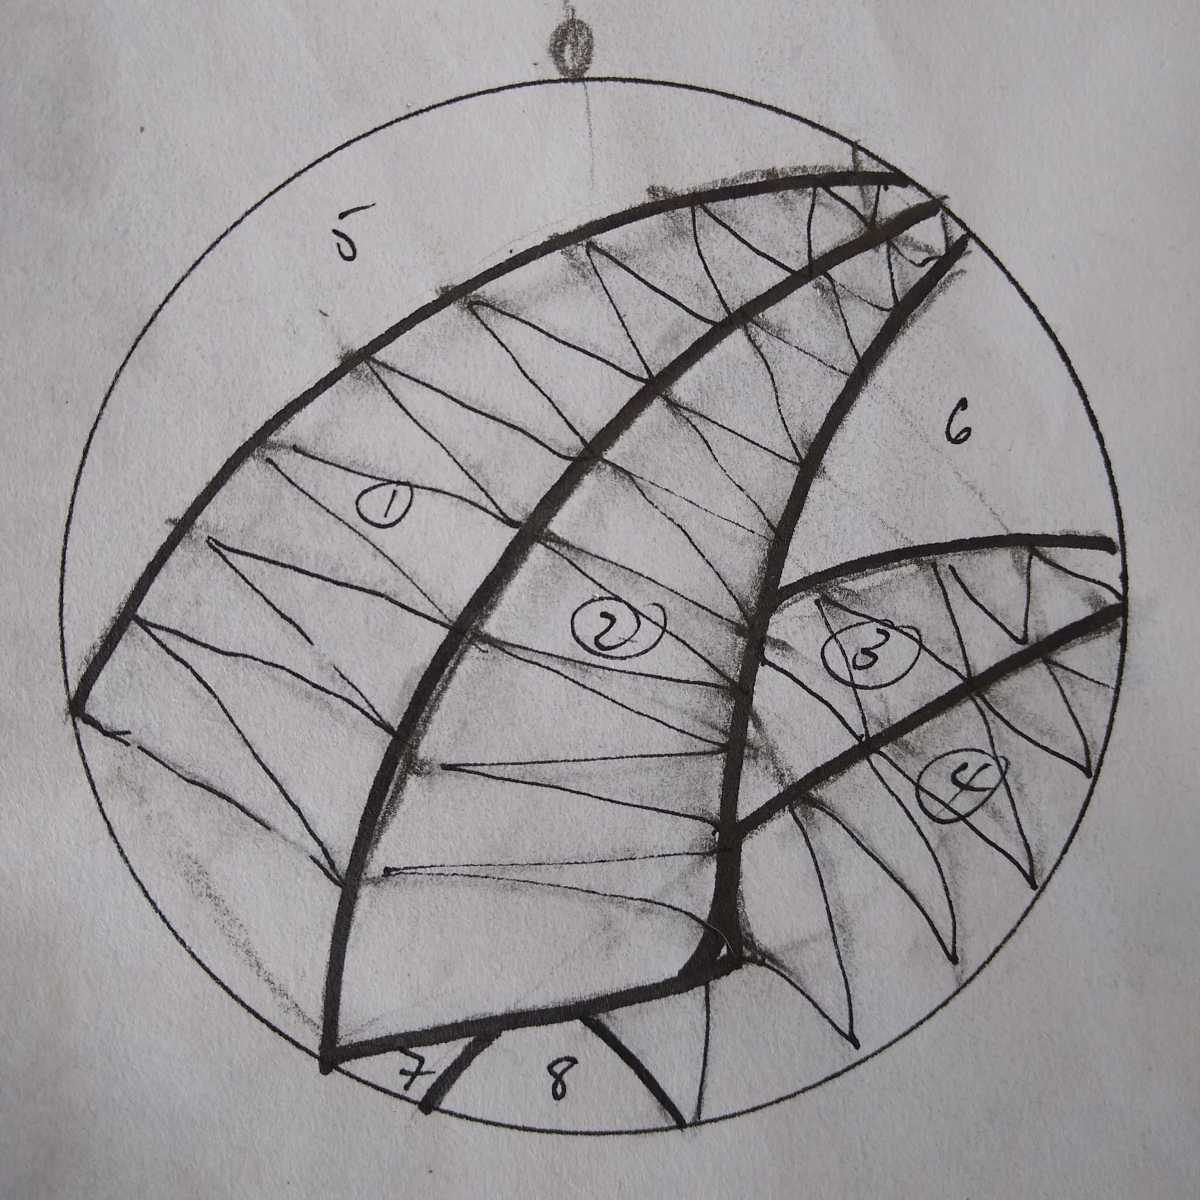
Step 3 - The glass is cut and the edges ground to ensure a good tight fit. 
Step 4 - Each piece of glass is wrapped in copper tape. Note that the edges of the circle are left uncovered as they will have the lead edge on later. Using the pattern, the pieces are placed together, the copper fluxed and solder is used to tack them into place. 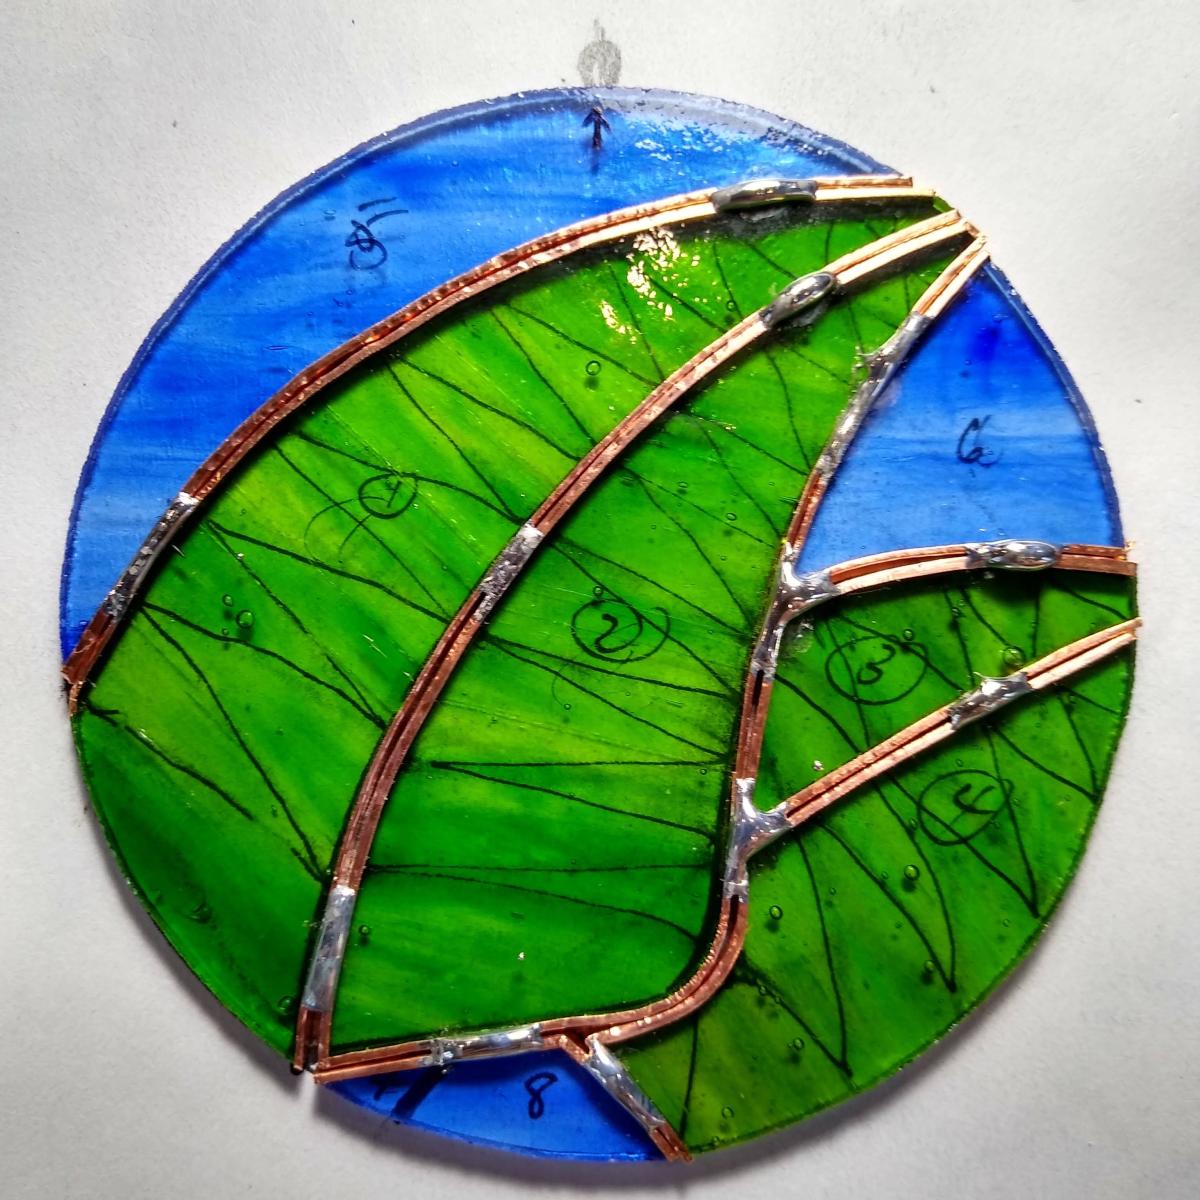
Step 5 - All joints are soldered on both side of the piece. 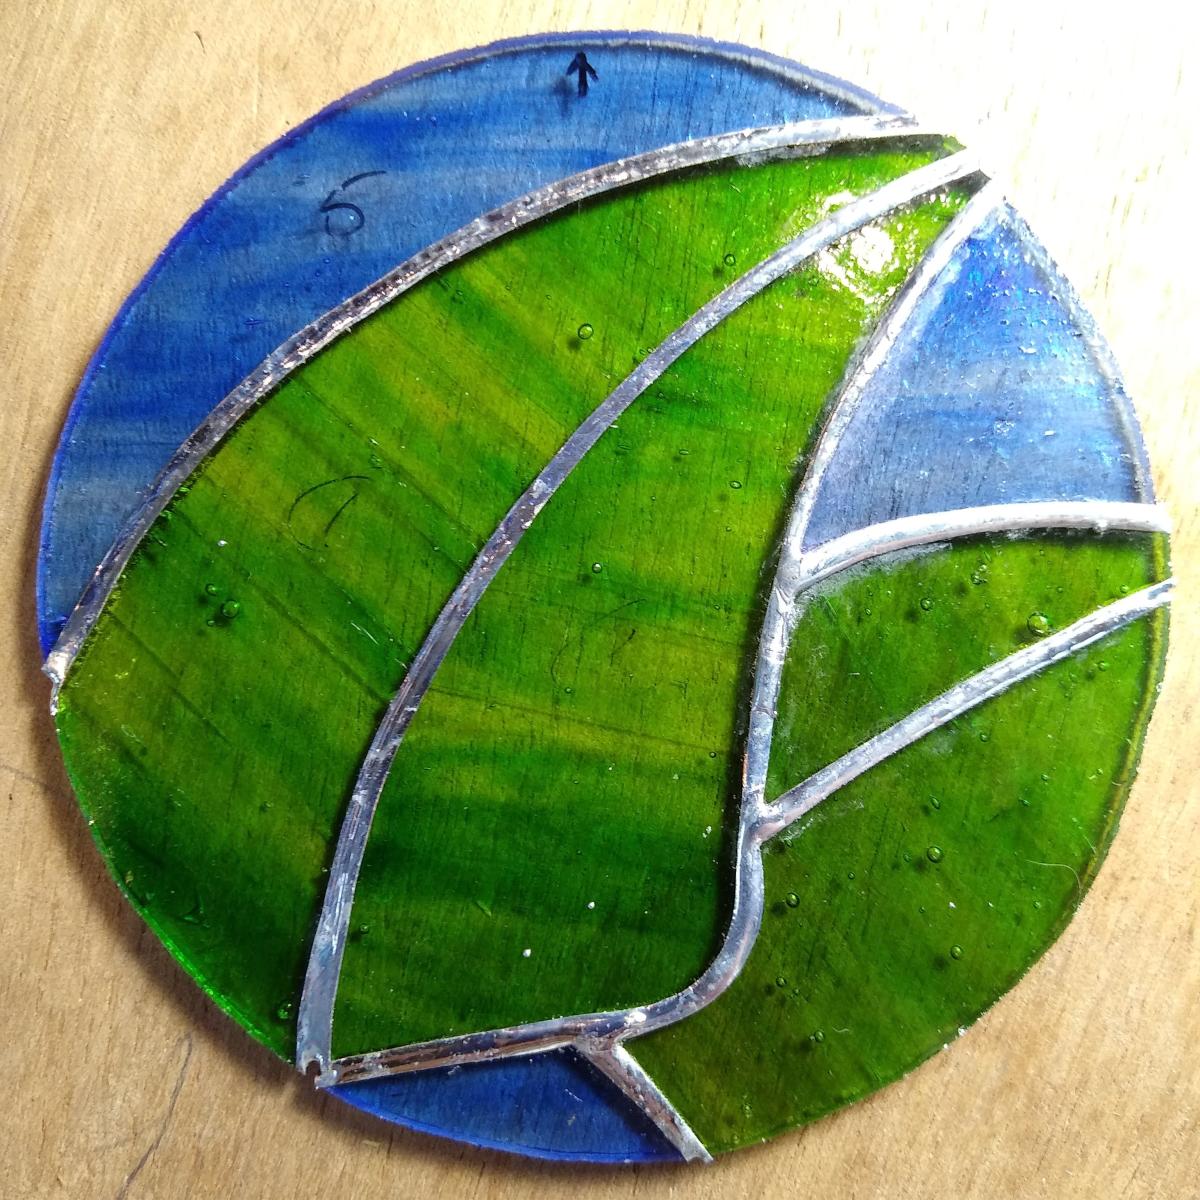
Step 6 - Using thin tinned copper wire, the detail is added with each point that touches a joint tacked into place using solder. 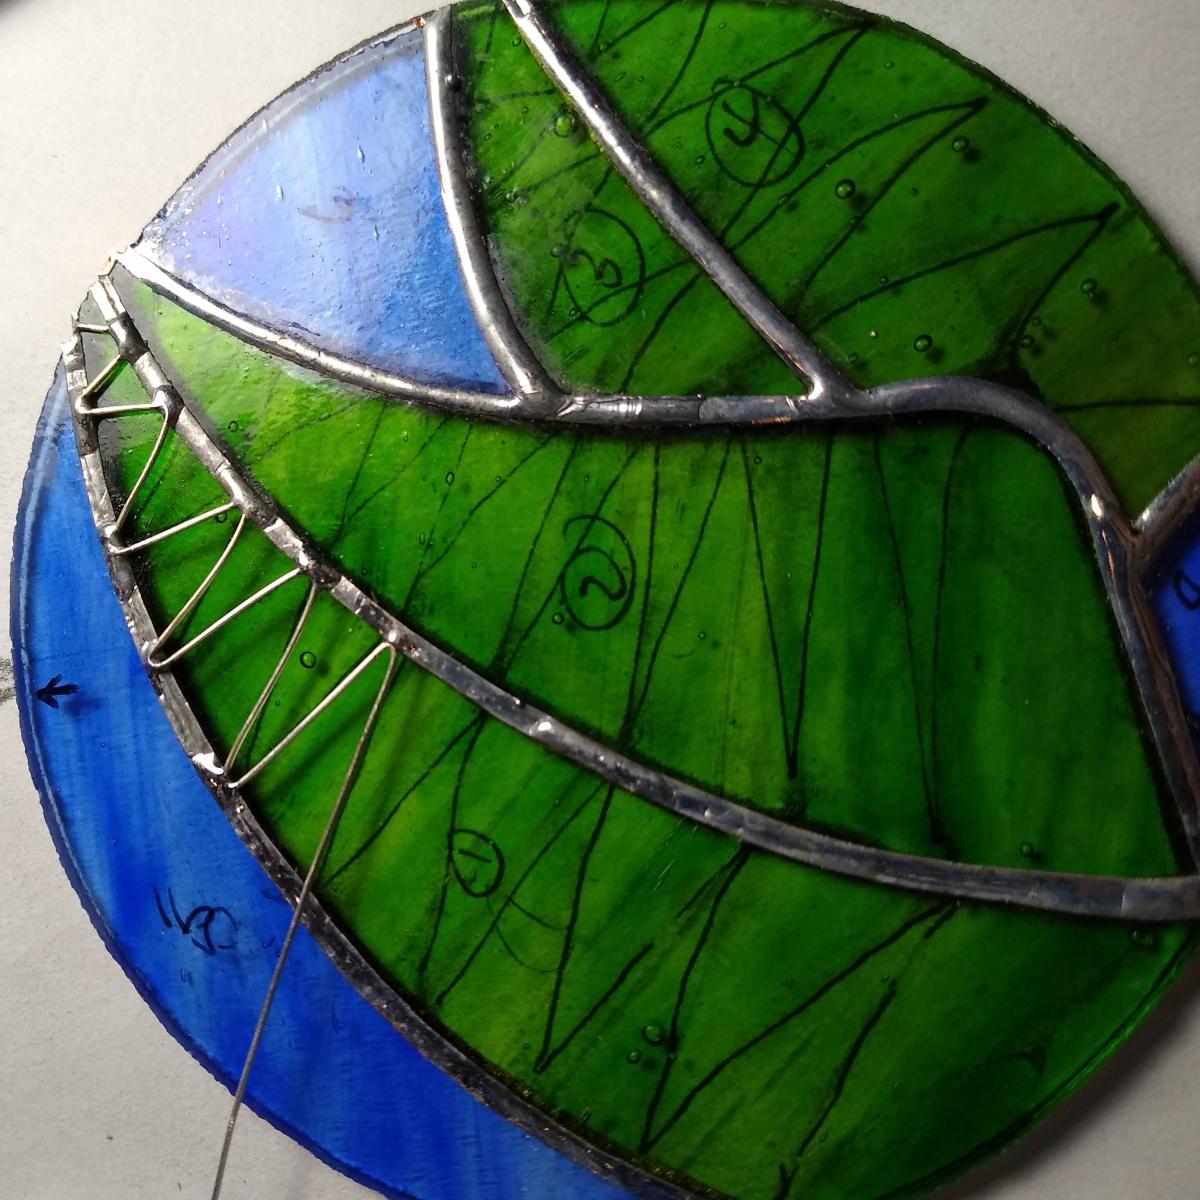
Step 7 - A bead of solder is then added along each joint, leaving a few millimeters at each joint on the edge of the circle. This is to allow the lead to be fitted without needing adjustment at each joint. 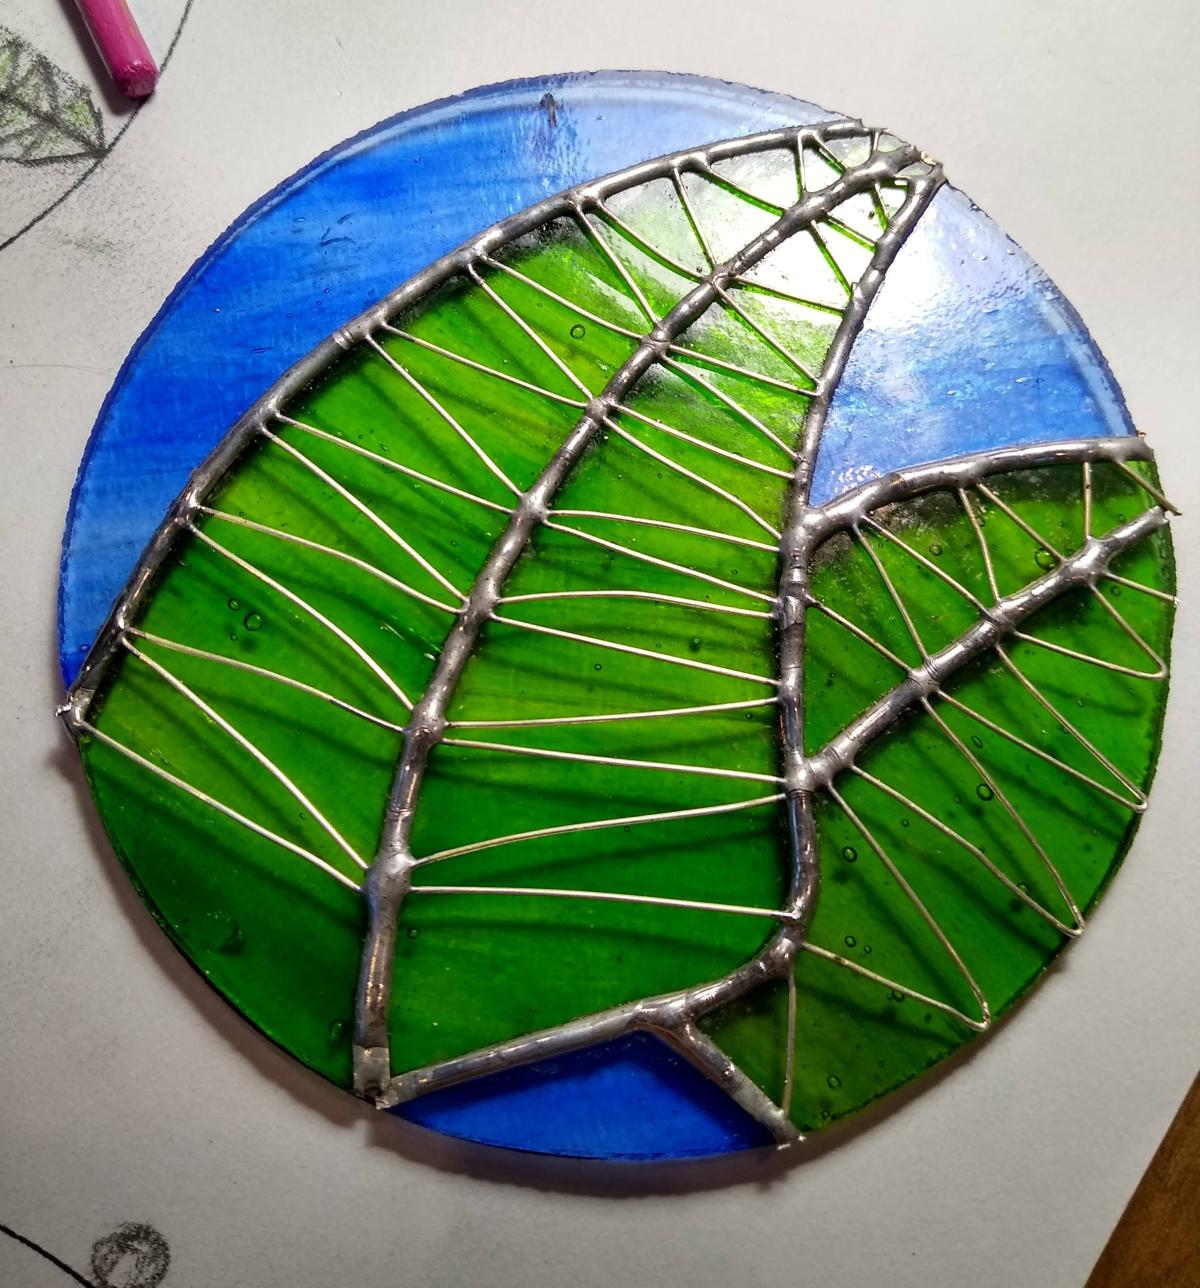
Step 8 - The C-section edge came is then bent into a circle and the length marked. This should coincide with a joint in the glass for ease of soldering later. The position of the hanging loop is also marked. 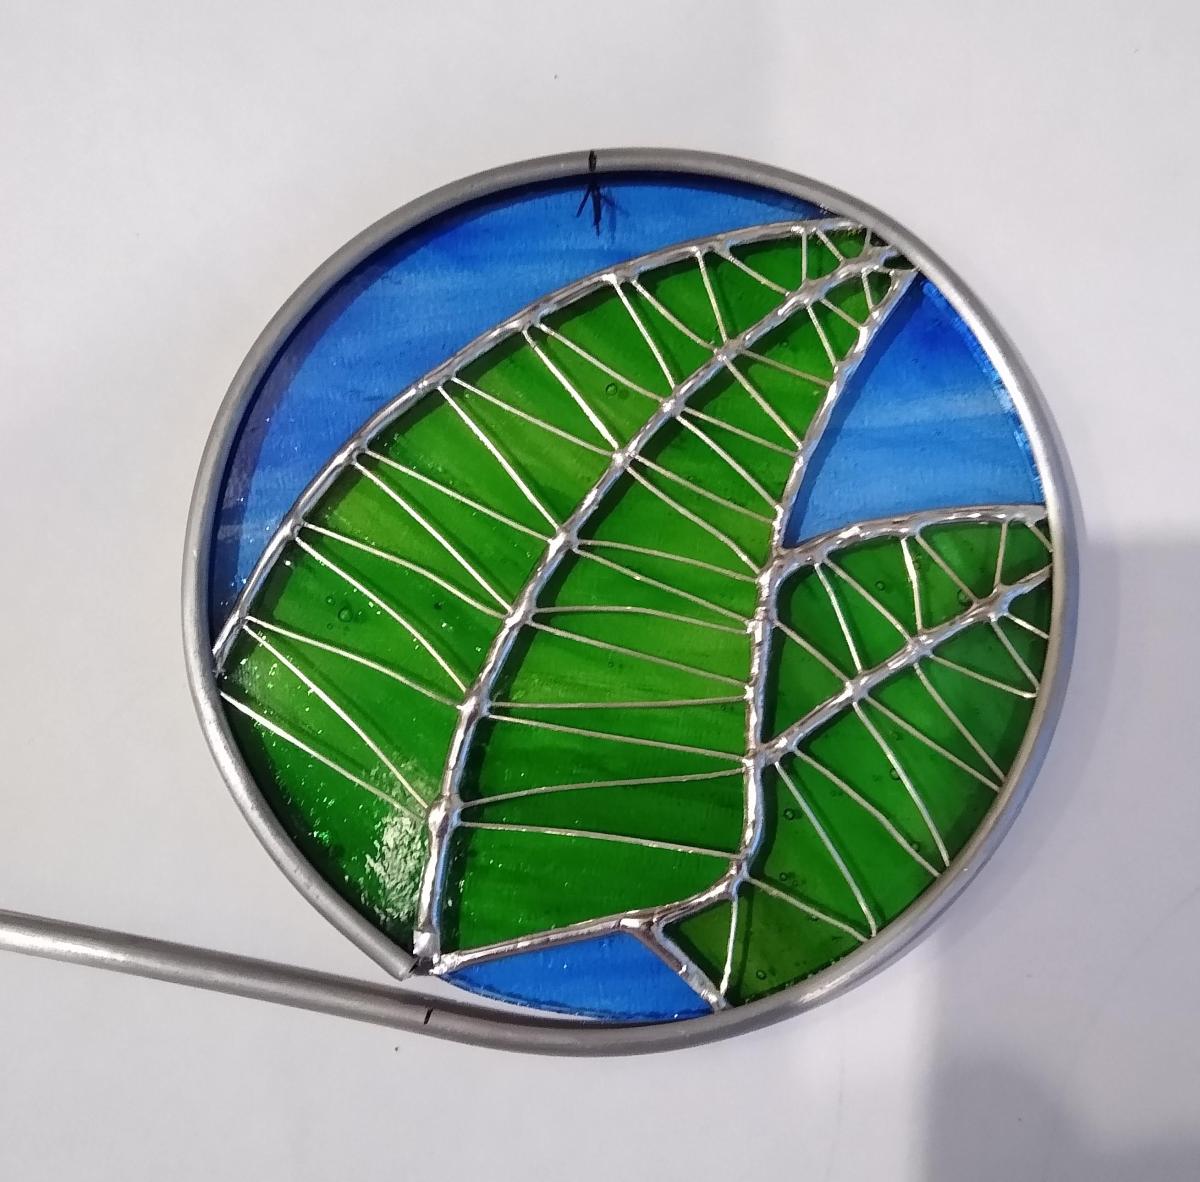
Step 9 - Once cut, the lead is fitted again to check the length. Drill a small hole through the lead for the hanging loop. 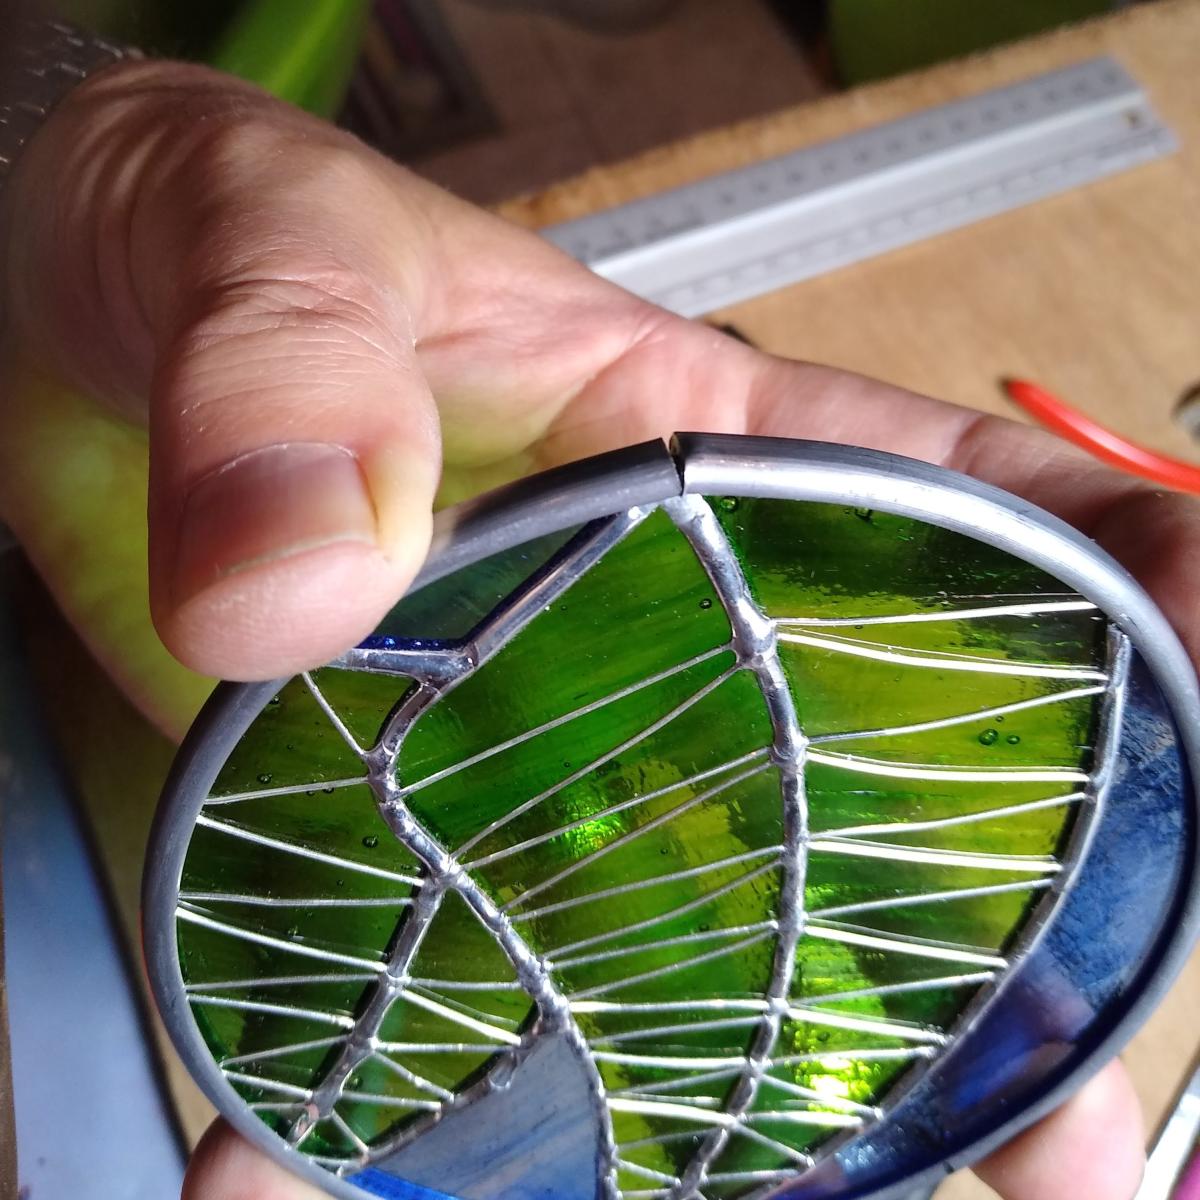
Step 10 - I make the hanging loop by wrapping the thin tinned copper wire twice around a dowel or brush handle. My hoops are about 6mm in diameter. 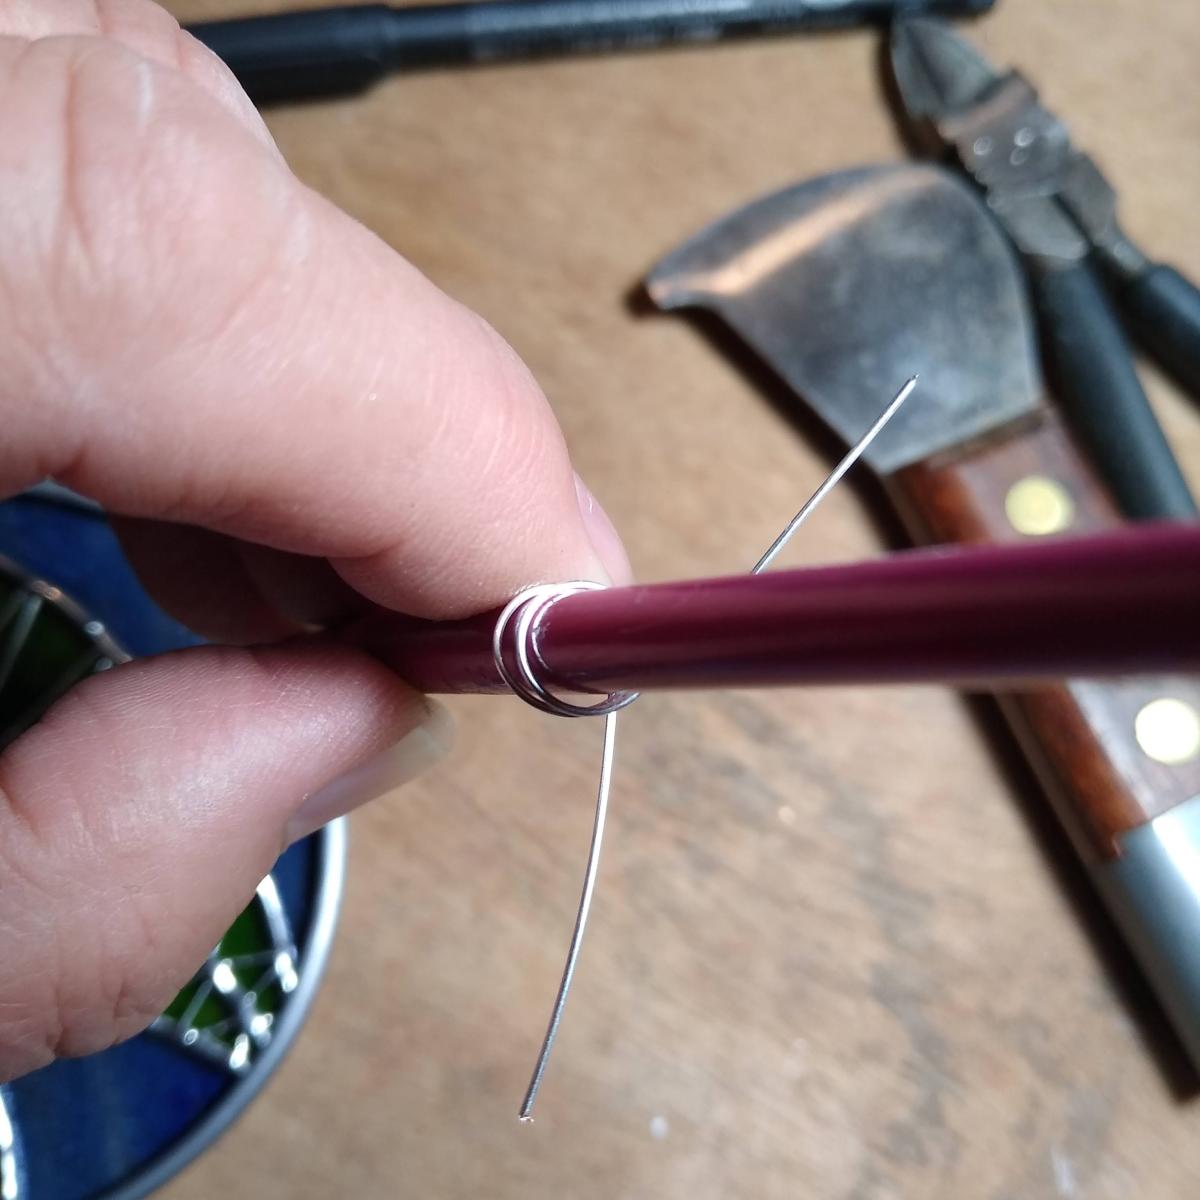
Step 11 - Twist the ends of the wire together to fix the loop. Keep the tails together at this point. 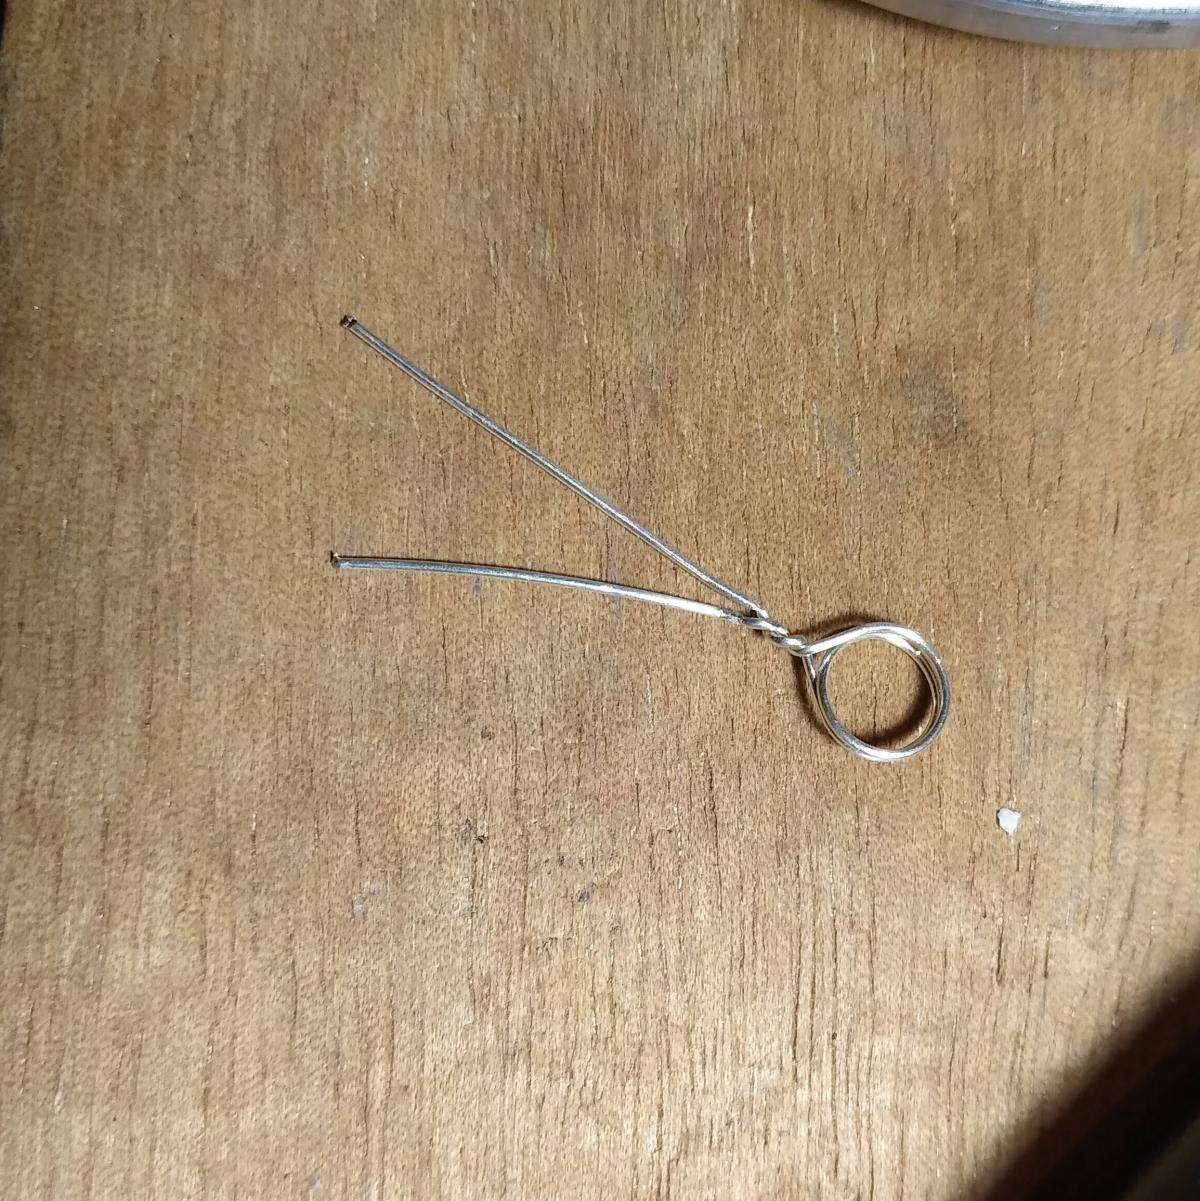
Step 12 - Pass the tails of the loop through the hole in the lead. Bend them to either side. I add a small bend at the end of each to locate them into the lead channel. This helps to keep them in the right place when fitting the lead to the suncatcher for the final time. 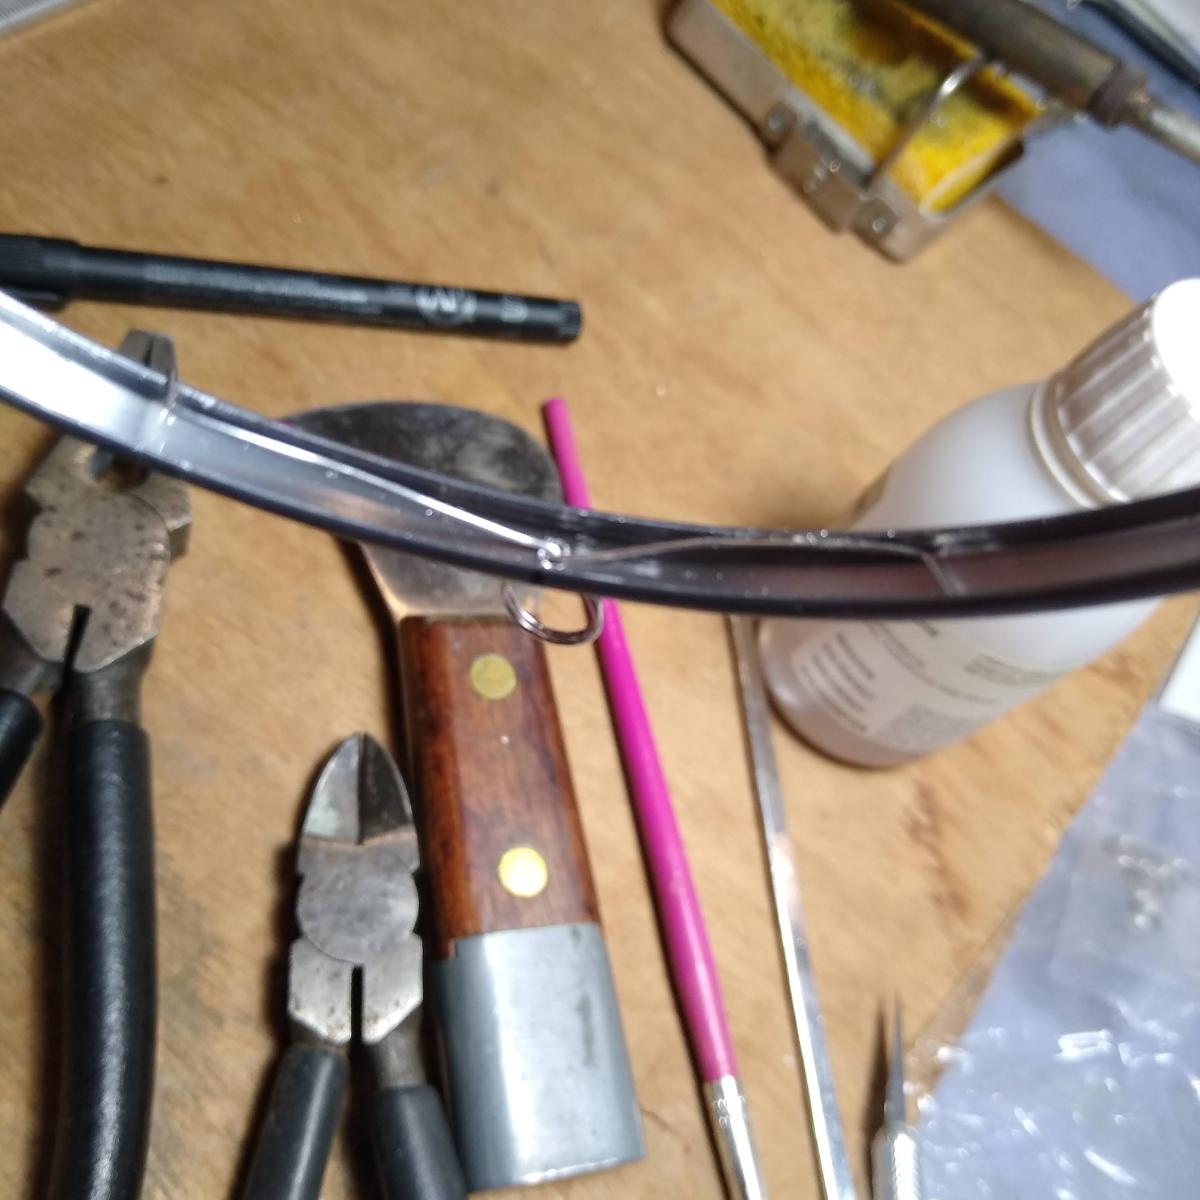
Step 13 - With the lead fitted and loop in place, hold the lead ends together, brush the lead clean with a brass wire brush, apply a little flux and solder the lead. Less is more with the solder at this point - the aim is just to anchor the ends together. 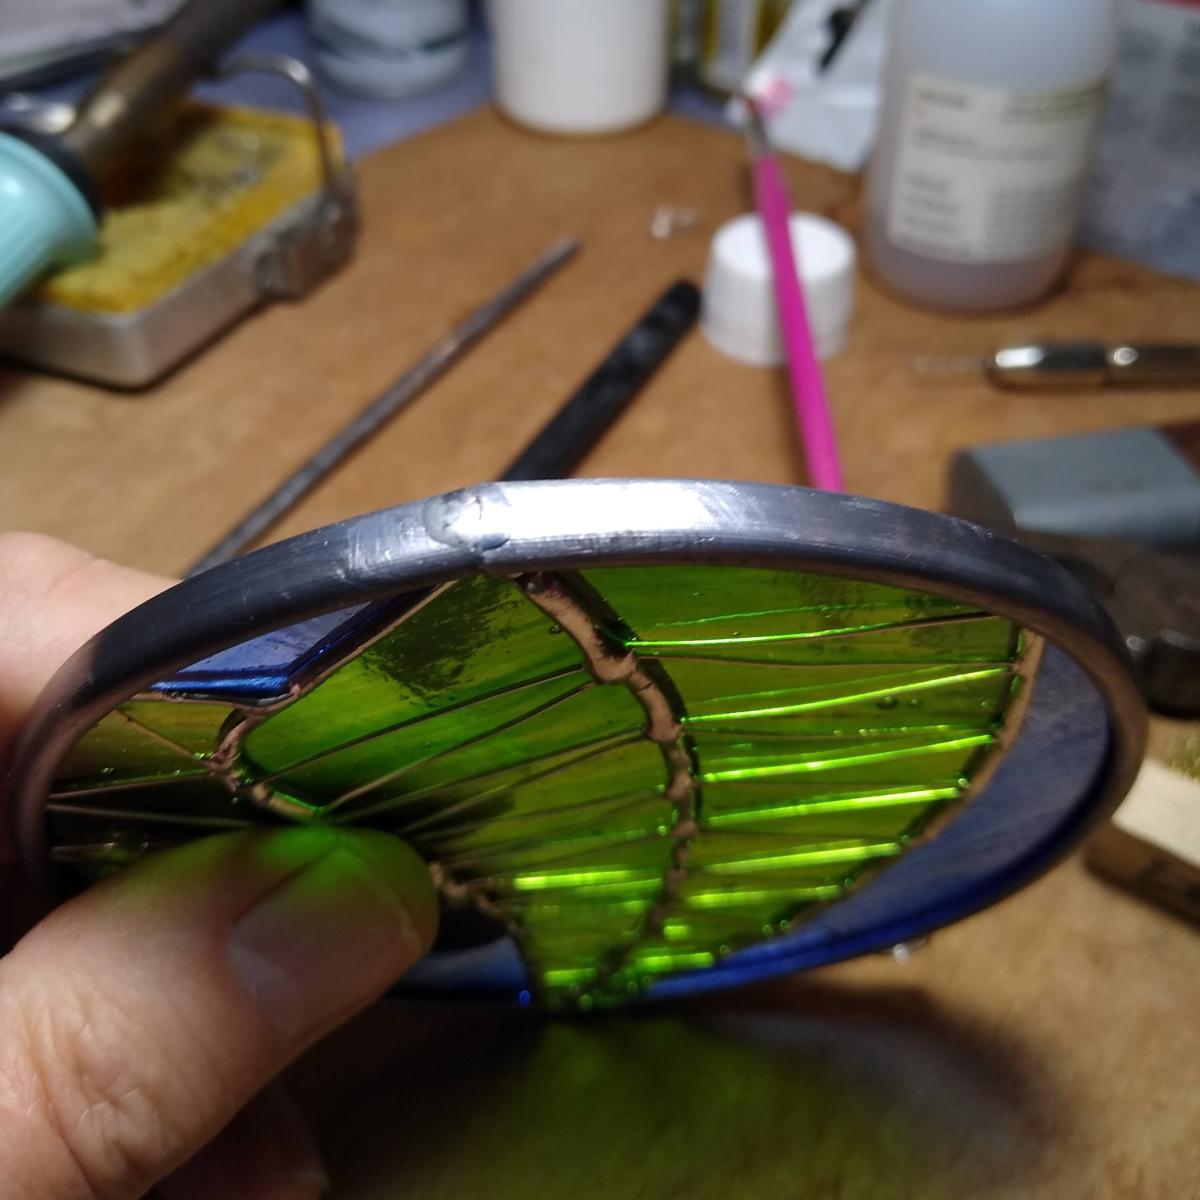
Step 14 - Clean the lead around the edges using the wire brush, apply flux and solder each joint to the lead. I do this by applying solder to the joint and then pushing it against the lead. You will see the solder melt into the lead and then remove the iron immediately. You can then tidy up the beading to your own satisfaction. On this suncatcher each point where the wire touches the lead is also tacked into place. When you do the joint where the lead is soldered together you can tidy things up to get a neat join on the lead.
I flux the hanging loop and, holding the catcher vertical, apply a bead of solder to the top and let it run around the hoop to join everything together. Then apply a small ‘collar’ of solder between the bottom of the hoop and the lead to make everything neat and strong. 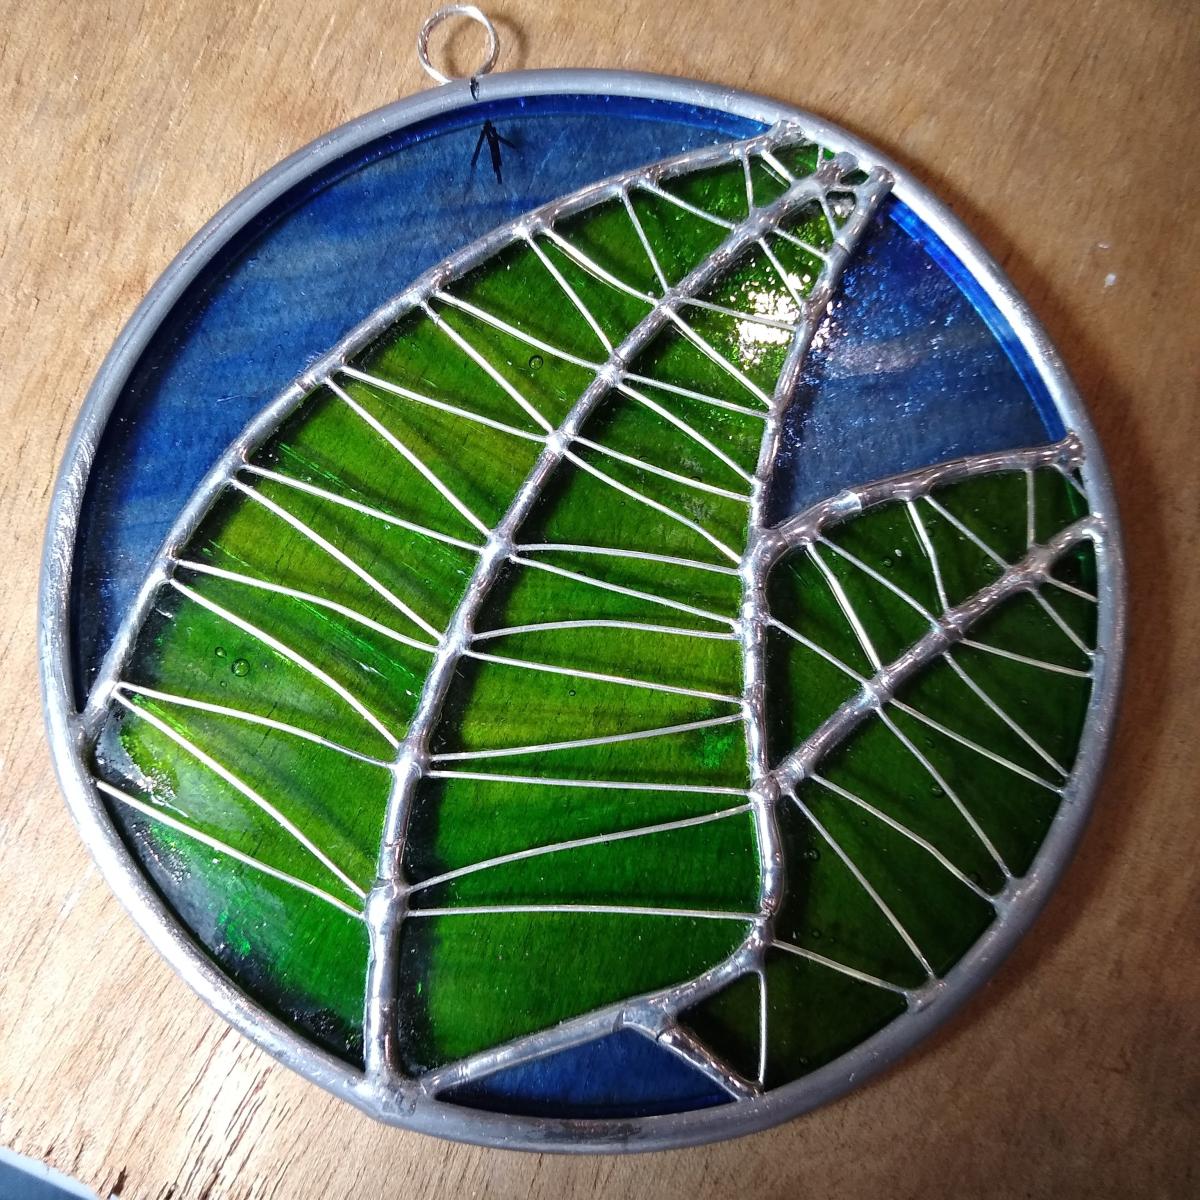
Step 15 - Let everything cool down. Then wash the suncatcher - I use warm water, washing-up liquid and a small nail brush. The aim is to remove all traces of the flux and any adhesive from the foil that has seeped out when soldering. Dry the piece using a cloth. I then applied a copper patina to this piece. Copper patina reacts with the tin in the solder so won’t work on the lead edge. If you use black patina then it reacts with lead so will colour both the solder and the lead edge. Wearing gloves, I apply the patina with a cotton wool pad. If the reaction stops then just add more patina! Once done, give the piece another wash. This time use a soft brush to avoid abrading the patina. When everything is thoroughly dry then apply a polish. A hard wax polish is best on copper. On black a grate polish gives a lovely gunmetal shine. On silver I use Brasso! 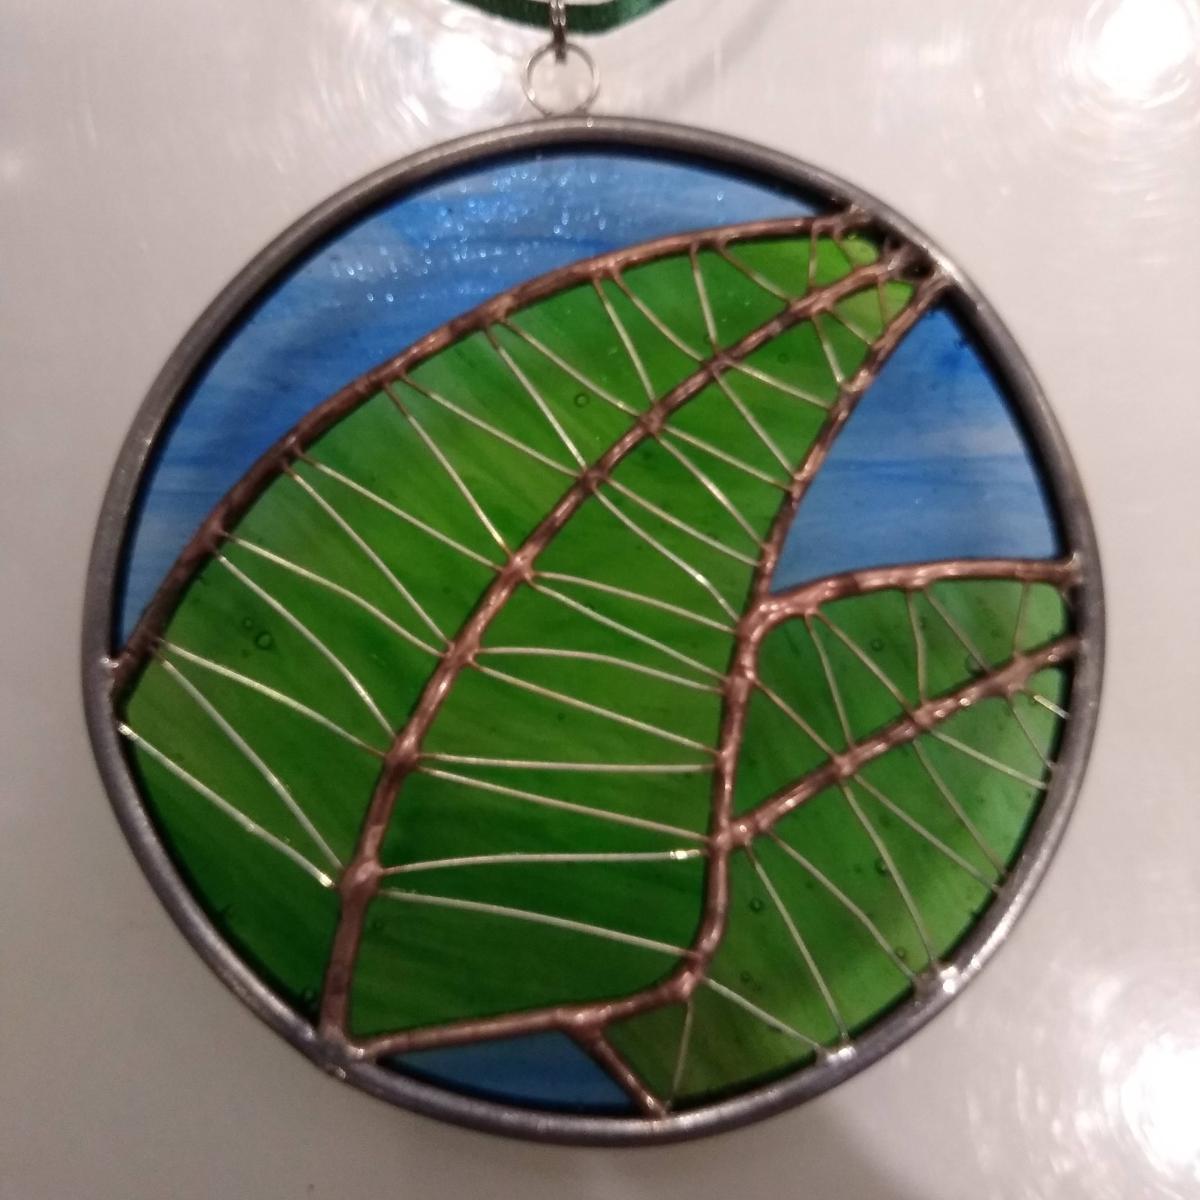
Step 16 - Finally, add a ribbon (or chain or whatever you like), hang your work up and let it do what it is meant to - catch the sun! 