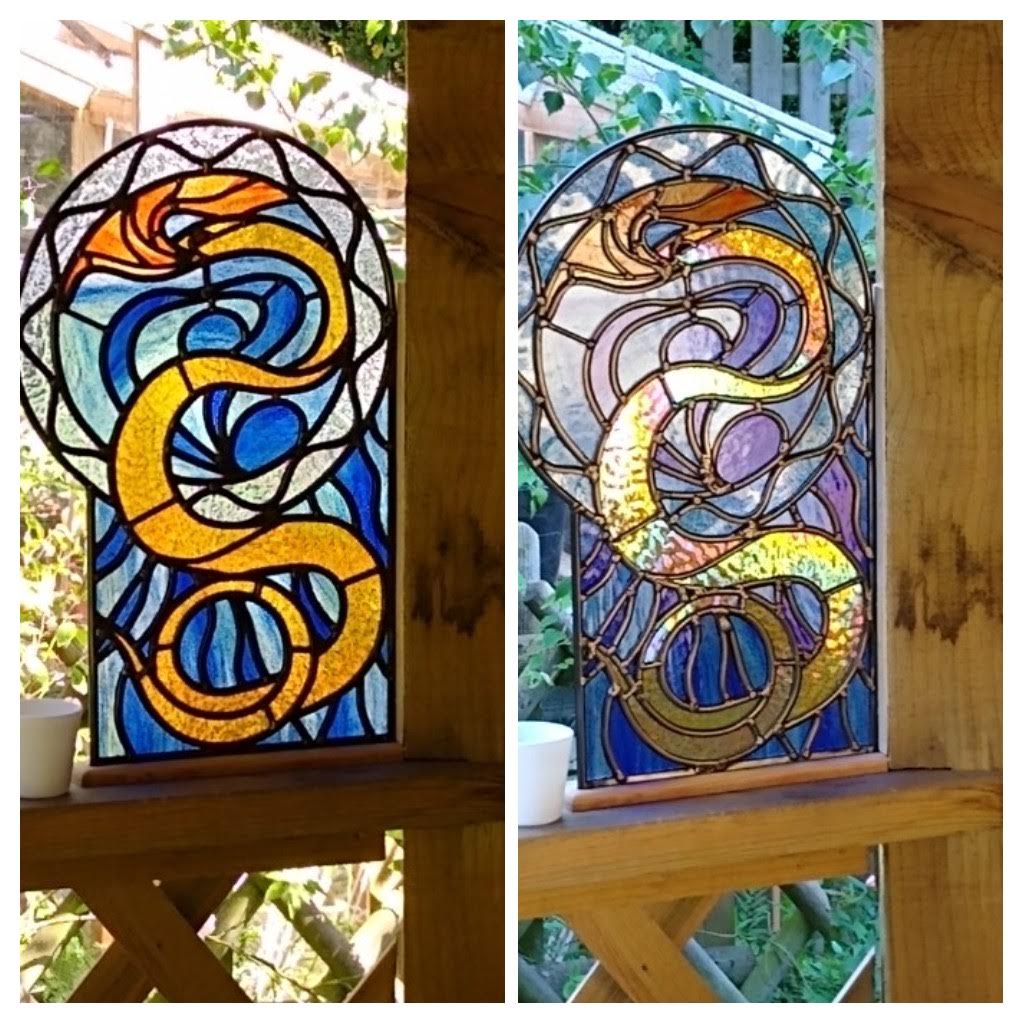
Serpent
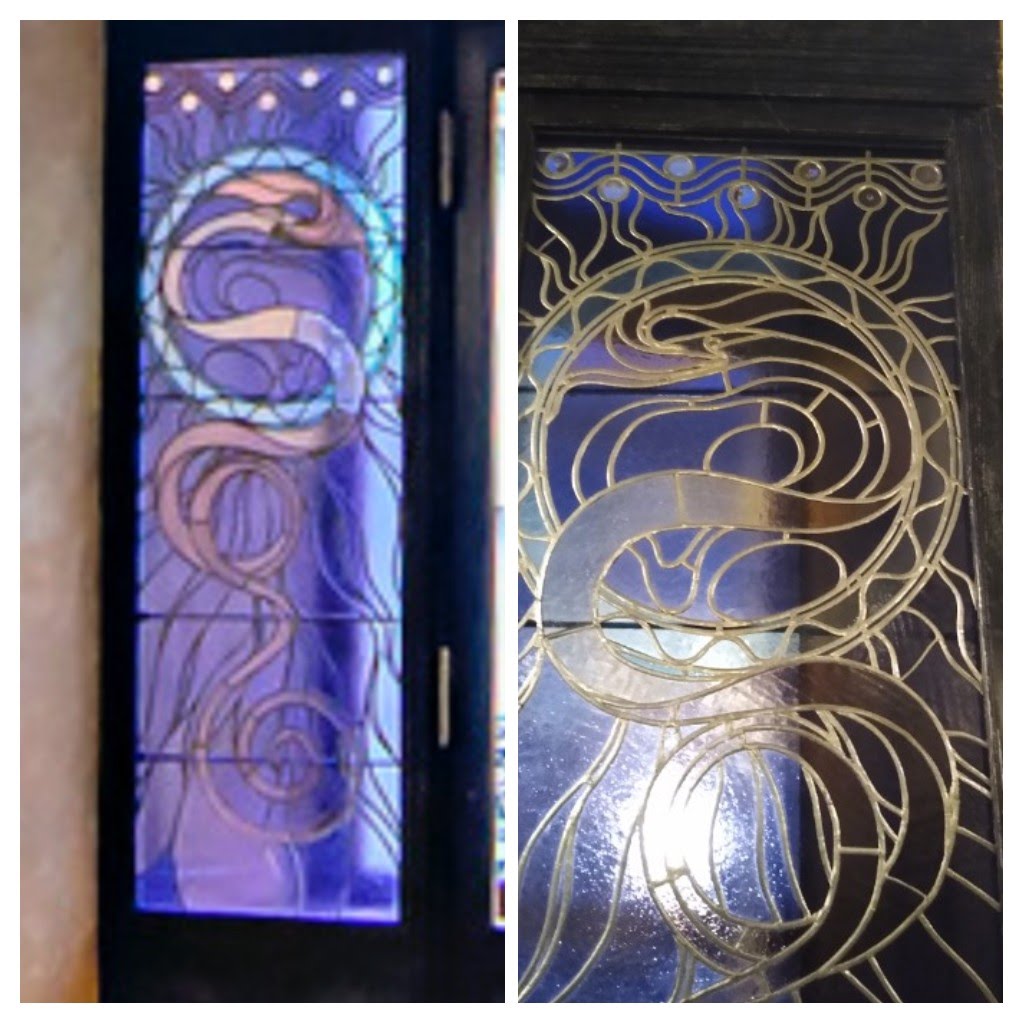
In October 2019 we took a short trip to Prague. It’s a beautiful city, well worth visiting. I have always liked the art of Alphons Mucha so a wander around the museum was a must. We also took a tour around the Municipal House which boasts Mucha-designed rooms and stained glass. One particular window caught my eye and, despite the bad light, I took some pictures for future reference. I was glad I did because images of the window on-line are very scarce!
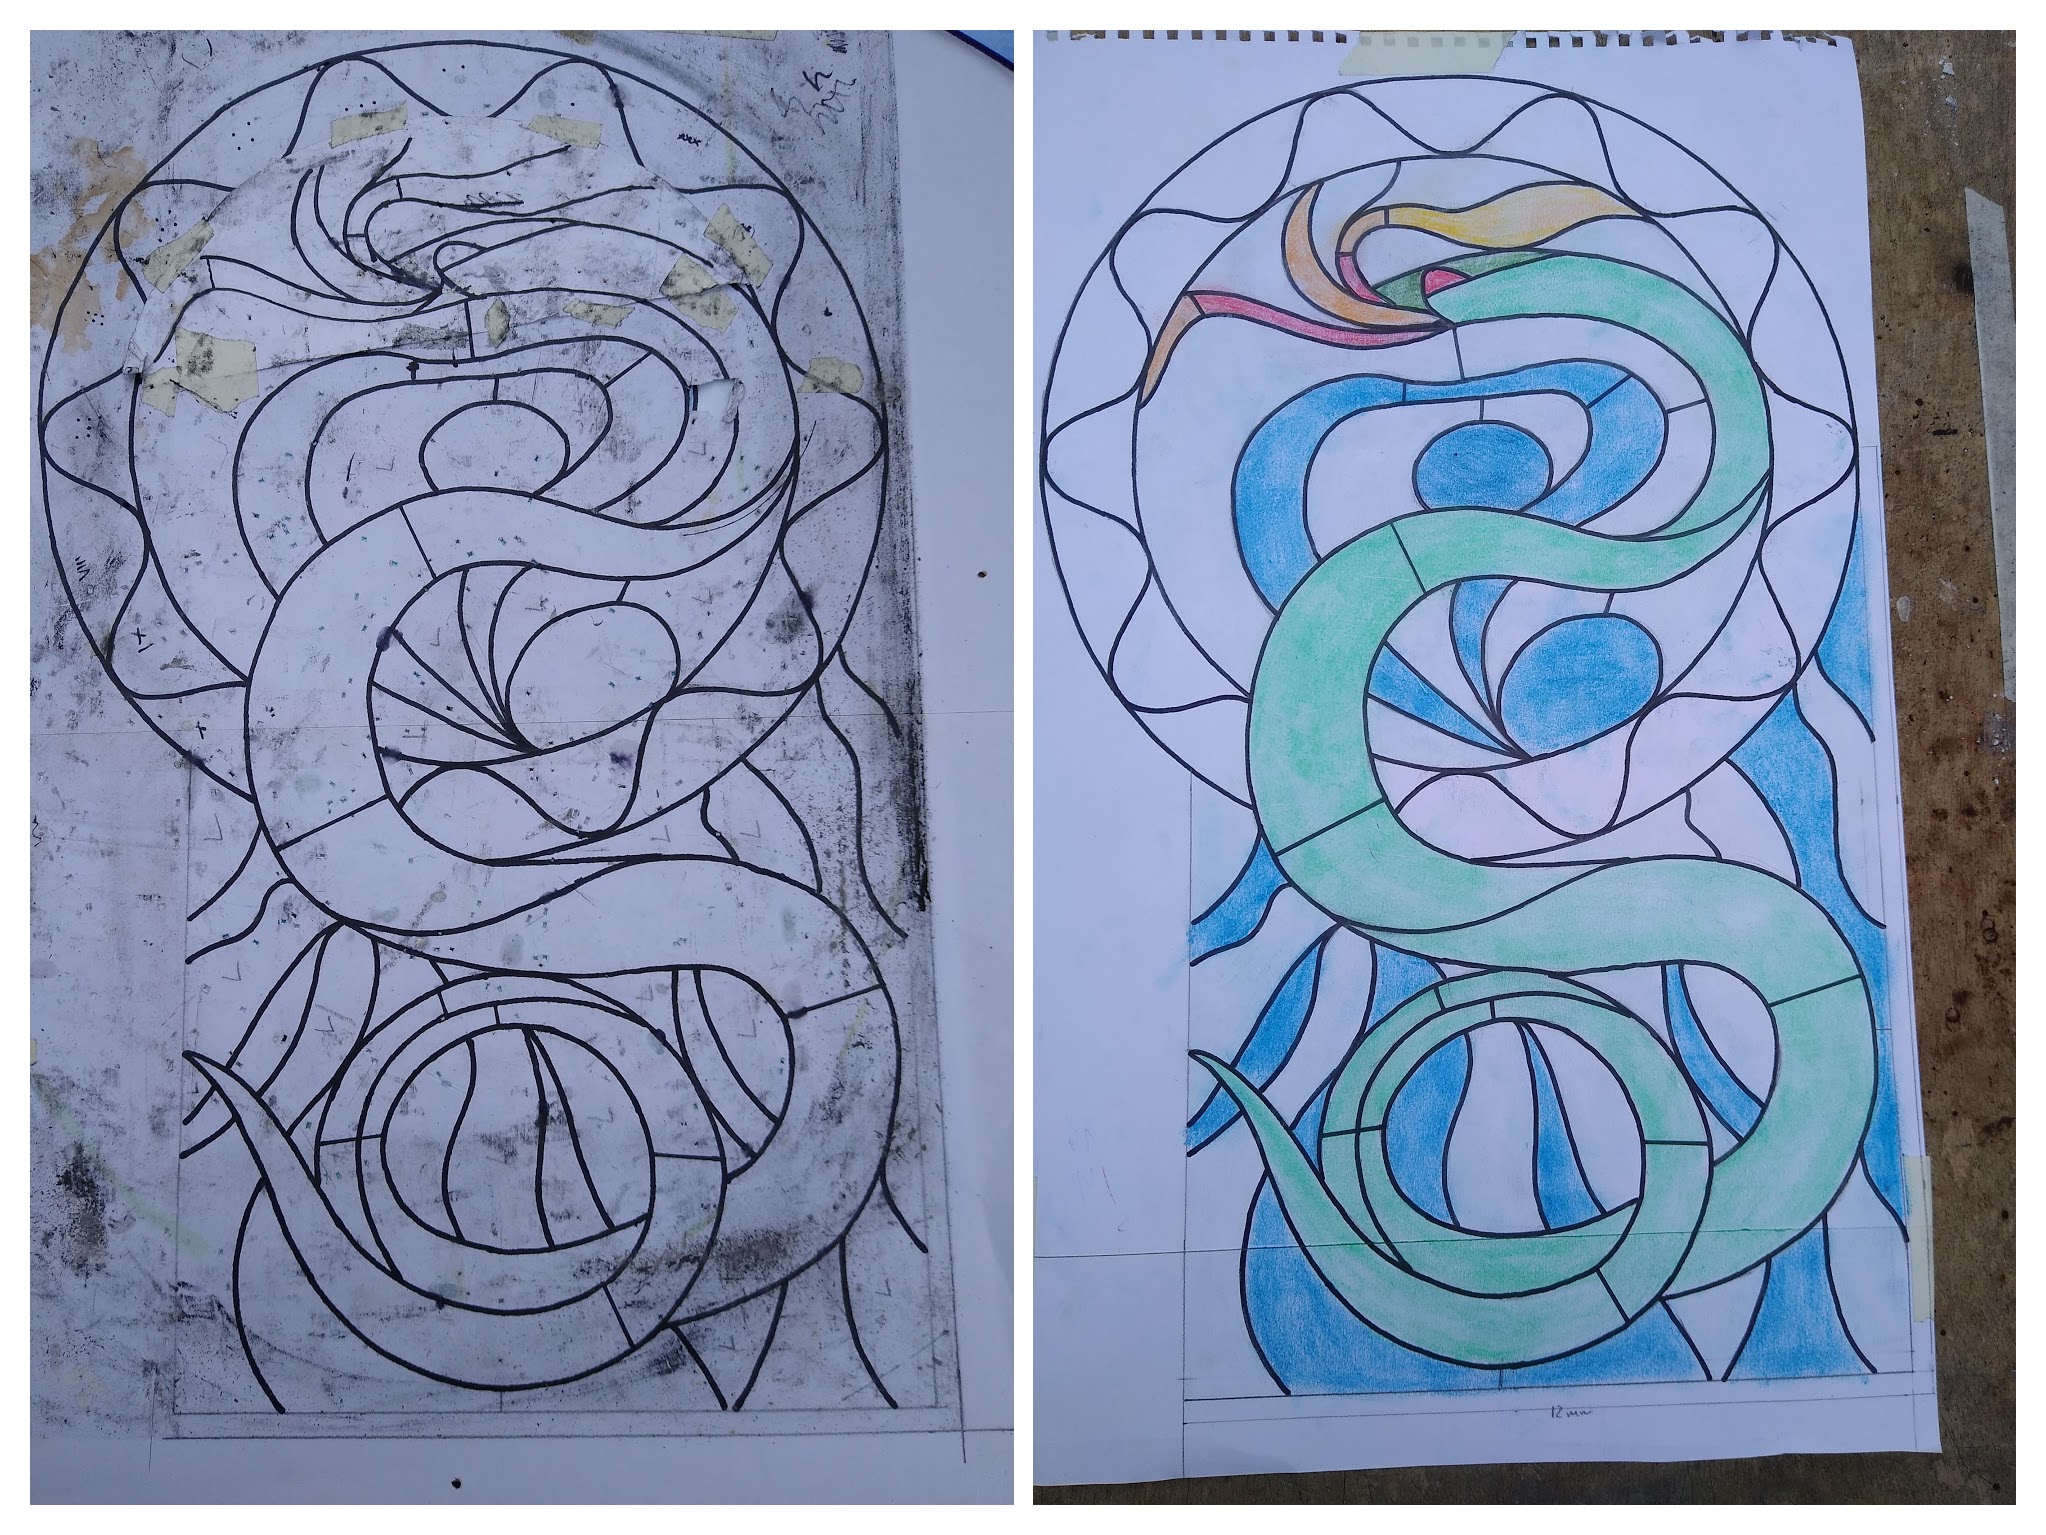
As we went into the coronavirus lock-down and I was denied the remainder of the fused glass class, I looked around for a project. I took a look at the photos of the serpent window and made a number of sketches to get a feel for the design and how I wanted it to look. An early decision was that the lead would form the frame for part of the piece. This is done using a ‘c’ section lead came so the dimensions of the design need to reflect that and the ‘H’ section came used on the parts of the window that will be in the frame. Once I had something that I thought was nearly right I coloured a copy using chalk pastels. This is something that helps to visualise the final window, but I do find that I change my mind about colours once I start to look at the glass! In the line drawing below you can see the change I made to the serpent’s jaw as I was working on the window.
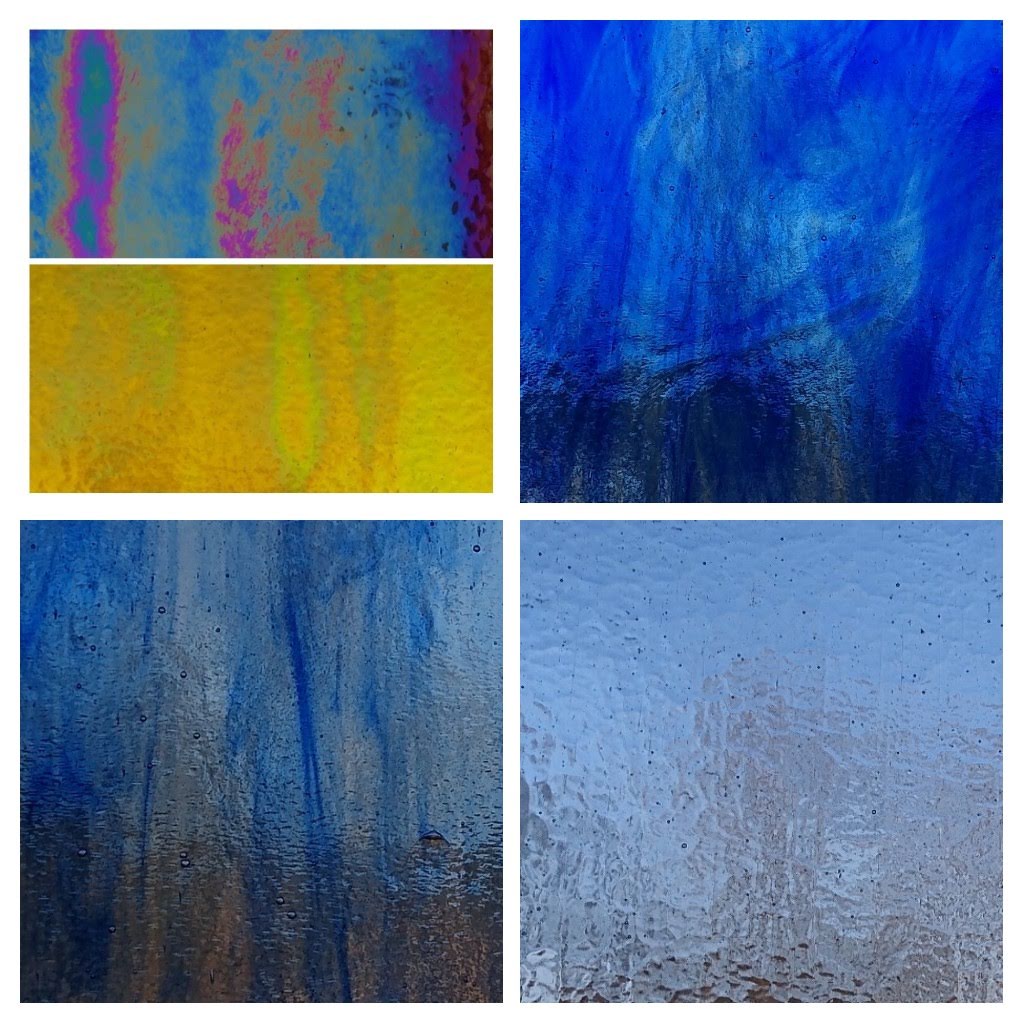
Having looked through the glass I already had, I found a nice light blue seedy clear glass for the ring and enough oranges for the fire. A tiny scrap of bright red for the eye was an easy find. I went on-line to hunt for glass. Hours later I settled on Tempsford stained glass with a blue/clear streaky glass for the background and an iridescent amber for the serpent. The streaky glass has lots of variation in a sheet and my theory was that I could use the lighter blue/clear for some of the pattern and the darker blue for others. A very well packaged box of glass and lead arrived a few days later. I was very pleased to see that the two sheets of blue streaky glass had great contrast in that one was mainly clear with bits of blue and the other was mainly blue! The iridescent glass, top left in the picture, is ace with a huge variety of colours depending on the light strength and direction.
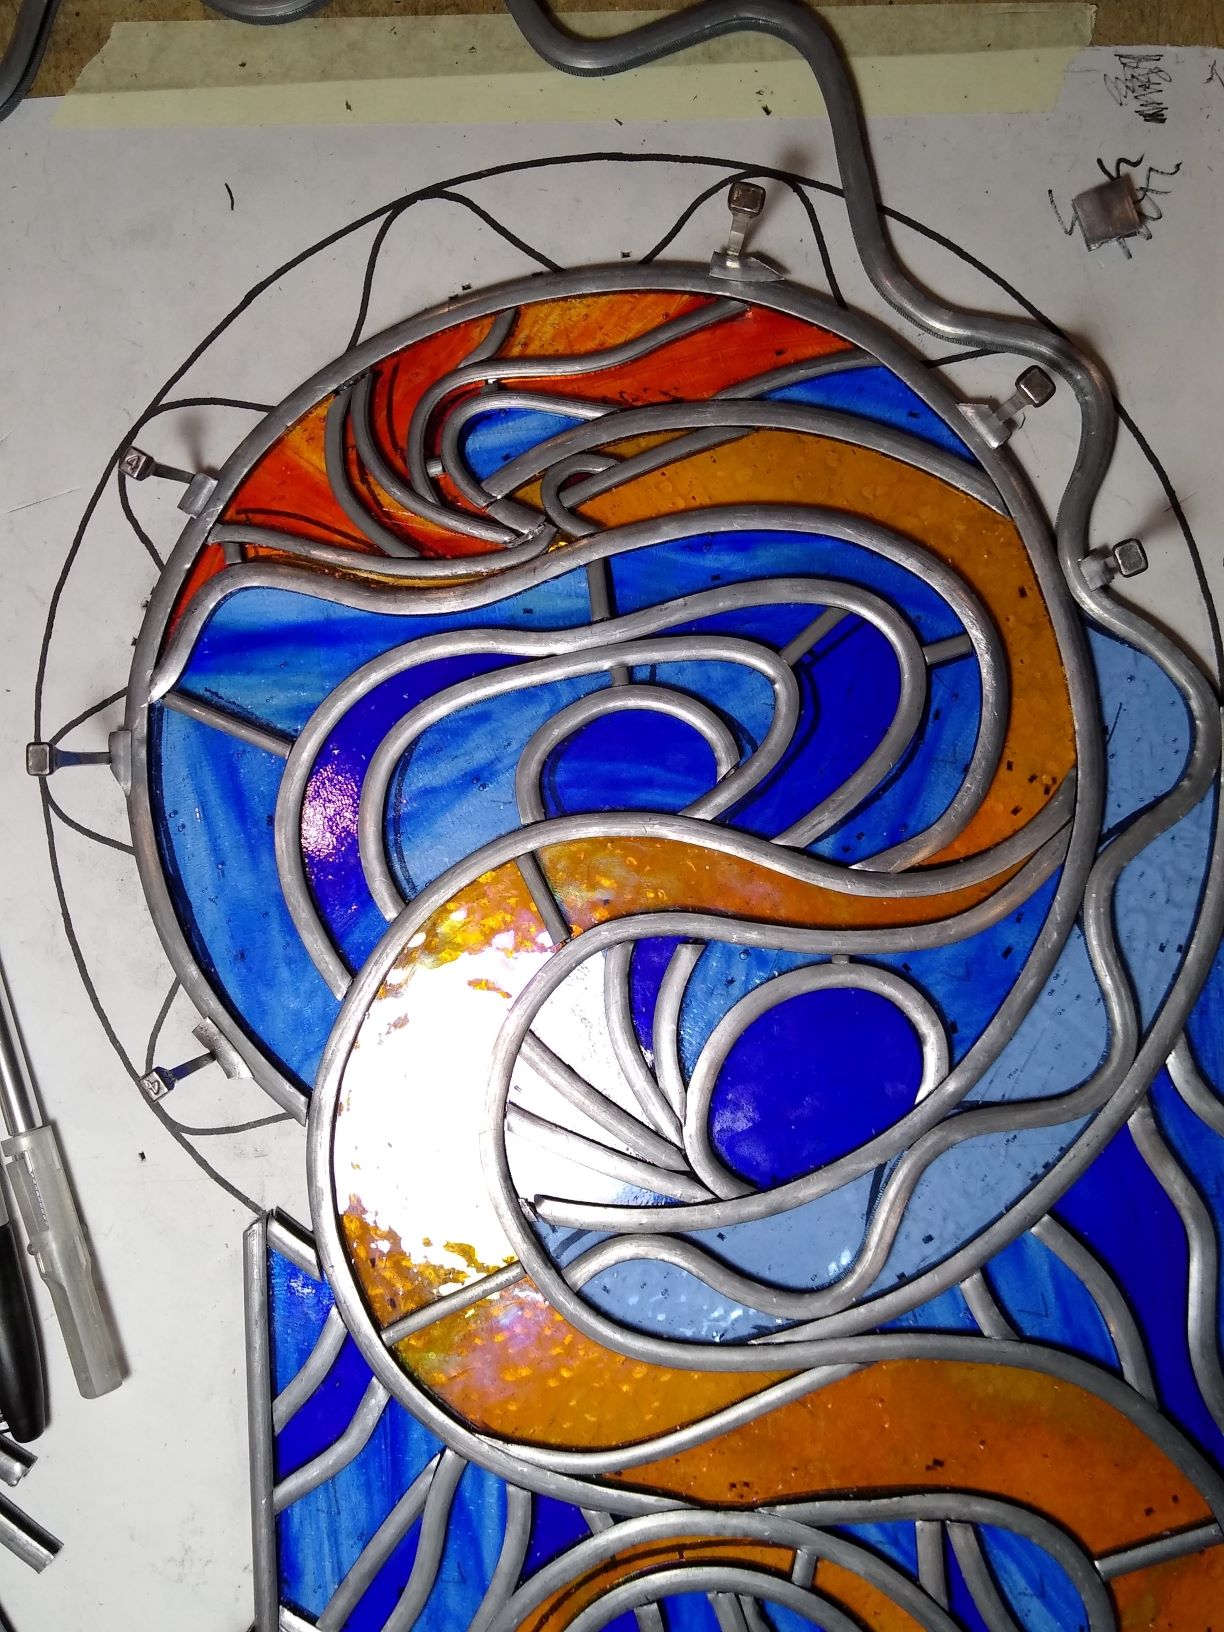
I decided that I would cut the glass and lead it as I went with this window (rather than pattern the glass and cut it all before leading). I just felt that it would allow me to make changes as I went and to adjust the glass to fit. I also wanted to try to use long lengths of lead to ensure that the curves ‘flowed’. This involved much trial fitting and building/dismantling to get things as I wanted. The best example of this was the ring of light blue glass with the wavy line. I made cardboard templates for the inner and outer rings of this and then bent a single length of lead to form the wave so it looked ‘right’. I then cut the glass to fit and worked my way round the ring undoing lead to fit each piece. This is the sort of task that you start after tea and then realise it is very late without realising how many hours have passed. Who needs telly?!
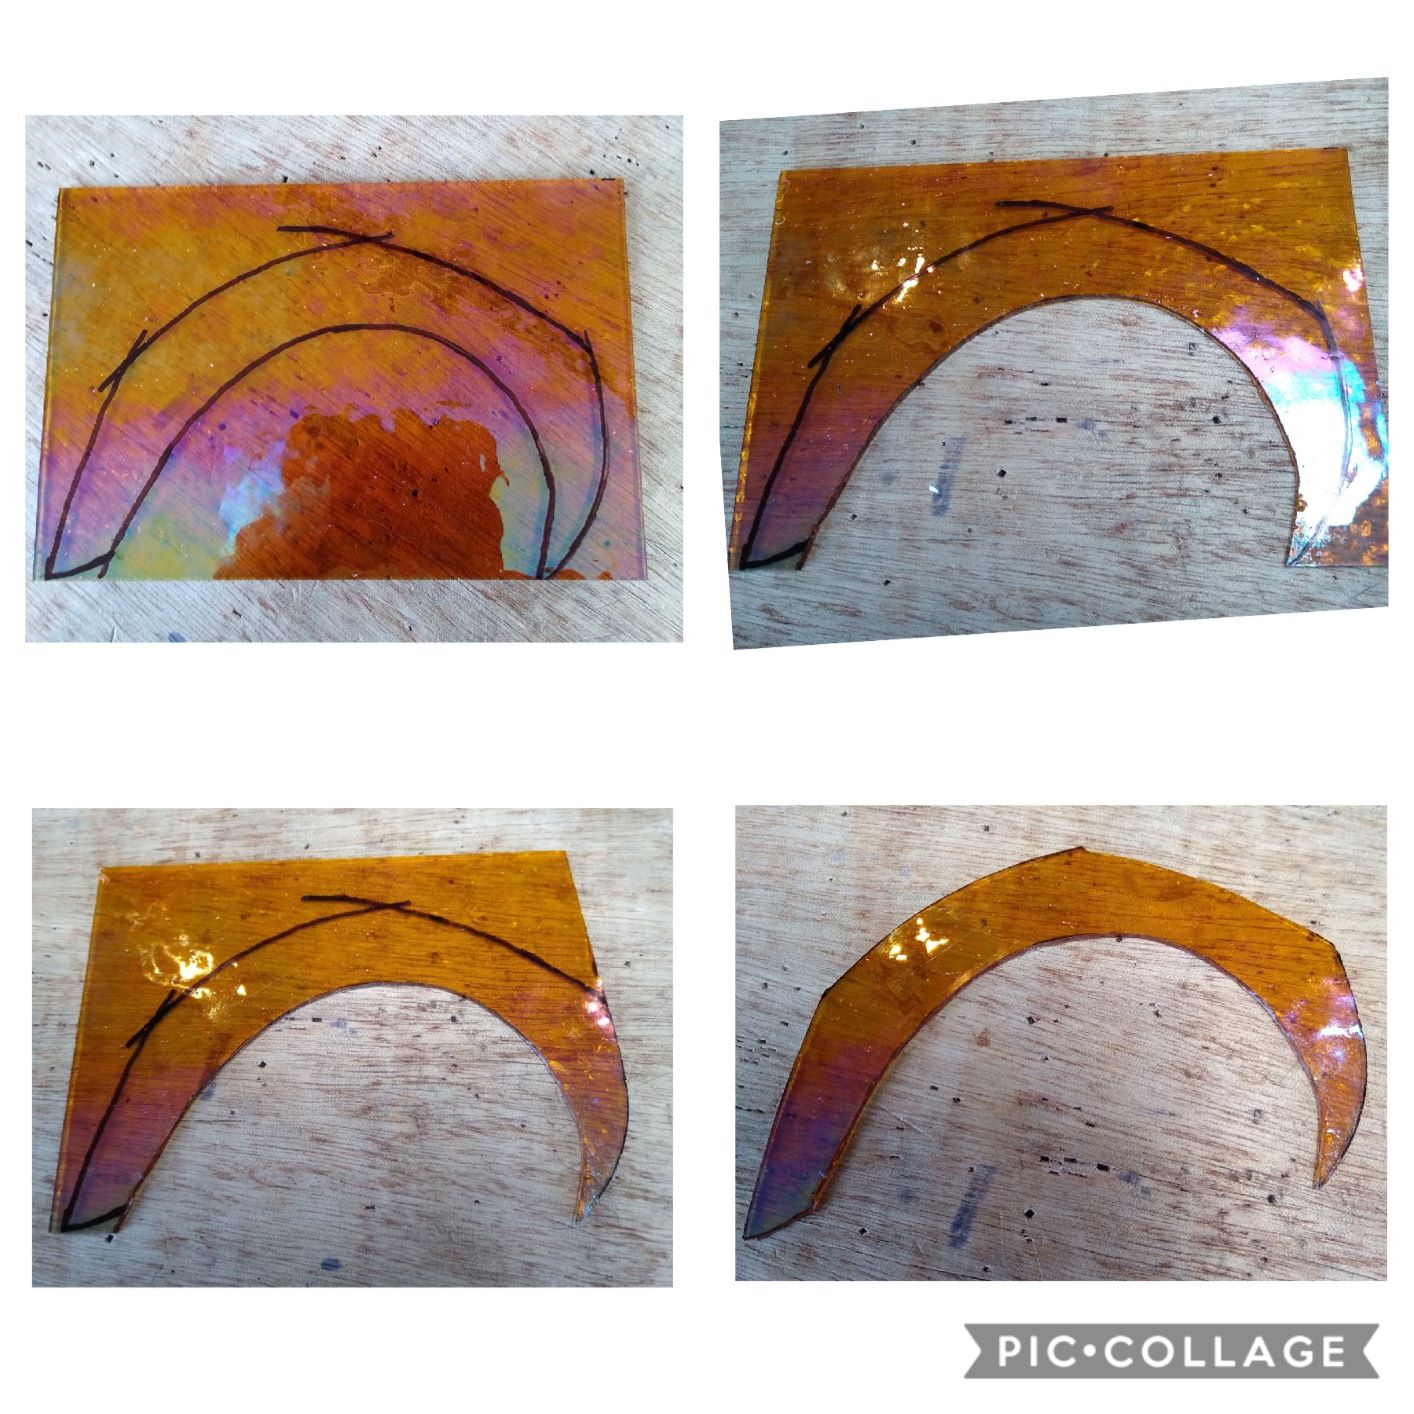
The first picture below shows the stages of cutting one of the more ambitious pieces of glass. The following ones show the window as I built it up with the long lengths of lead maintained.
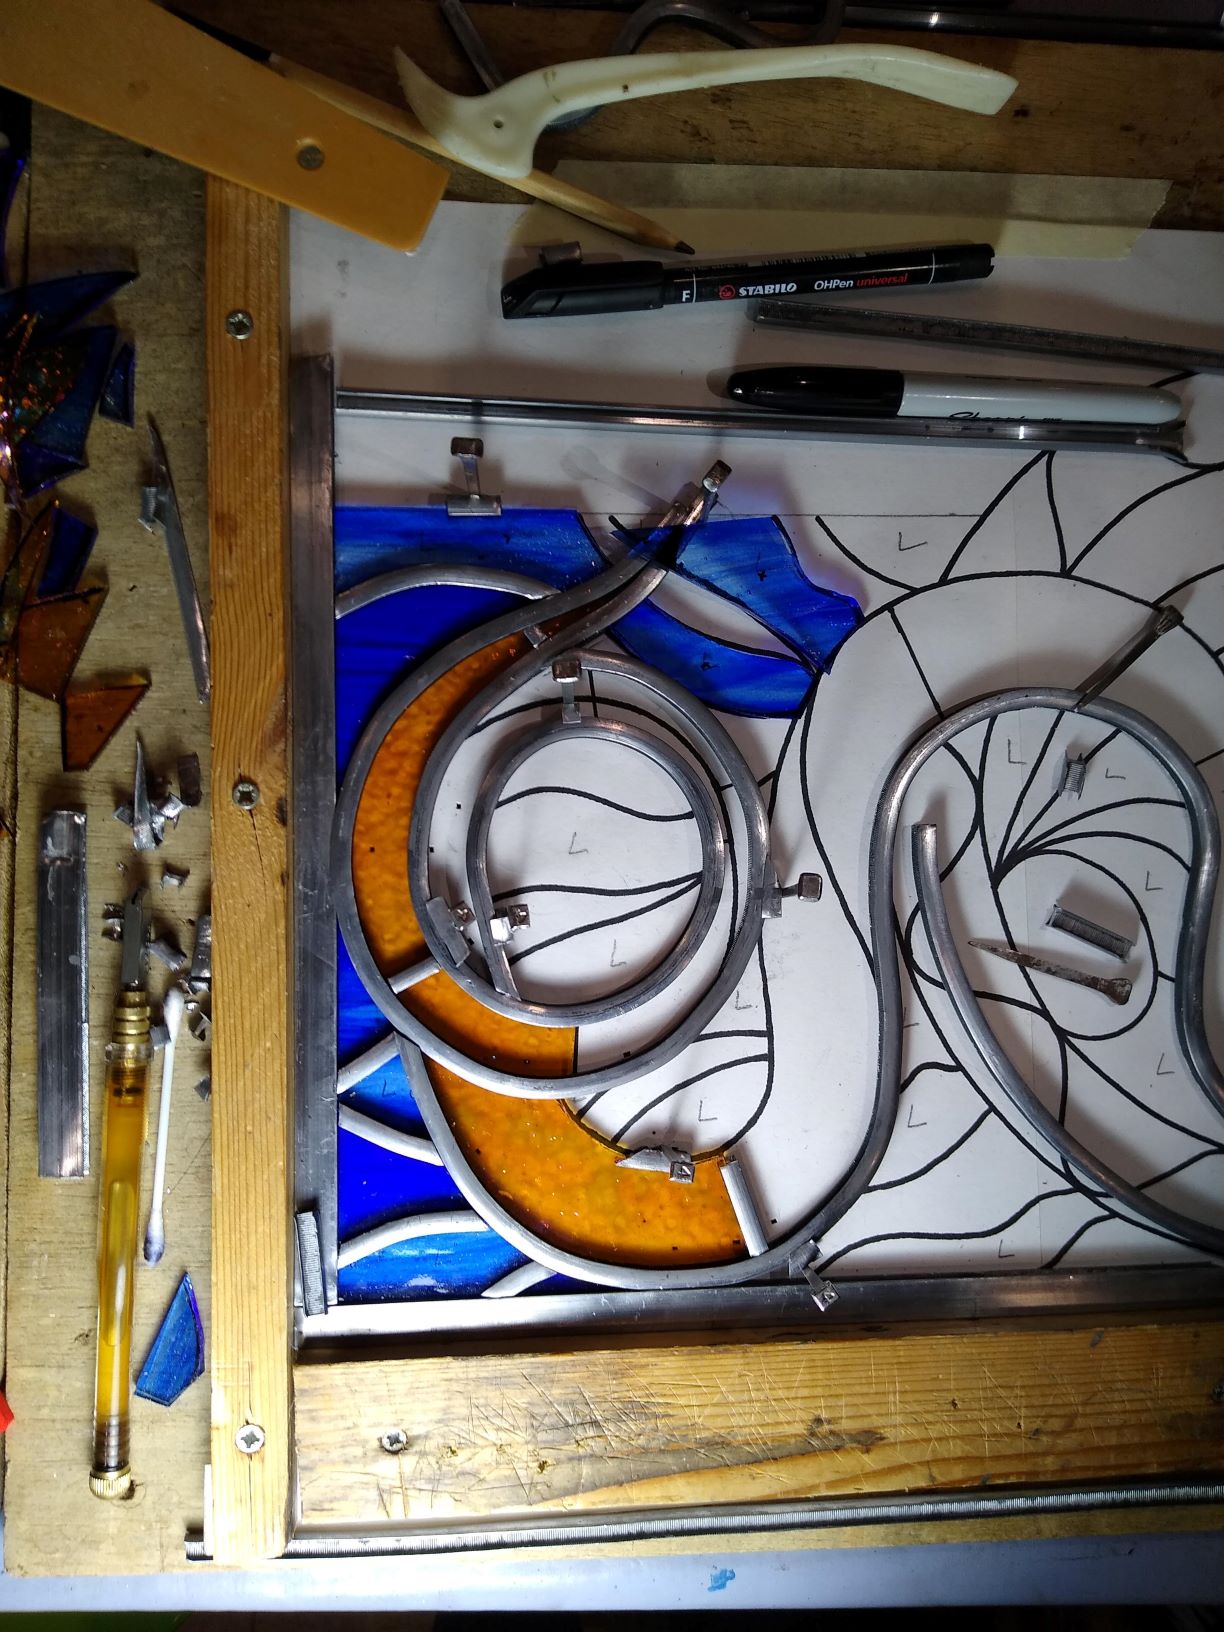
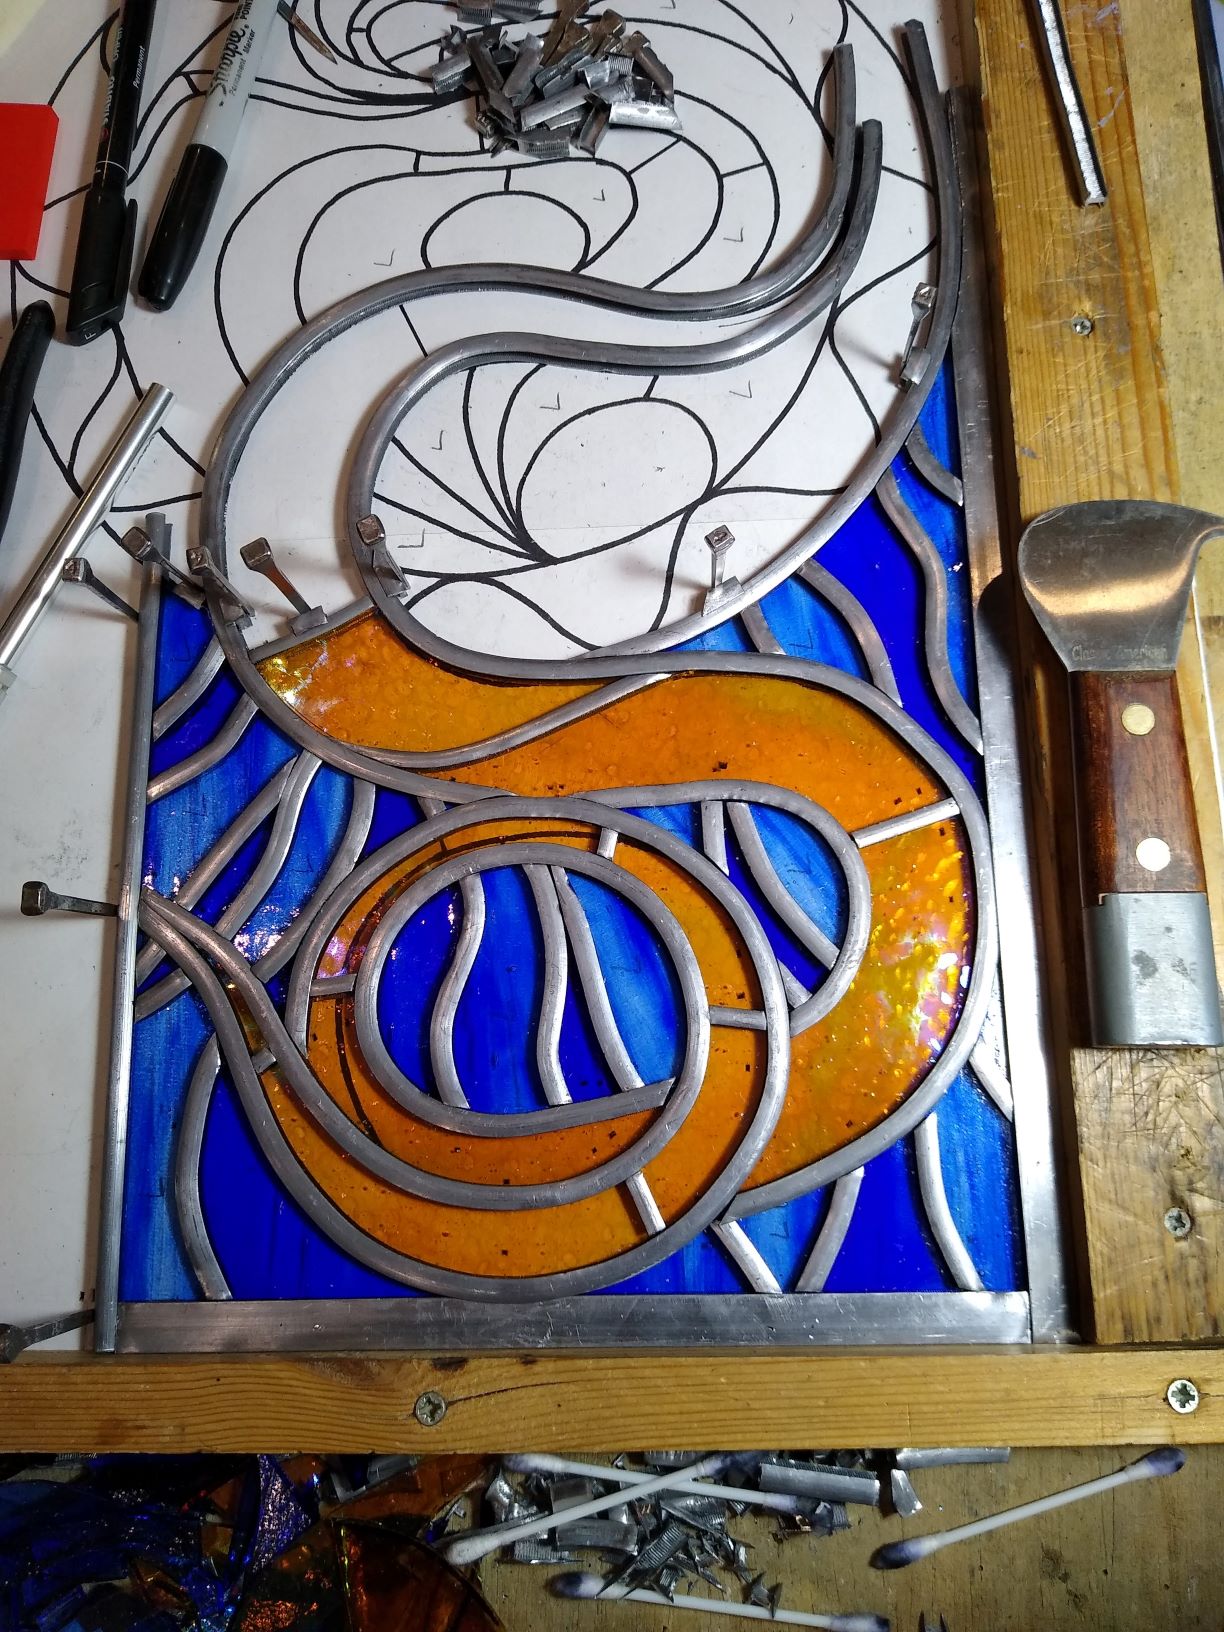
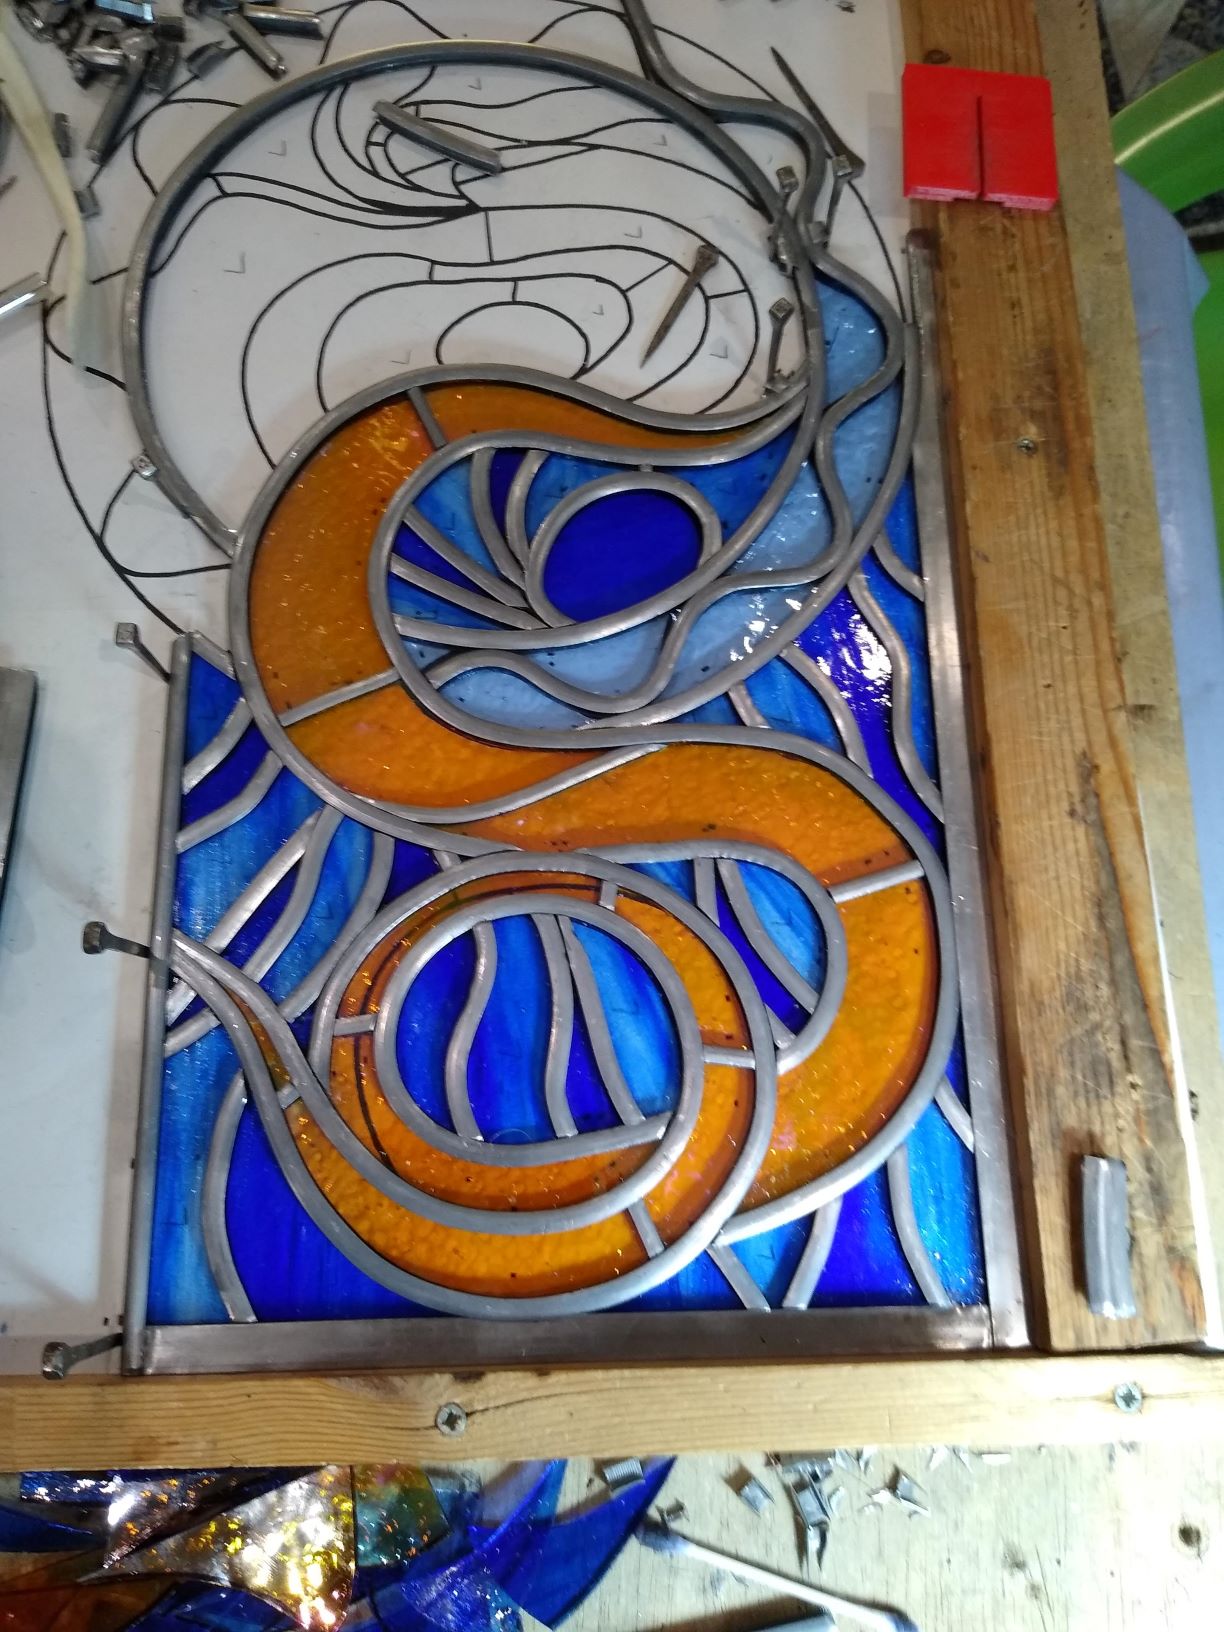
Having got everything together the next step is soldering. I like this stage as you clean the lead, apply a flux of tallow and then solder. I’ll guarantee that I’ll turn the iron off, let it cool down and then spot the joint I’ve missed… Once both sides have been soldered I then clean the wax flux off it (hot water, soap and a nail brush) then lean the piece on the window and just look at it for a few days. Partly because I need to spot any issues, partly because I just want to admire what I’ve done and partly because I need a break from it!
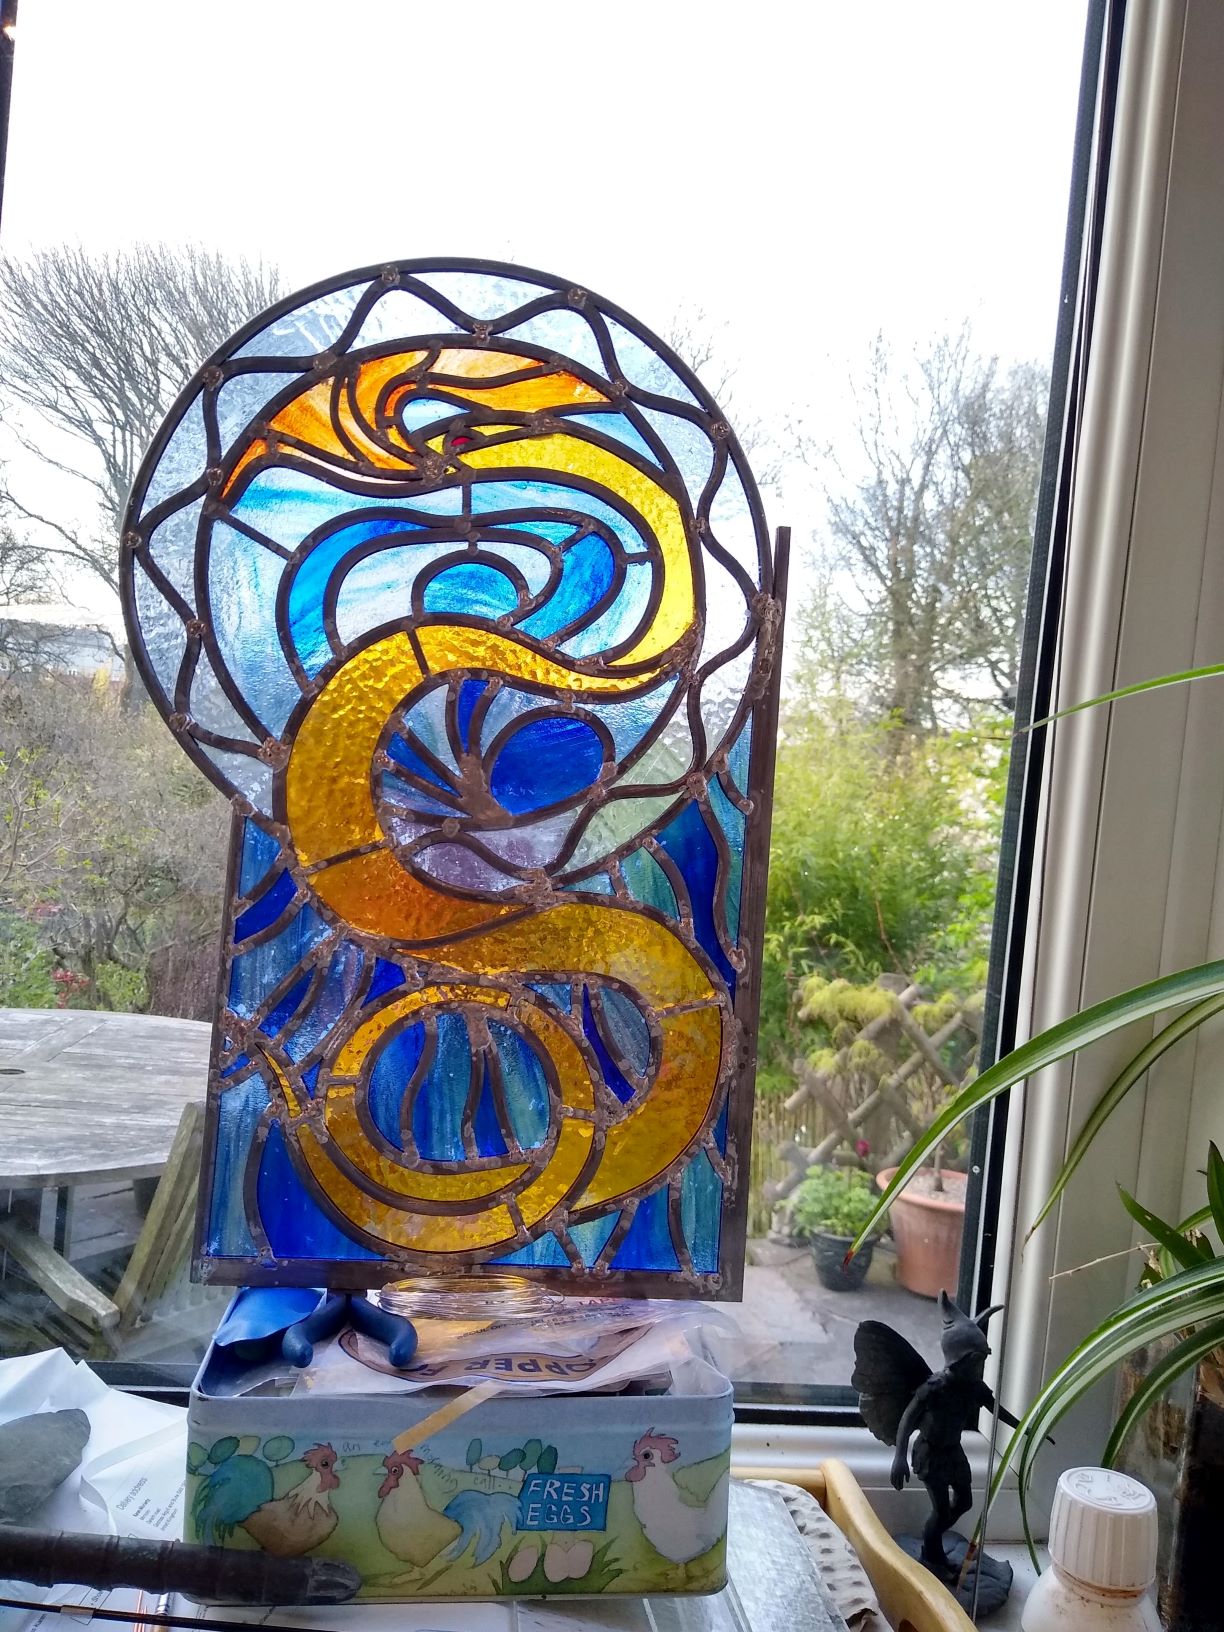
Eventually I plucked up the courage to apply the lead putty to the window. I confess that this is not my favourite part of the process. It’s smelly, messy and seems to take ages. You do one side, leave it for a day, clean it up and then do the other side. Then you spot the bits you missed, or where you pulled the putty out of the joint when cleaning it up. I spent hours on this window with a scalpel cutting the lead cement from the pointy corners so that lines stayed crisp. Finally you need to clean the lead using brushes. I use various grades of wire wool to get it really clean. At this point you can choose the finish. If you leave the lead and solder shiny it will eventually oxidise to a dull dark grey (which can be re-polished). However, for the serpent I decided to blacken the lead and solder and then polish everything. This is done using an acid which you paint on. Once the lead and solder have gone black then the piece is washed and dried. Finally it is polished using black grate polish and buffed to a nice sheen.
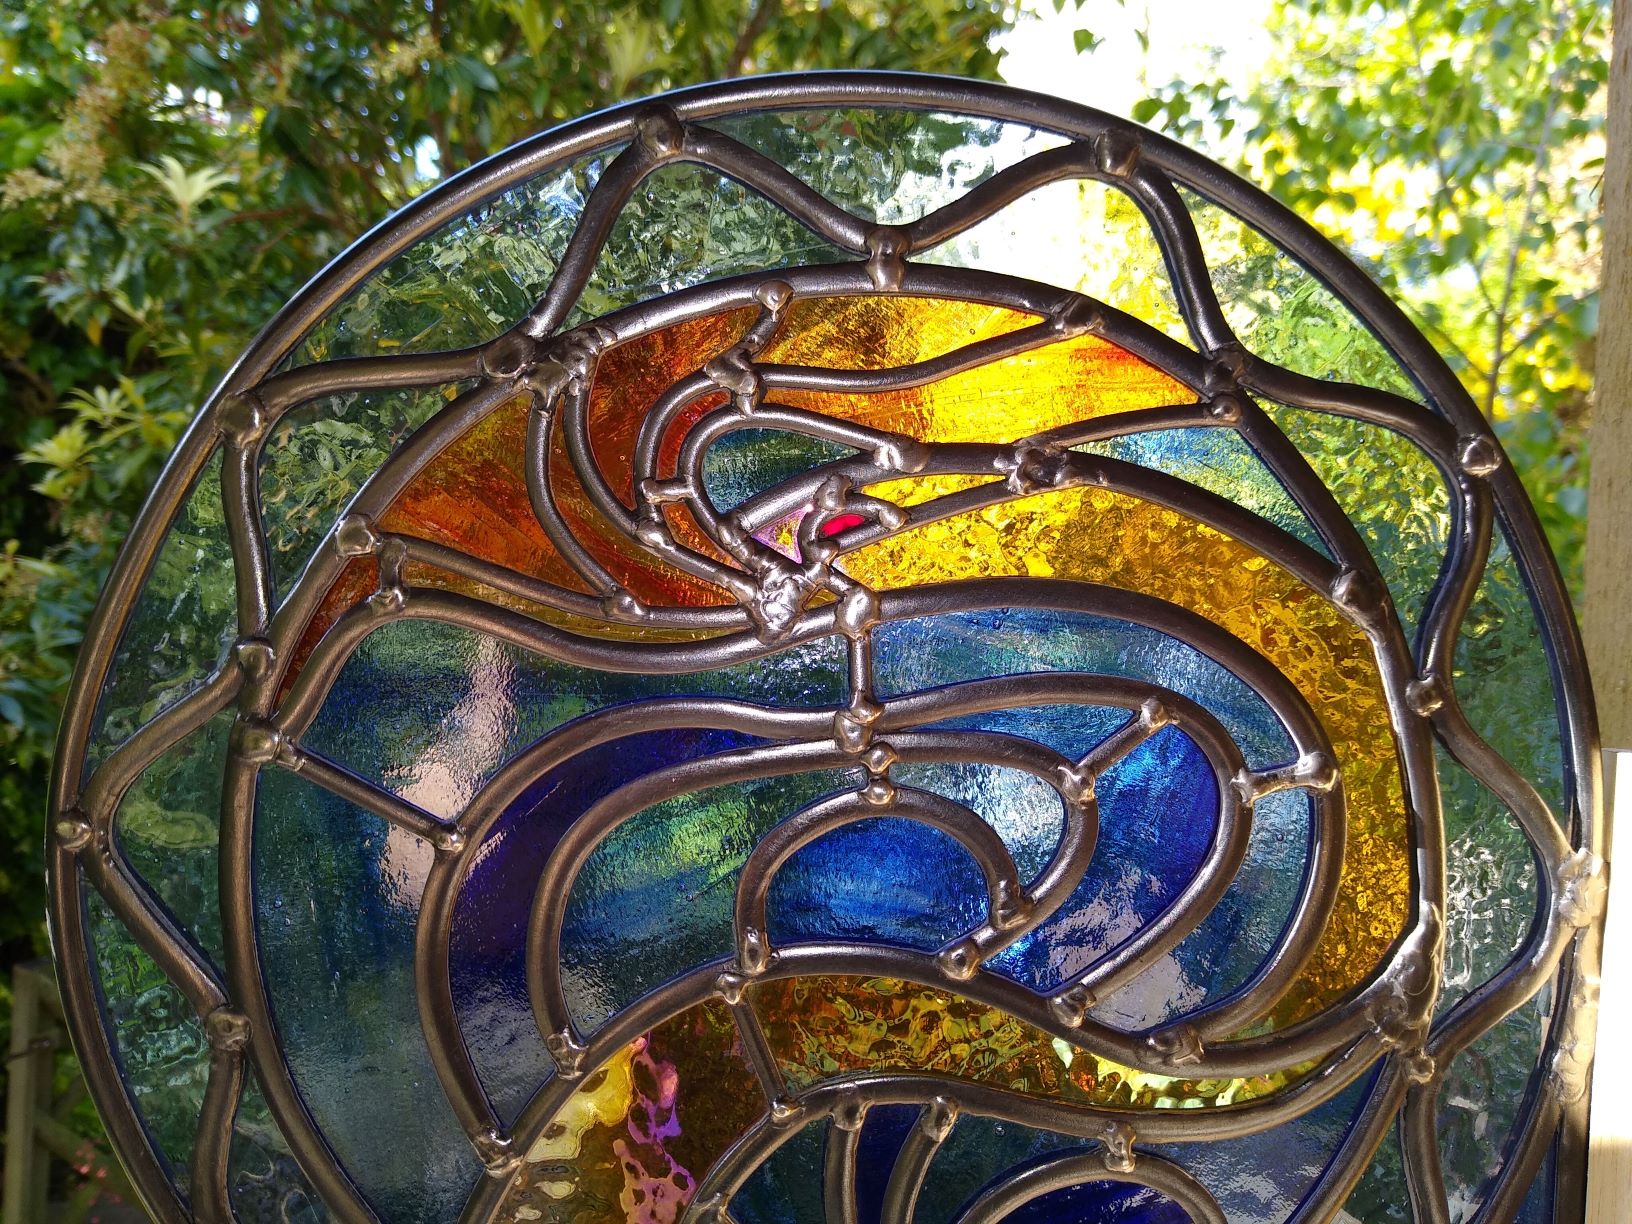
The serpent has now been installed in the gazebo where it has the morning light behind and the evening light on the side seen from the house. The picture below illustrates the way the iridescent glass brings life to the window. I have to confess that the more I see of this piece, the more I like it. I can still point out the ‘could do better’ bits too!!
