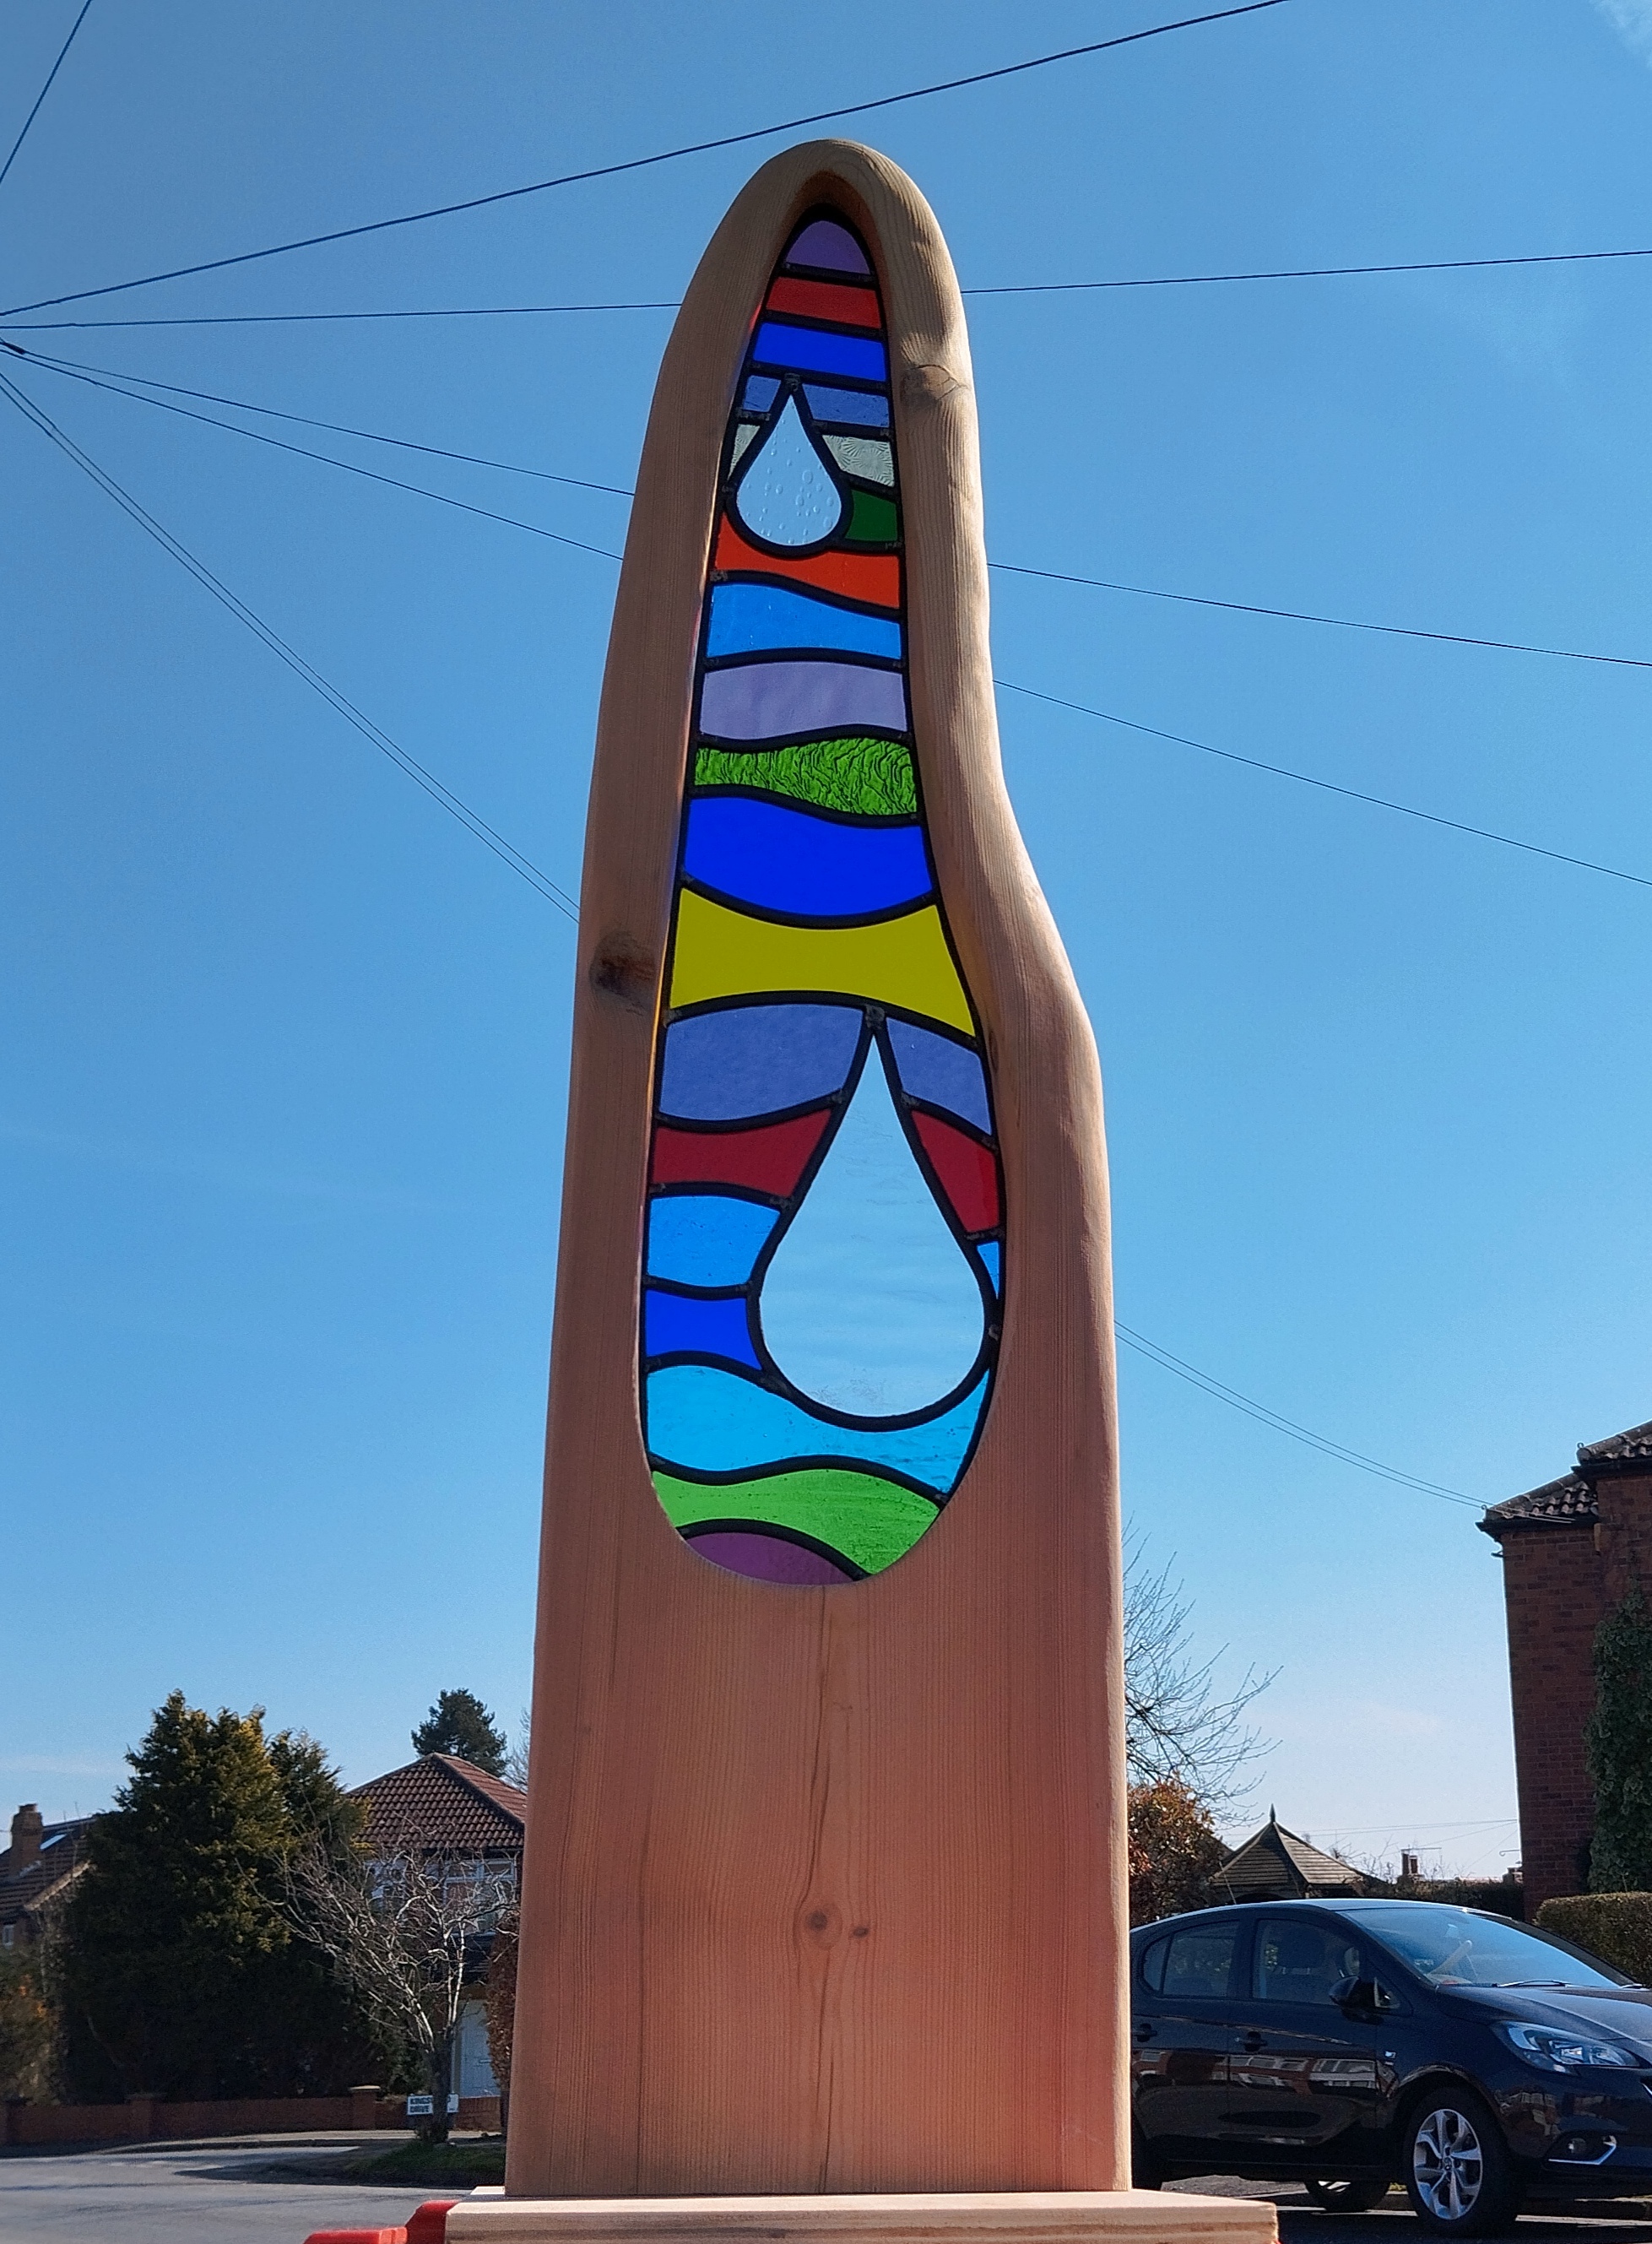
How It’s Done
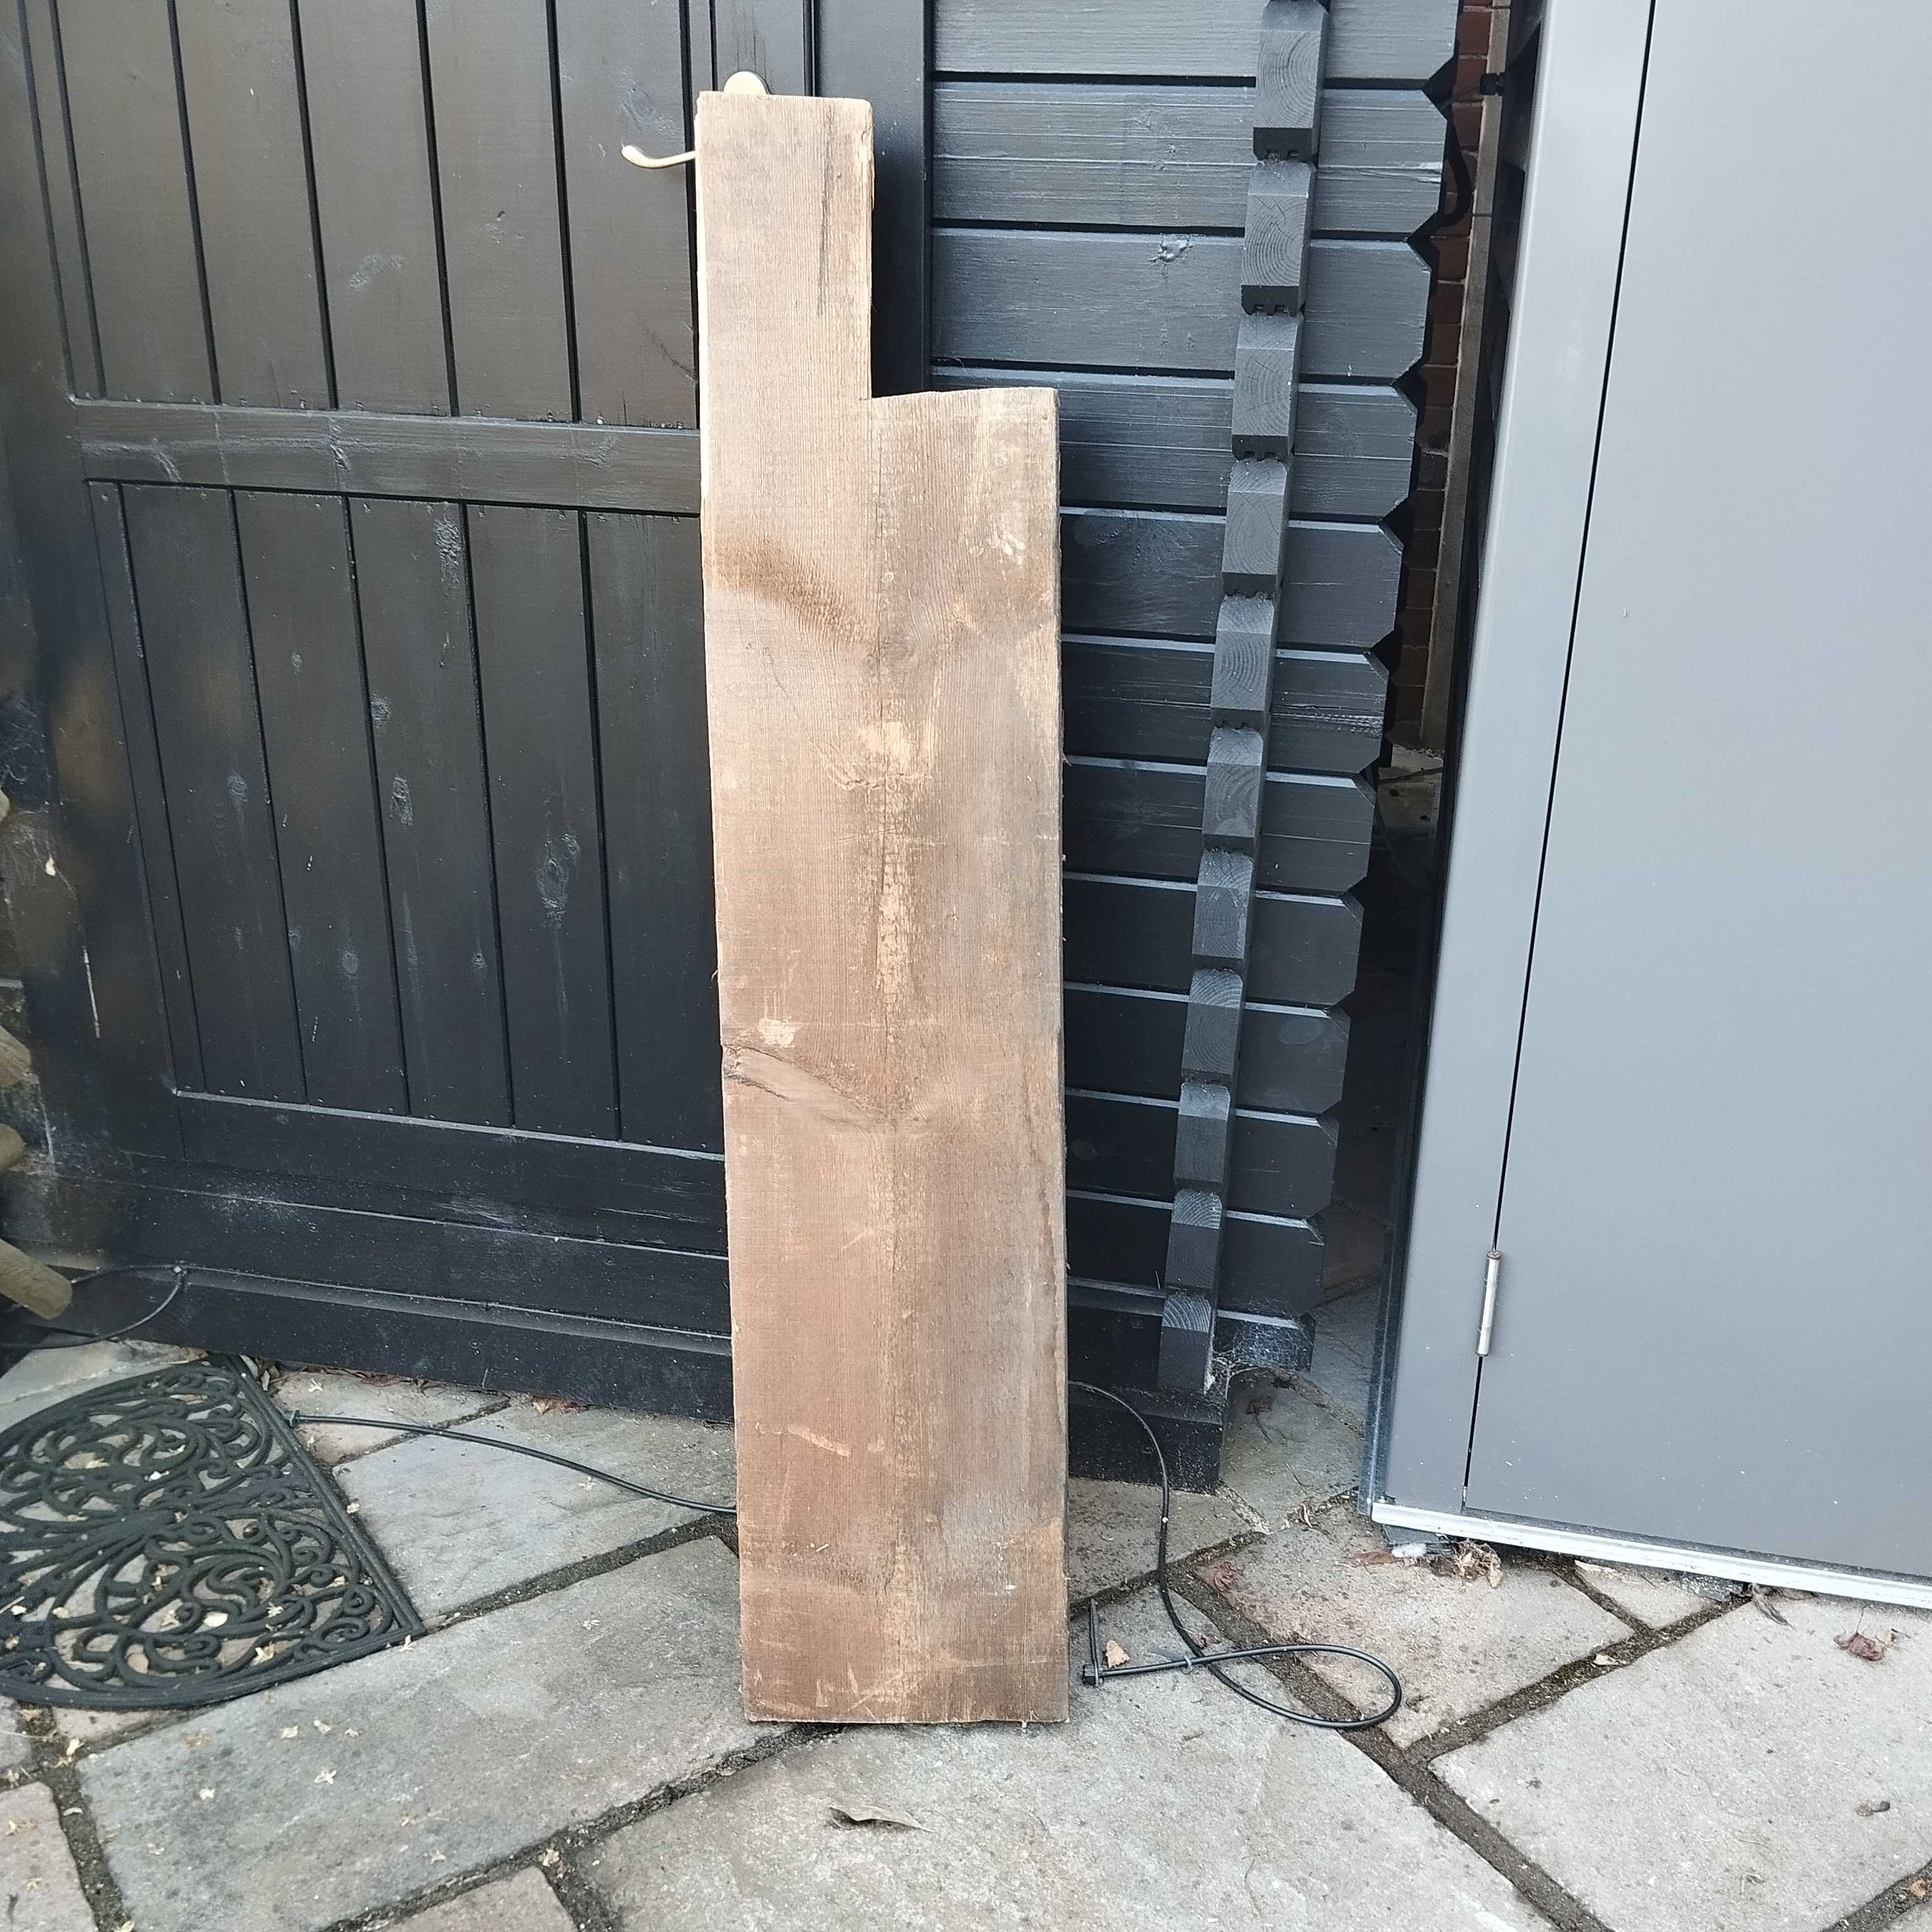
Find some wood!
I have been using bits of ridge beams removed from local houses when they have loft conversions. The houses were built in the 1930s, when timber was grown more slowly and was denser and stronger. The beams are pine so have some knots, splits and shakes. The wood is typically 11” wide, 3” thick and 3’6” to 4’ long. If you are using reclaimed timber then the first step is to find and remove ALL nails and screws from it.
Note: 3” thick wood is thick! Cutting through it requires some perseverance and care when using DIY hand-tools. I like using it because it gives a deep frame for the colours in the glass to be projected onto. However, a thinner piece of wood will work well and can be significantly easier to work on.
Sketches and decisions.
Hopefully you have an idea of what you want your obelisk to look like. I have two loose groups. Formal and organic. Formal uses straight lines and organic is curves and, essentially, free-hand.
I like drawing on the wood with chalk to get a feel for how the piece will look before I commit to shaping the wood. In this case I cut the very basic shape of the wood and then sketched the pattern onto the wood for the benefit of the client – a case of confidence!
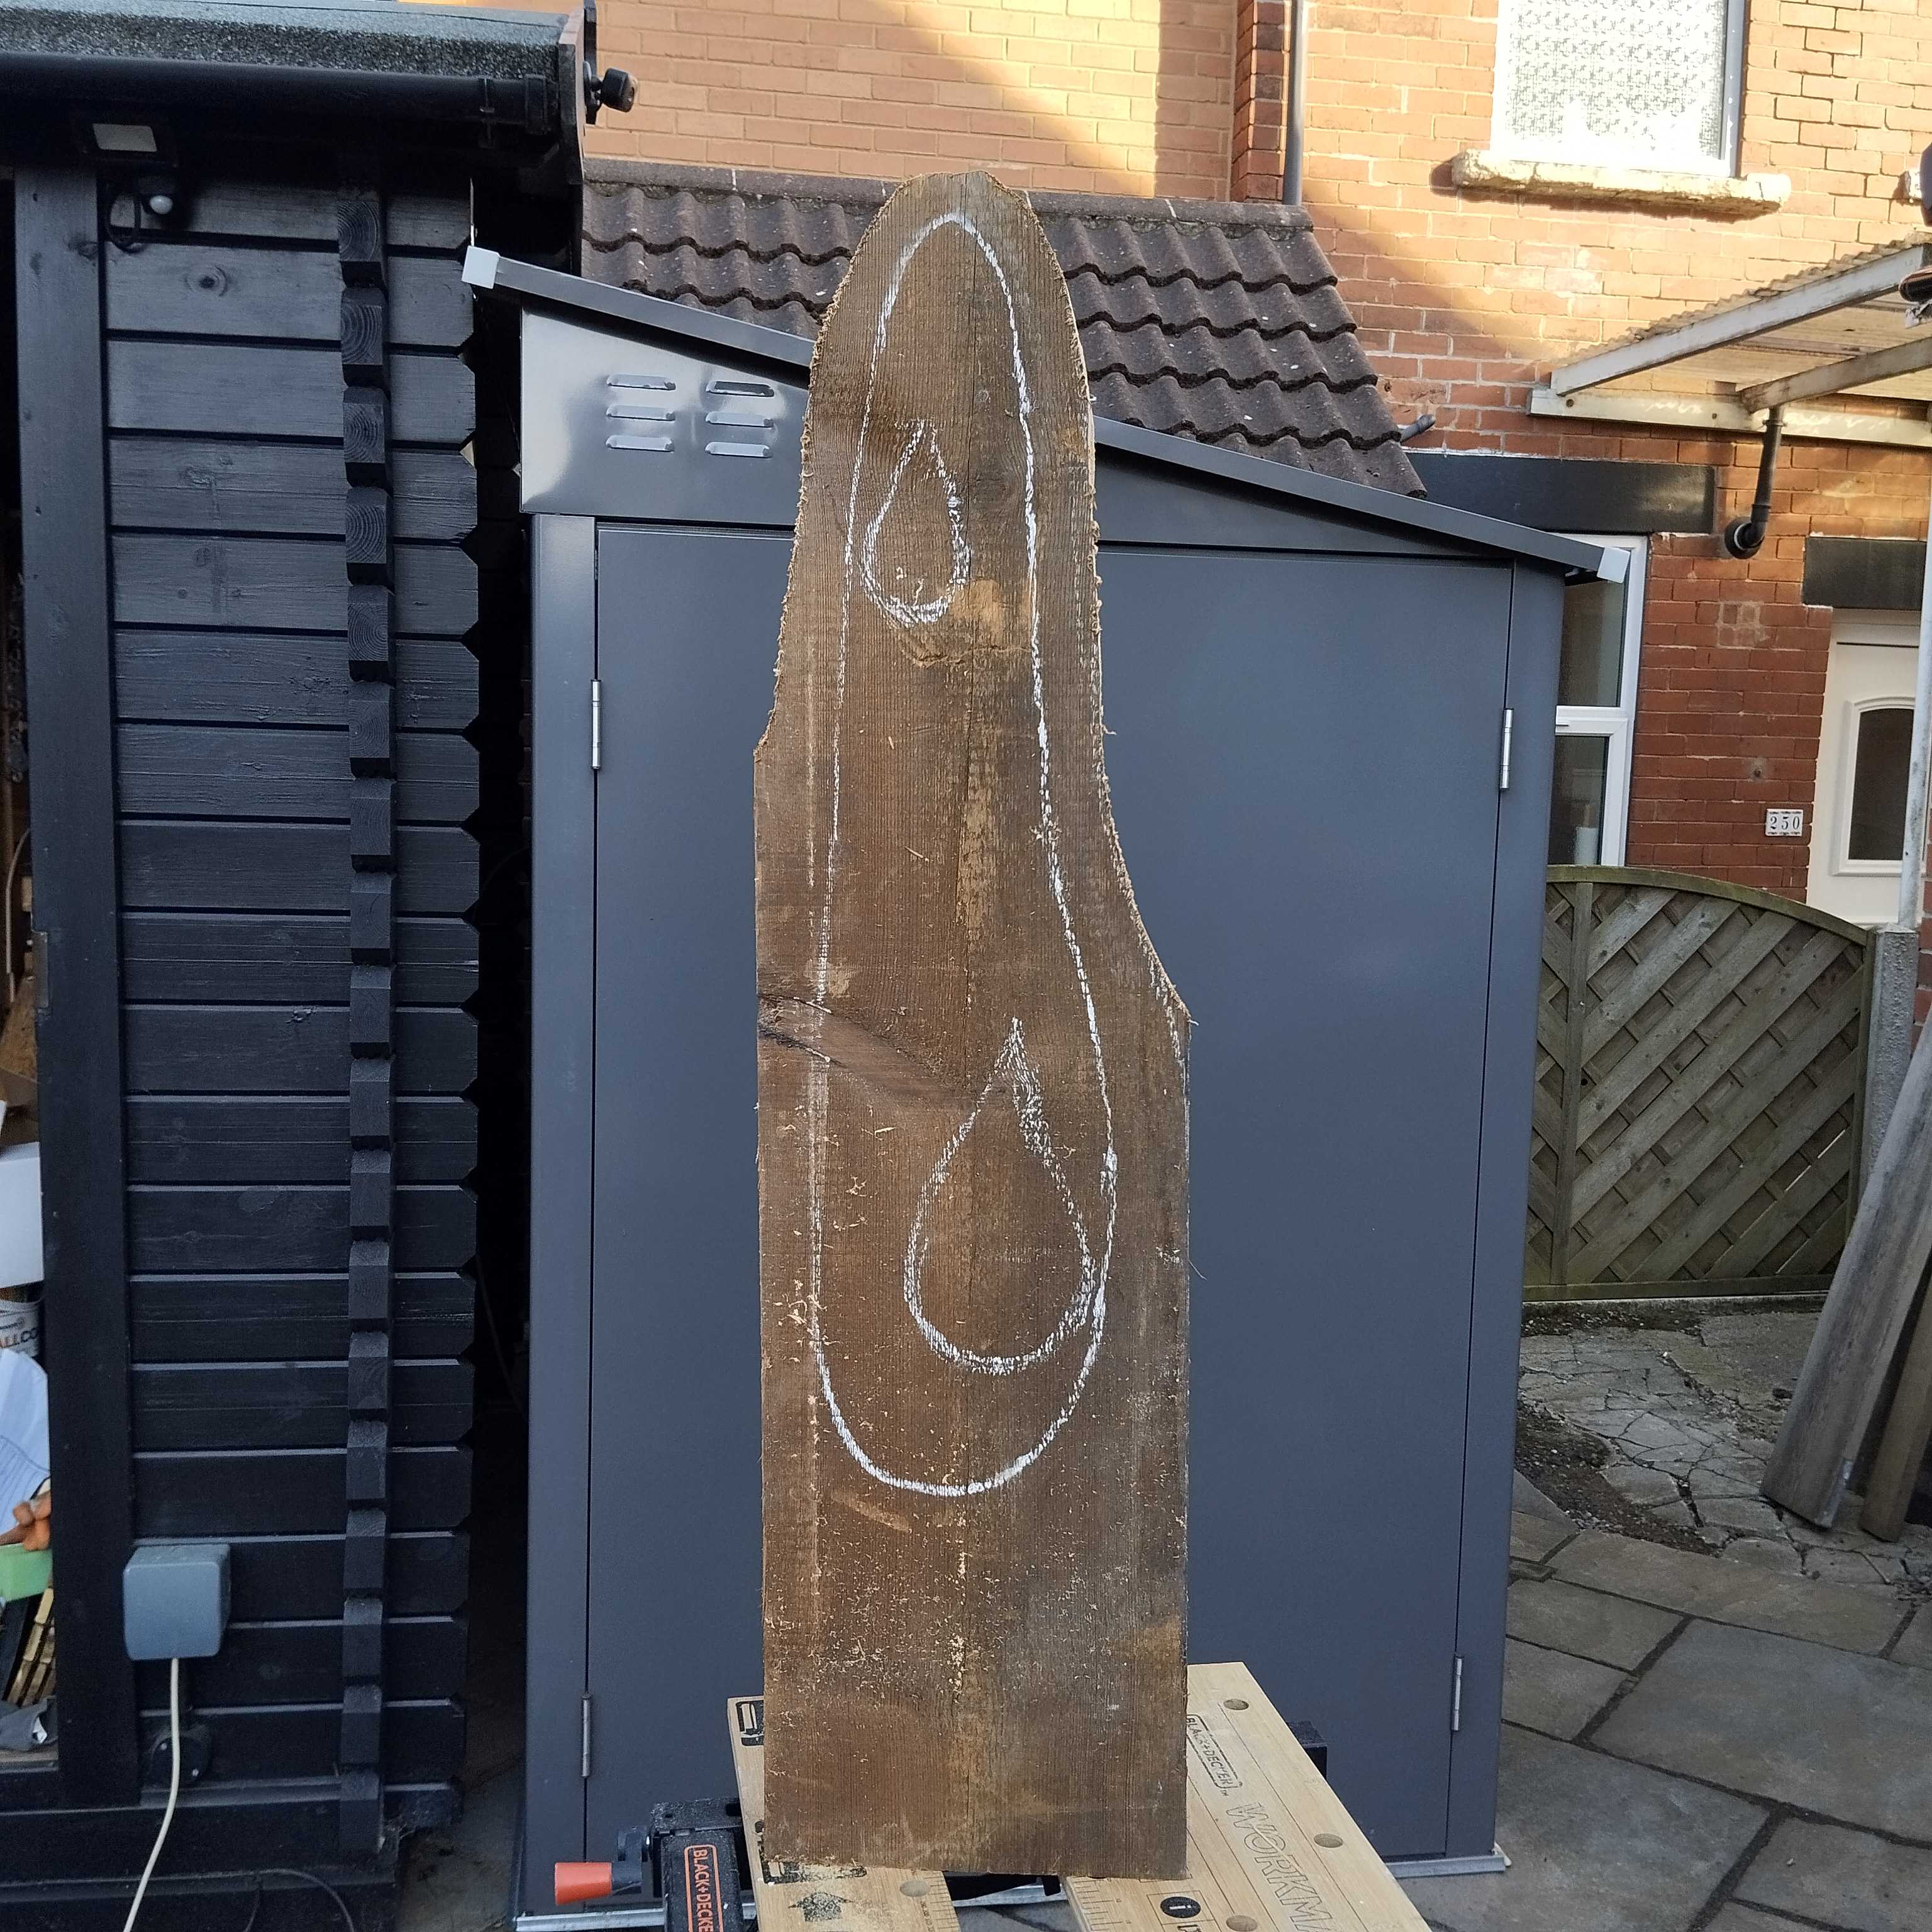
I have designed the glass and then cut the wood to suit: and I have cut the wood and then drawn the glass pattern to fit. Both work but I prefer the former!
Health and Safety.
Sawdust isn’t good for you. Aways wear a dust mask and safety glasses. Use vacuum extraction if your tools accommodate that.
Woodwork.
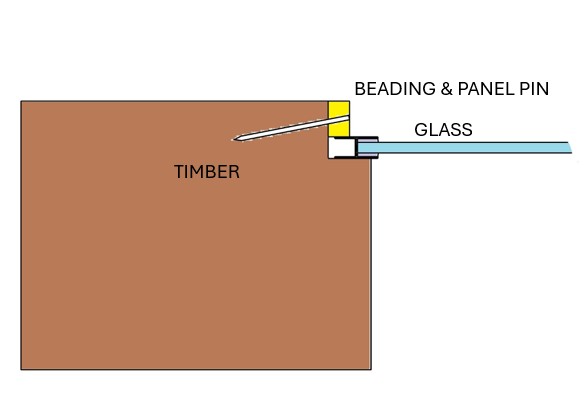
If the front face of your wood is reasonably flat/smooth then the first task is to cut the hole. I use my wood router for this. It has a collar plate that allows you to follow a template and do repeated cuts along the same lines. Using the glass pattern that you have sketched, transfer it to a sheet of ply or mdf that is slightly thicker than the collar depth on the router. Offset the edge of the pattern to suit the collar and cutter to ensure that the edge of the hole matches the visible part of the stained glass panel. See the cross-section sketch to check you have this right. I use a 12mm (1/2”) cutter.
Screw the template onto the front of the timber. Then use the router to cut a through the wood a little at a time. This method ensures that the hole has vertical sides.
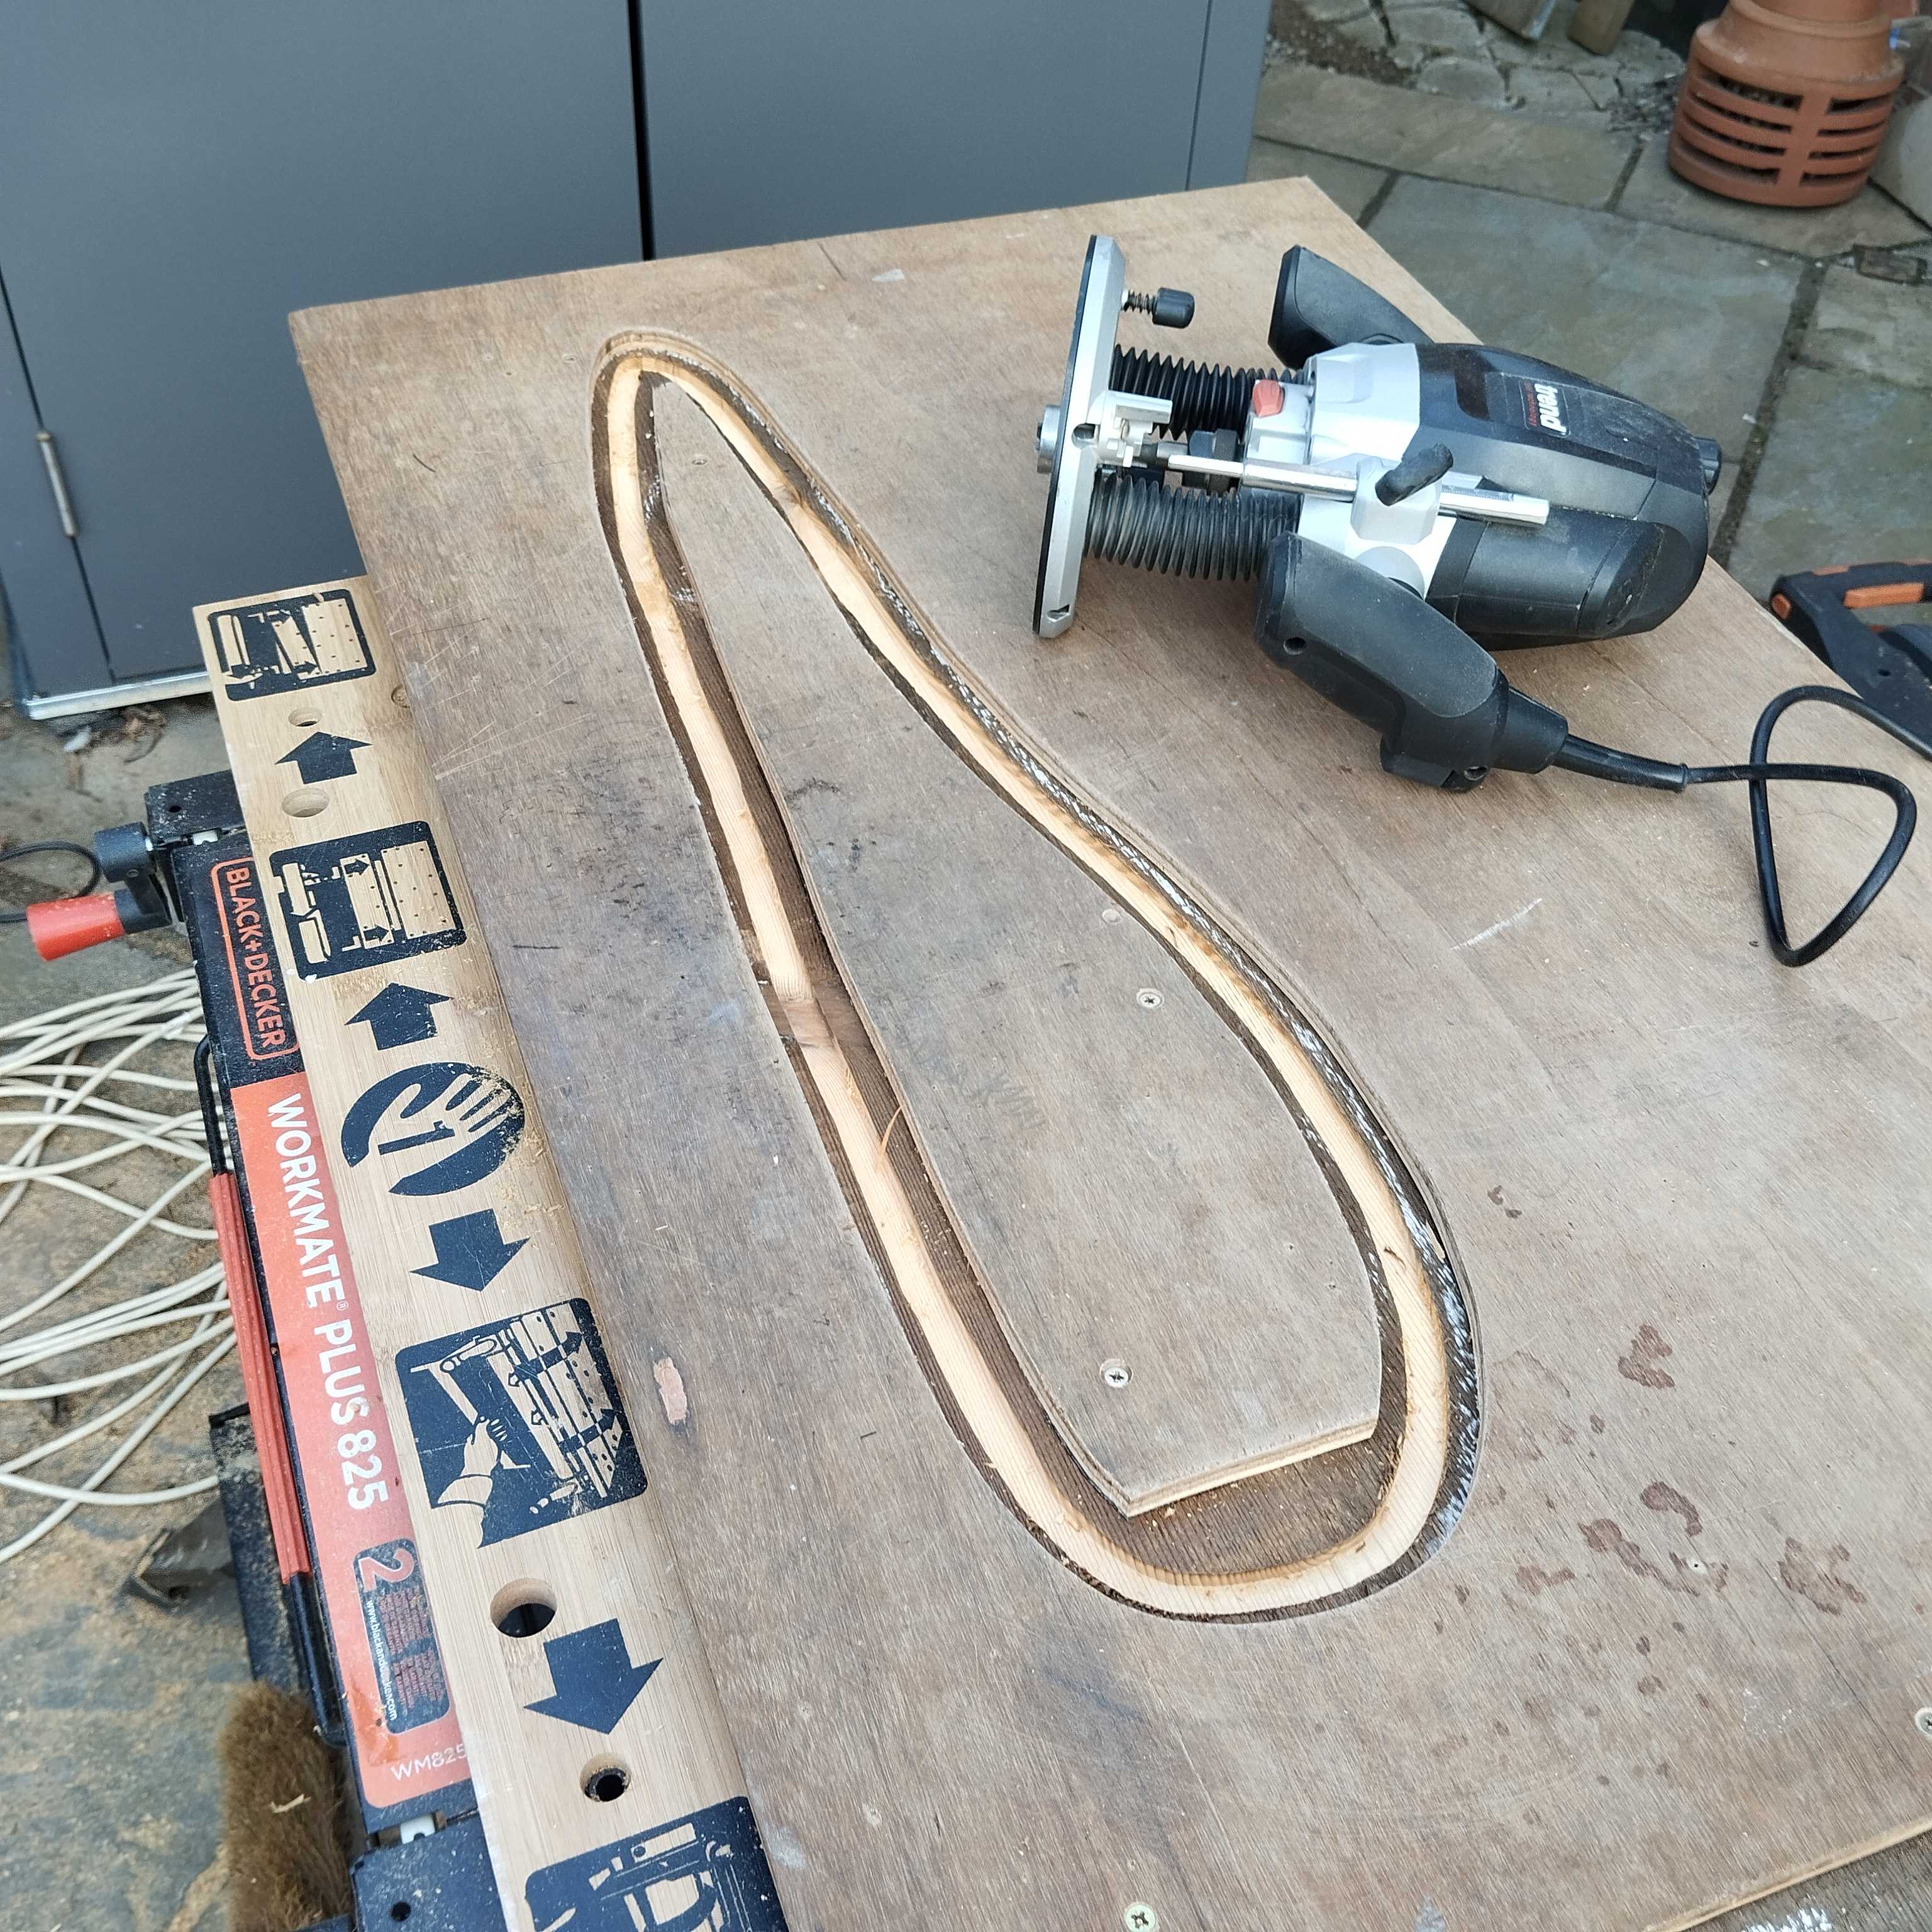
If your wood is thinner then you can use a saw. A circular saw works for straight lines (finishing corners with a hand saw) and a jigsaw can do curves. However, on a thick piece of wood the jigsaw blade has a tendency to wander, leaving you with an inaccurate hole and a very poor fit for the glass.
Once the hole is cut then you can remove the template and turn the wood over. The next step is to cut a rebate around the edge of the hole. This will provide the ‘ledge’ for the glass panel to sit on. I do this using a 12mm rebate cutter. This tool has a bearing on the bottom that follows the edge of the hole and widens it out to form the rebate. The rebate needs to give the glass panel about 2mm clearance all the way round. This allows for any expansion in the wood when it gets wet.
At this point check to ensure that you glass pattern and the rebate match!
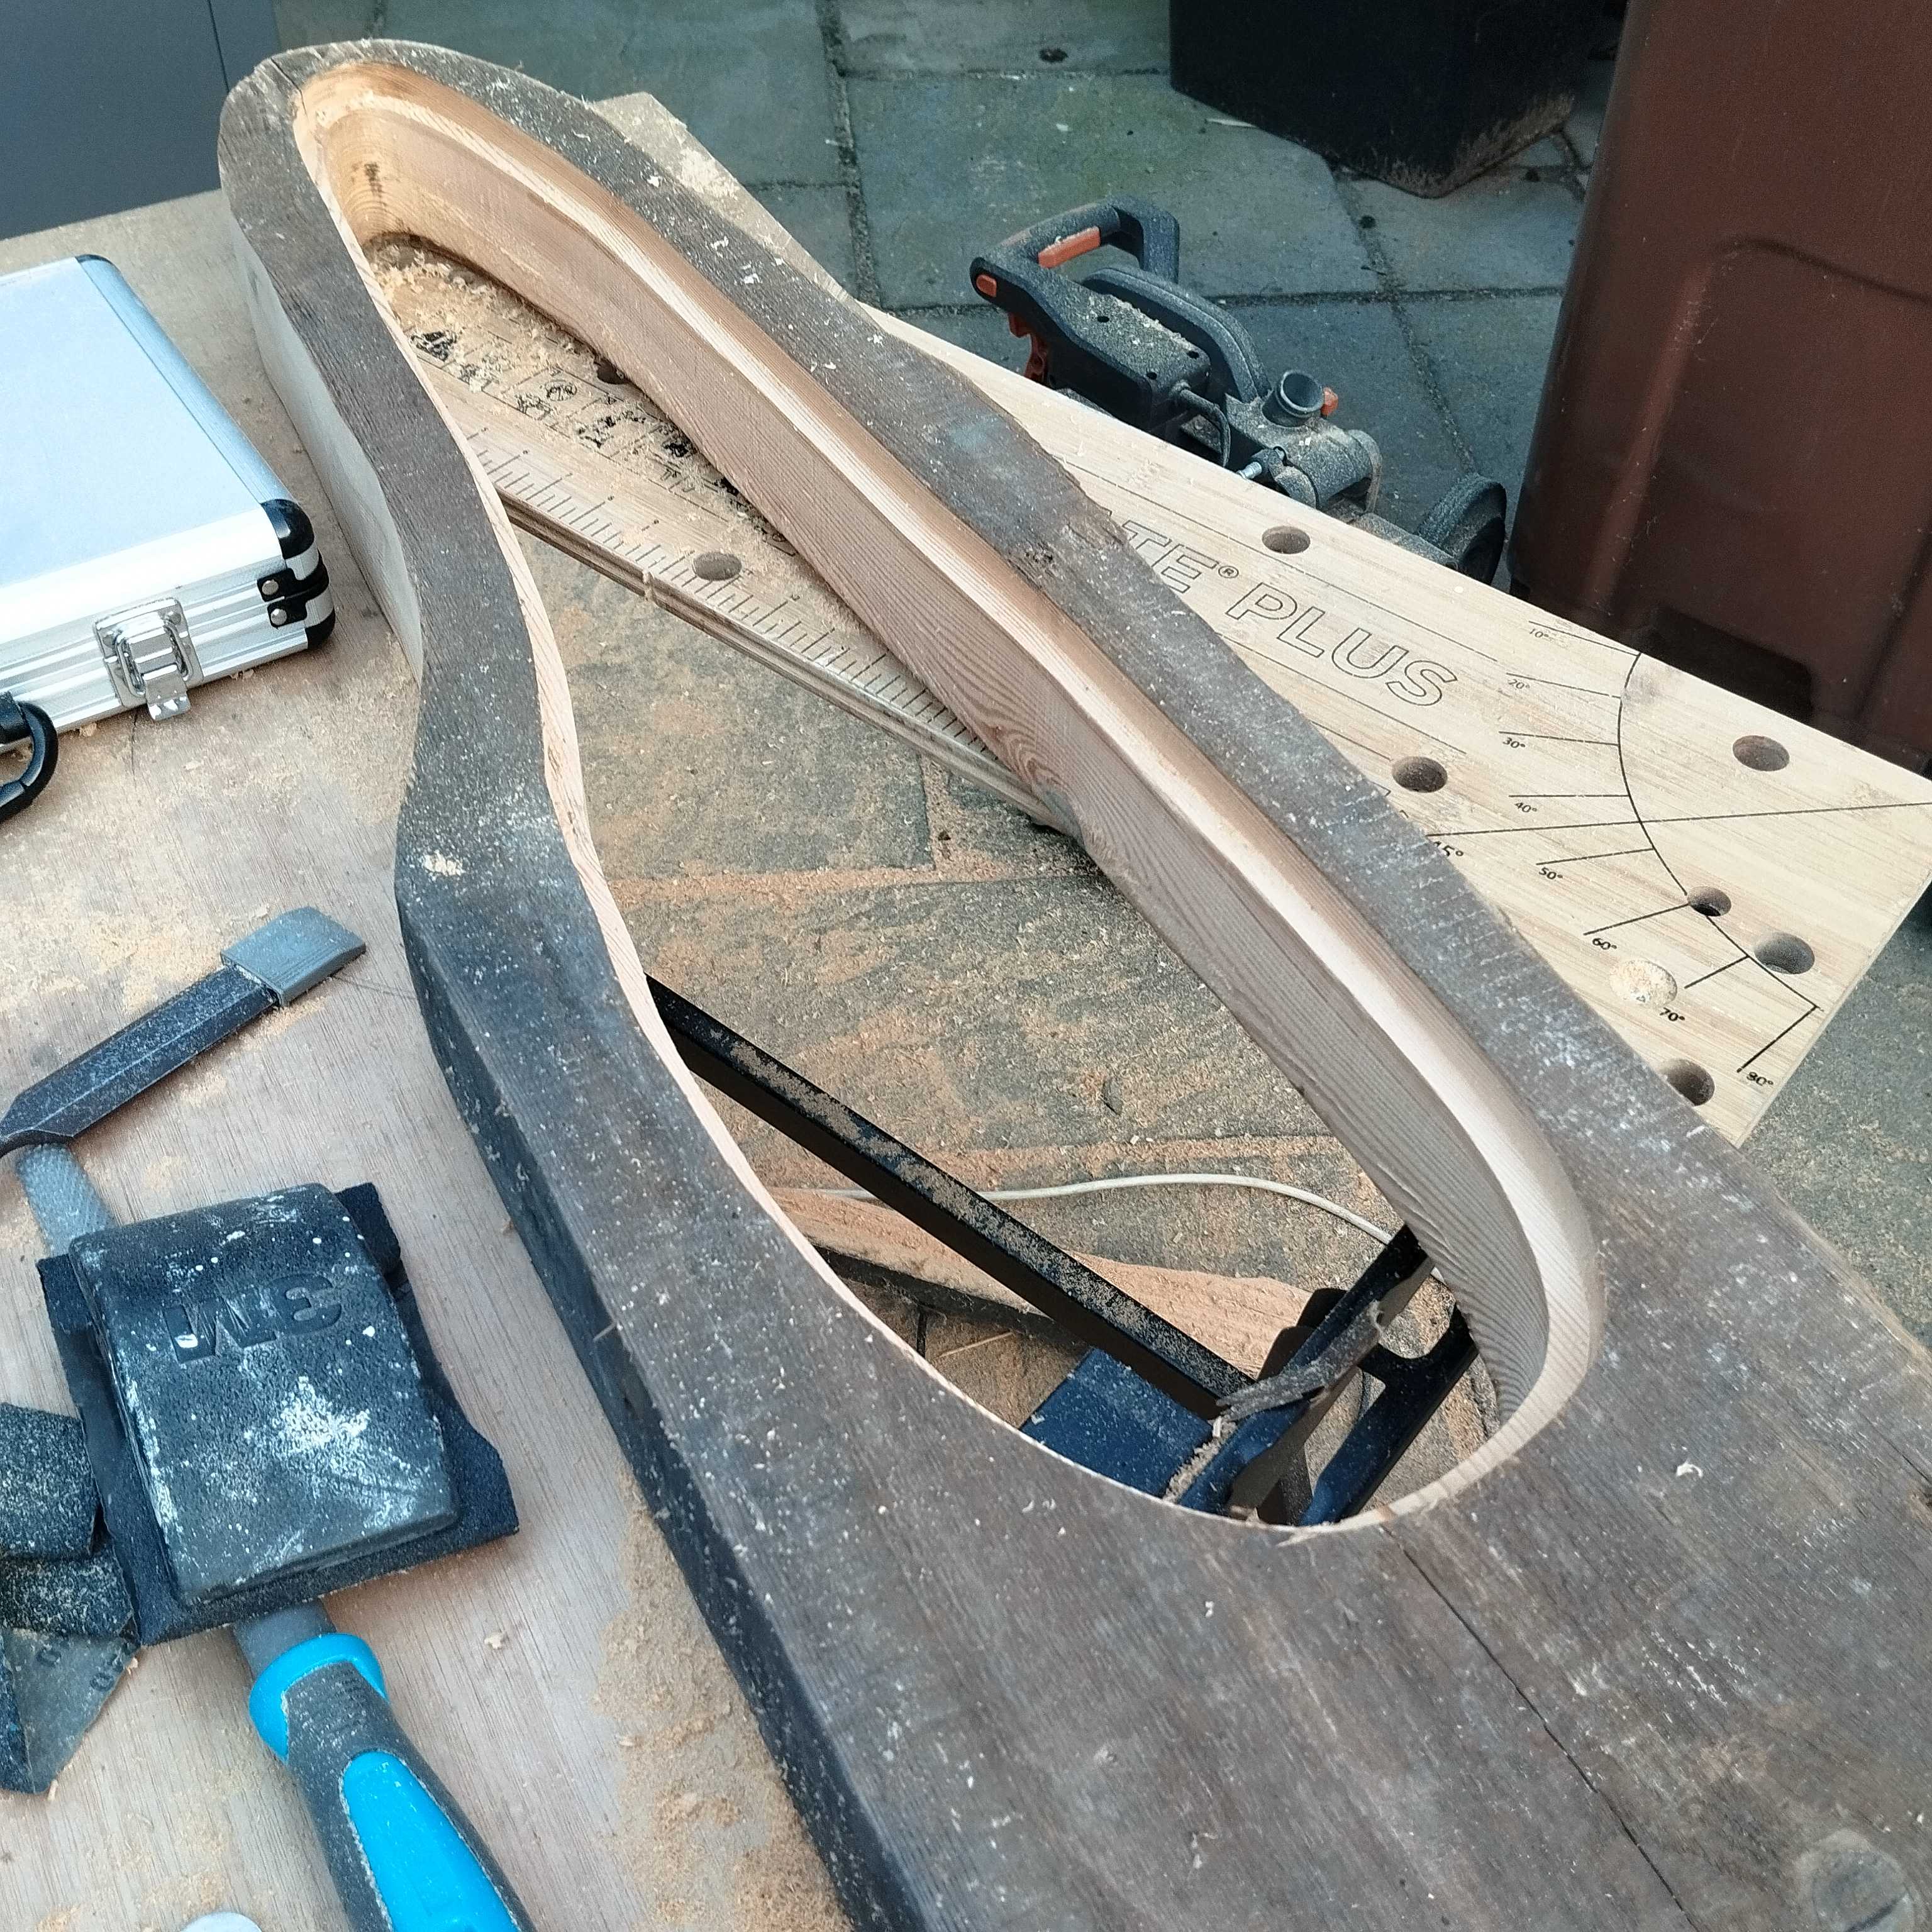
If the wood is reclaimed then some repairs may be needed.
• Nail/screw holes. I drill through the hole and then glue/hammer a length of softwood dowel through. It can be trimmed when dry. For small screw holes (from when you attached the template) simply cut some small pegs and glue/hammer them in. The aim is to leave no holes where water can sit or where insects could get into the wood.
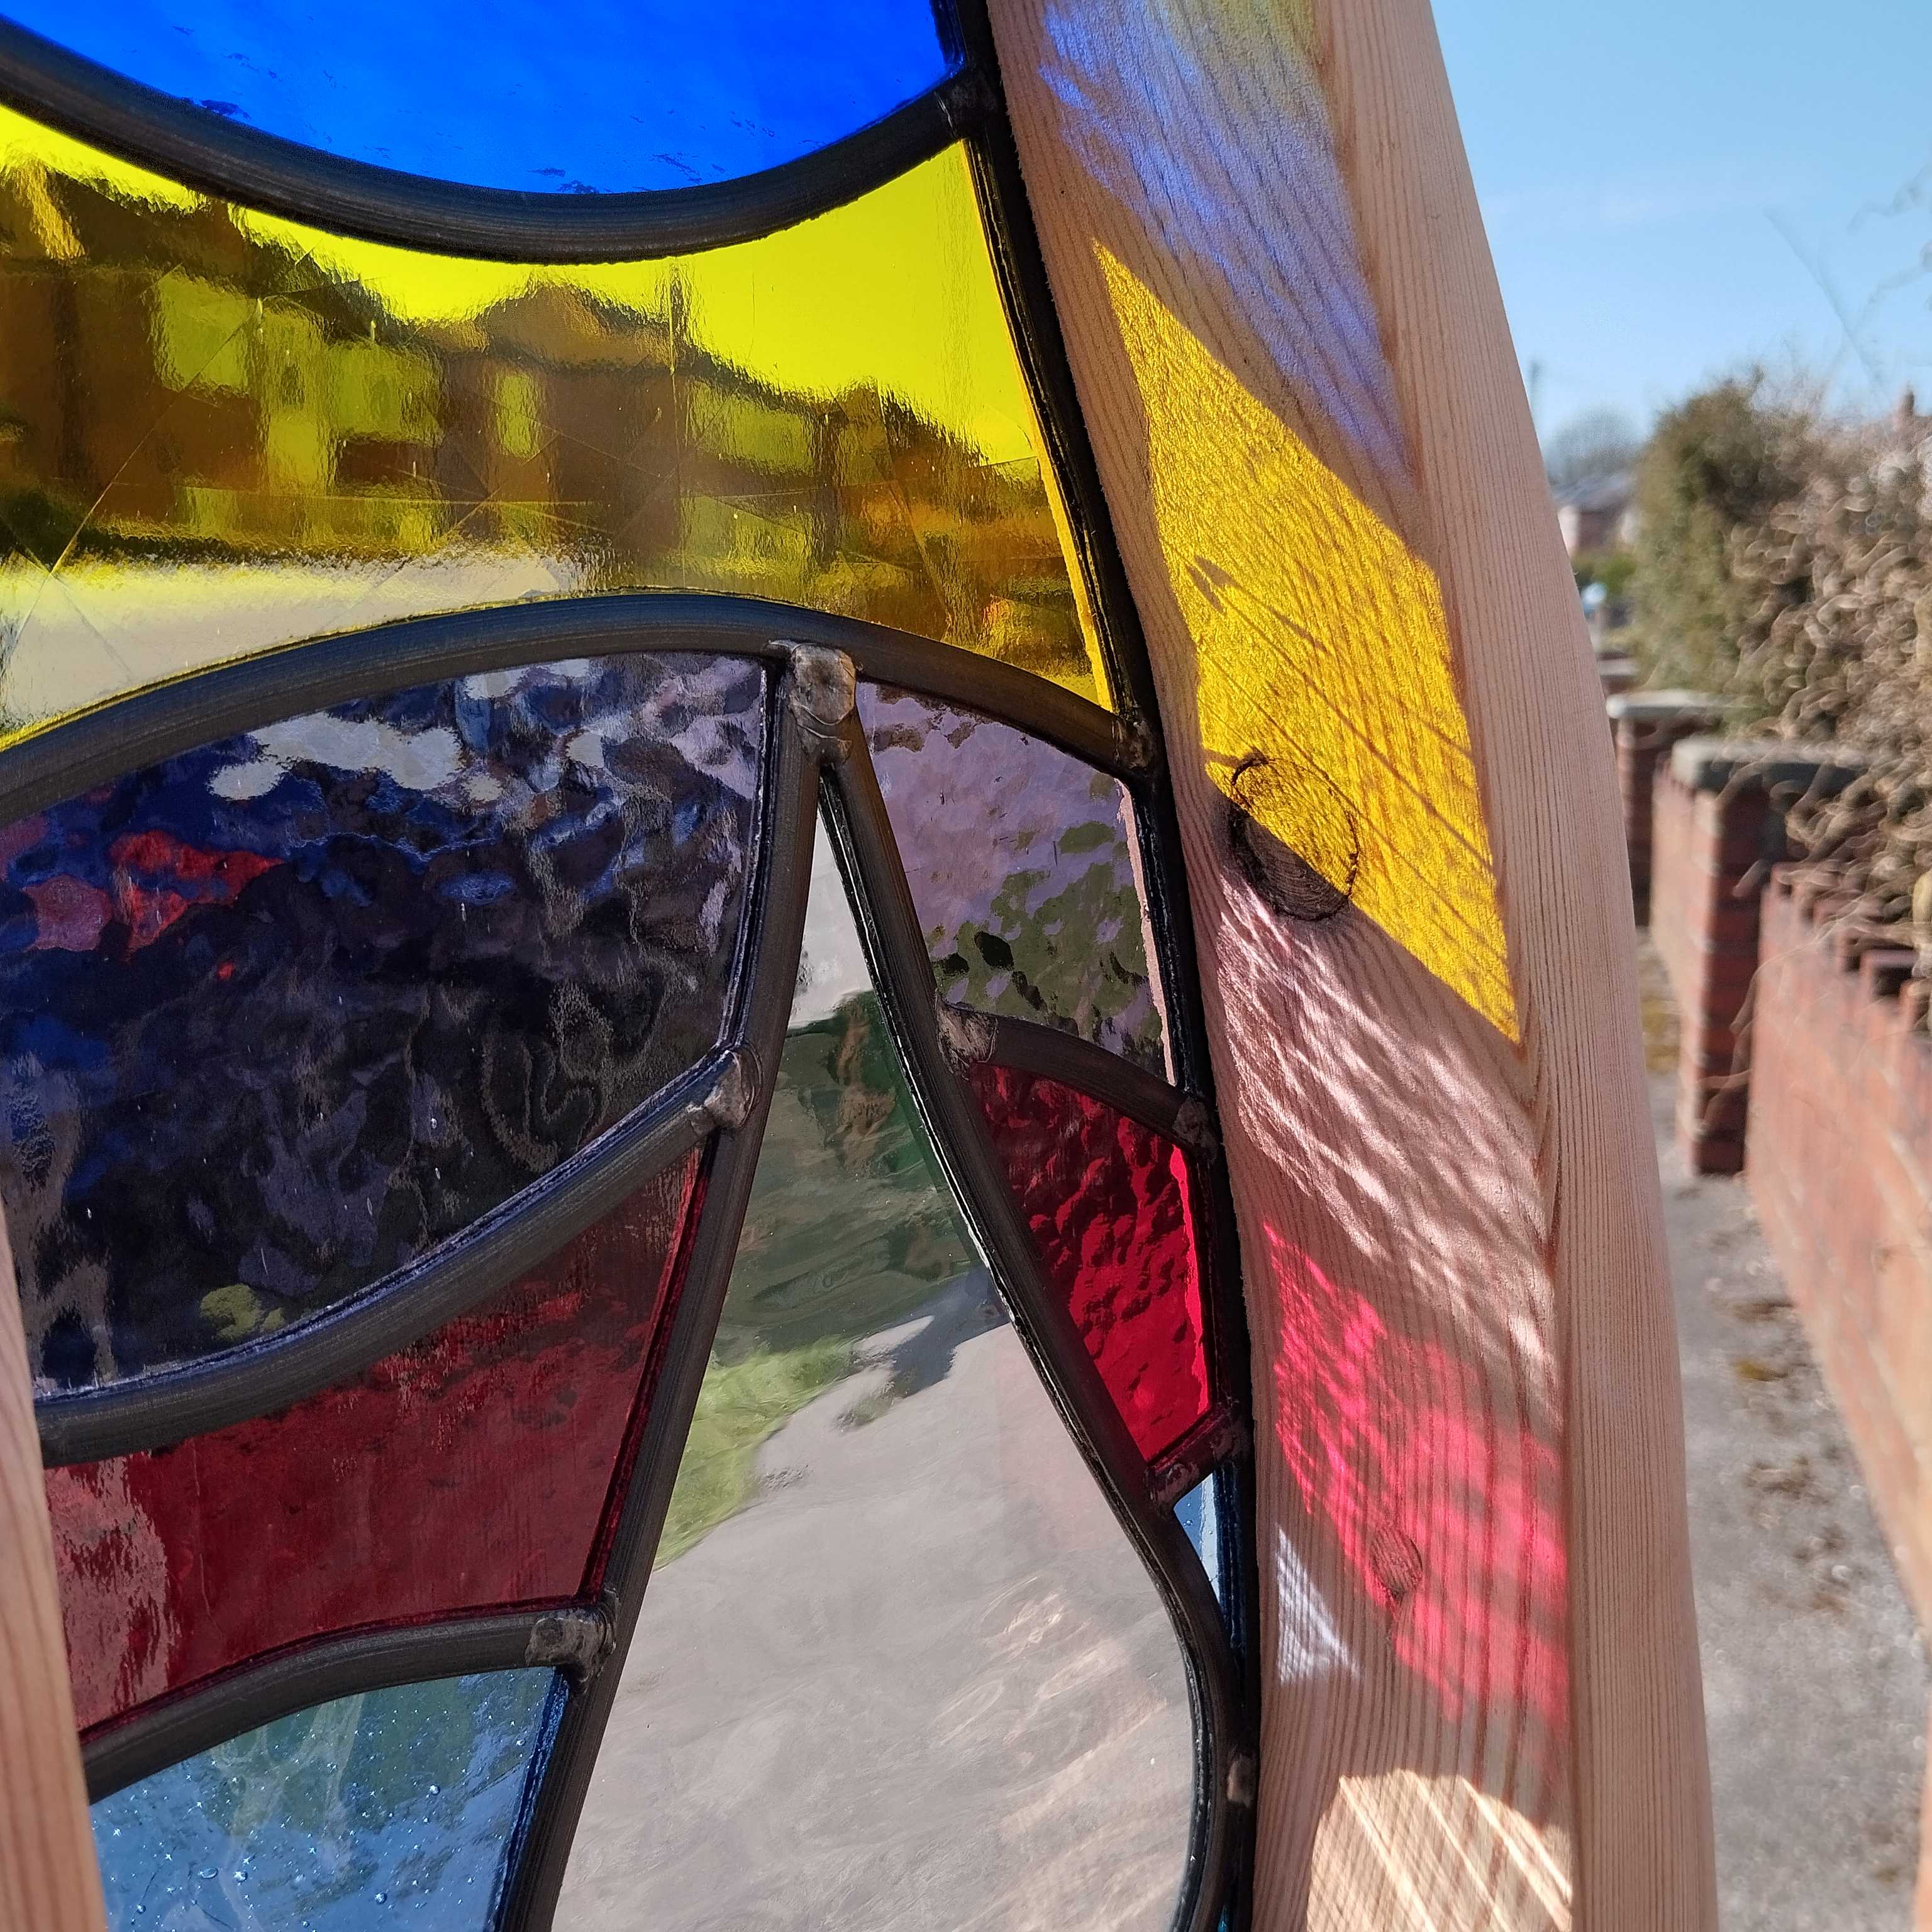
• Splits. It’s inevitable that older wood gets splits in it. They are where the grain has opened up over a short length and as long as they are not too deep they are fixable. Through trial and error I’ve now worked out that you can fill them with epoxy resin and then they stay stable into the future. Epoxy resin comes in various forms (think araldite where you mix a resin with a hardener). The slow set is like water and the five minute set is like toffee! I buy the 30 minute set variant. This is liquid enough to get into the cracks but thick enough not to soak into the wood and disappear. On a larger crack you may need to let the first application set and then top it up. The hardened epoxy will cut, sand and plane without damaging tools. When I made the oak obelisk there were cracks running right through the piece so I had to seal them with blu-tack on one side, apply epoxy from the other side and then remove the blu-tack and clean it up. It took ages!
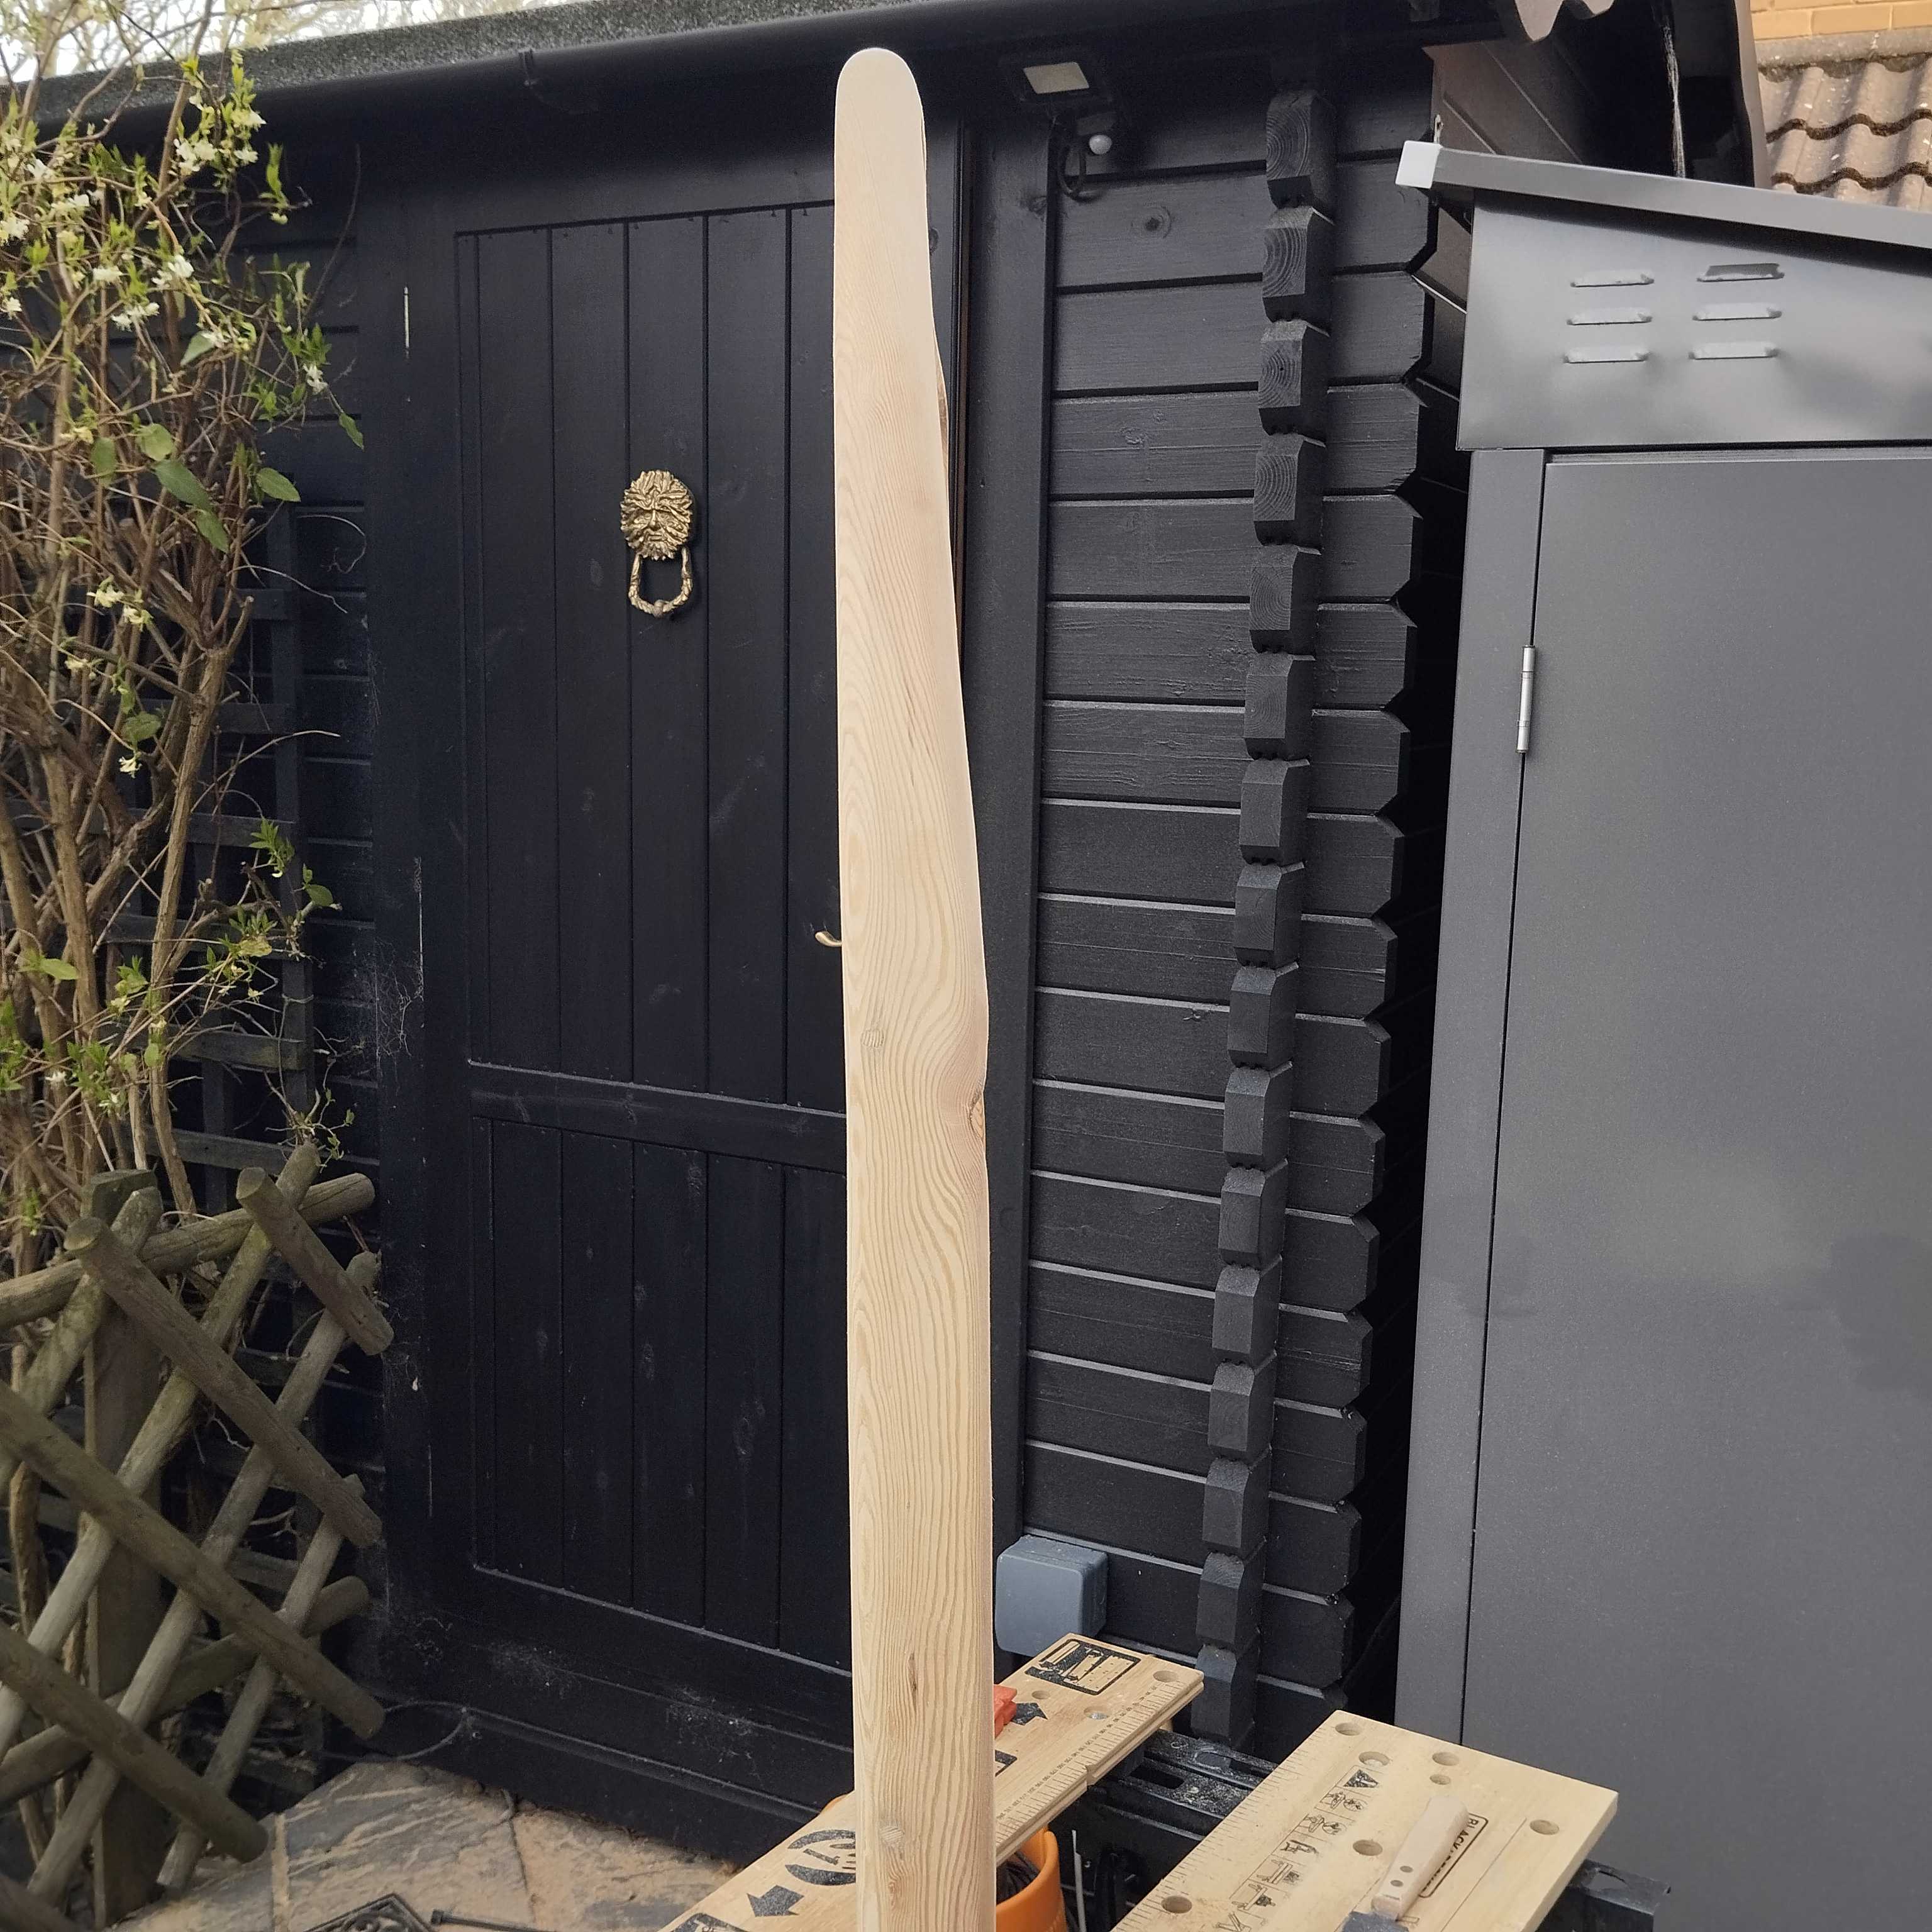
Now is the fun bit! The aim now is to shape and smooth the wood as you see fit. In my garden its all the toys out and power-tool mayhem 😊. To shape the edge of the wood I use a jig-saw and a hand saw to remove large amounts of material. I use a planer to smooth the main surfaces. Keep the back reasonably flat and do not remove too much material because the rebate needs to maintain the depth already cut but feel free to thin it from the front. For smoothing/shaping corners etc, I use flap-wheels on an angle-grinder. This is quick but very messy! A coarse wheel removes material very quickly so be careful! You can use progressively smoother flap wheels and sandpapers, by hand or using a power-sander, to shape and smooth the wood as you desire.
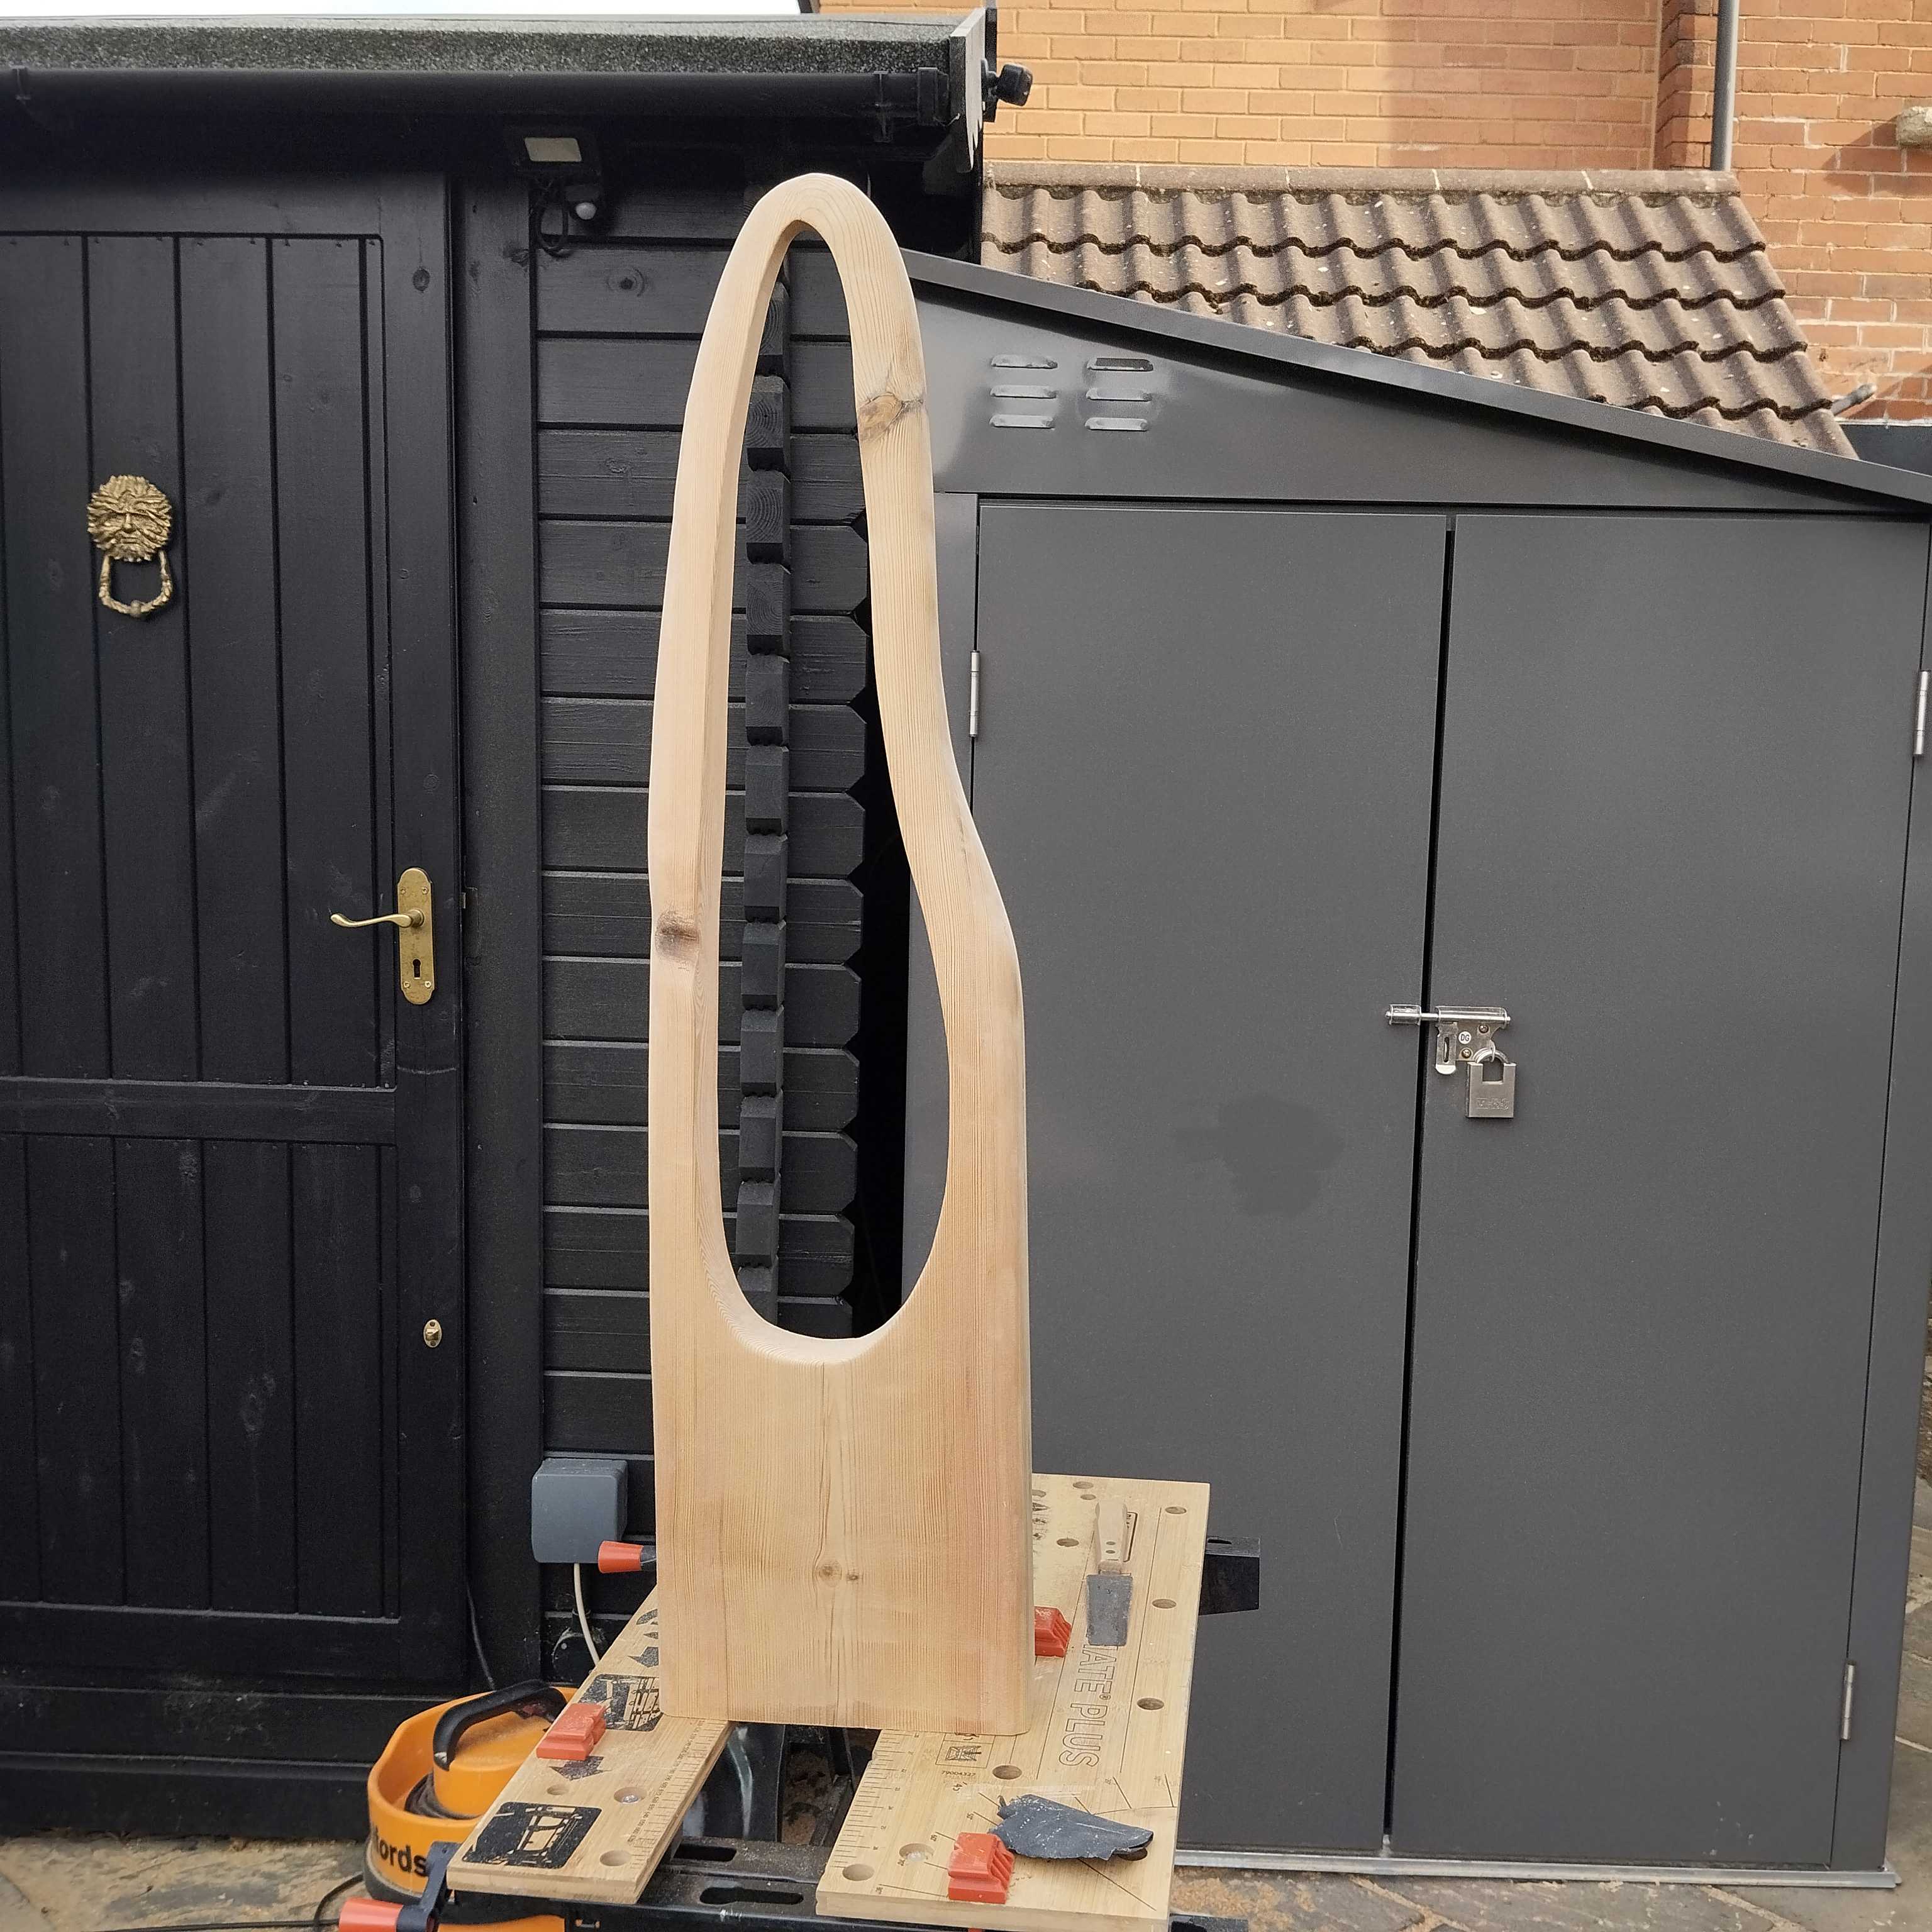
Feel free to reduce the thickness of the timber towards the top, too.
Protecting the Wood and Making a Base.
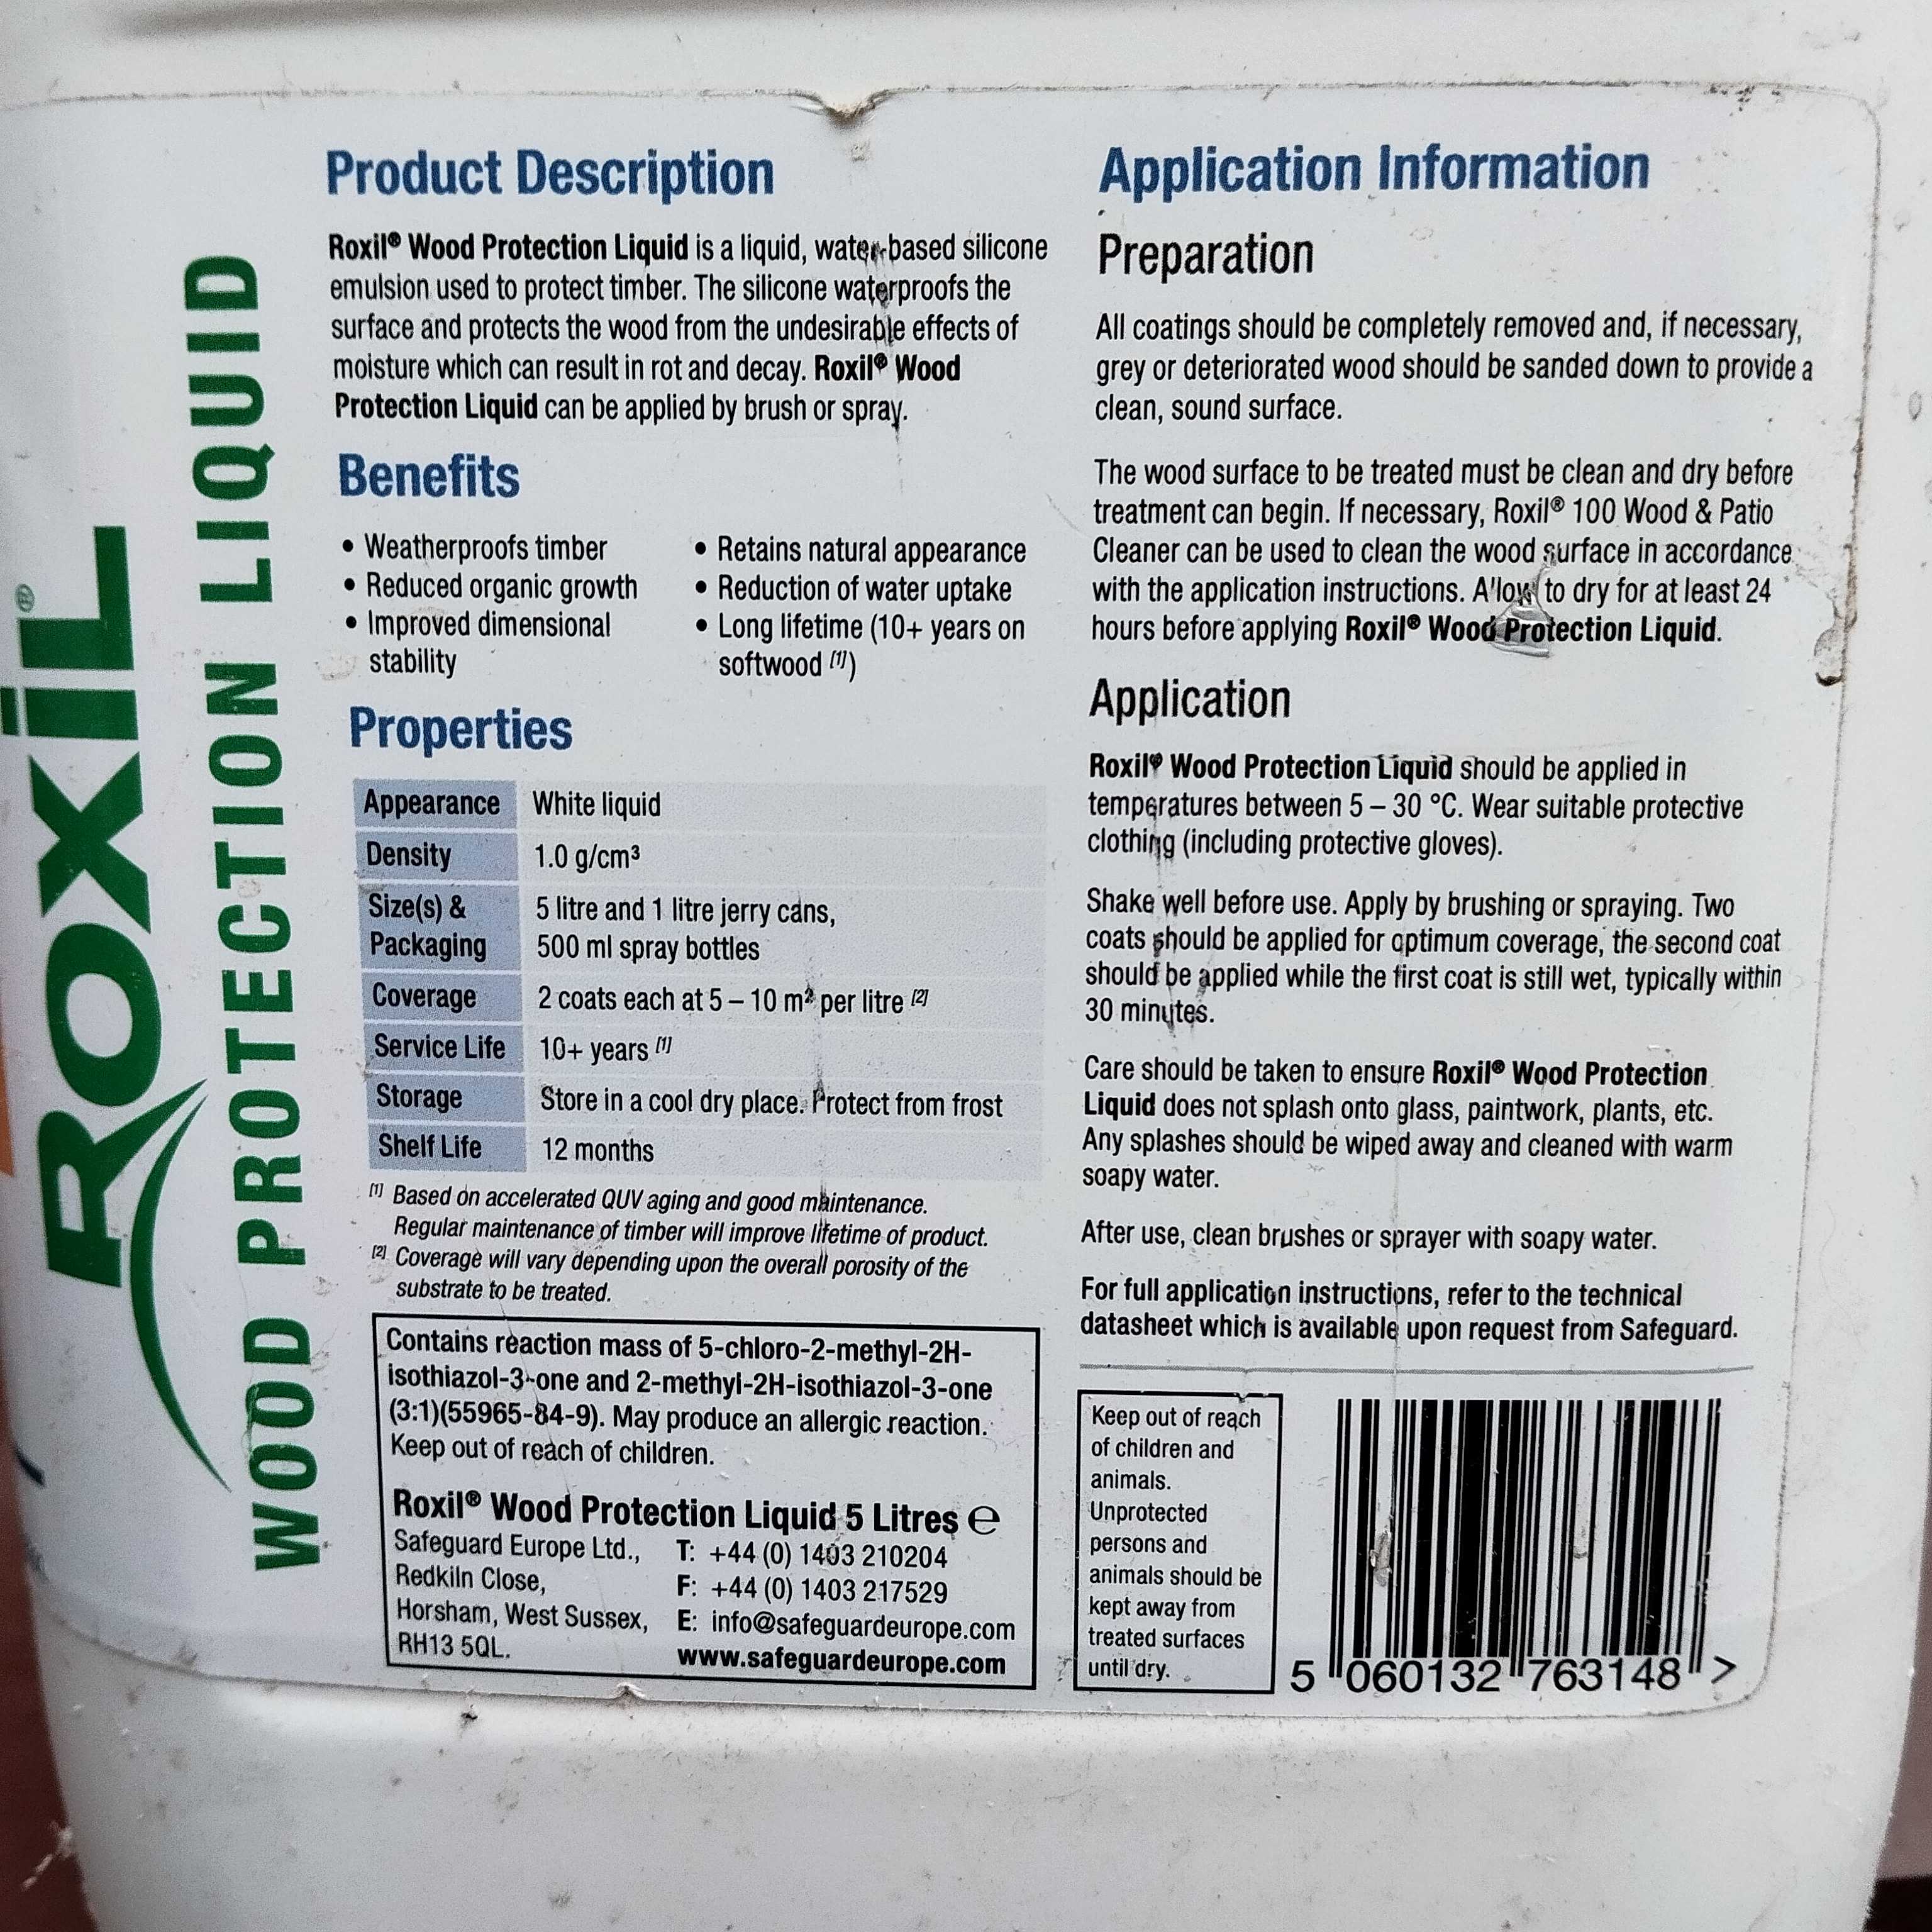
If your timber has been treated against fungal and insect attack then that’s it. If not then you can choose to treat it as you wish. I use a water-based wood waterproofing ‘paint’. You put a couple of coats on, the second whilst the first is still wet, and this helps the wood repel water when outside.
You need to be aware that wood in the garden will, eventually, rot. The life of the wood can be extended by keeping it off the ground. I offer two choices for this:
• Keep the obelisk free-standing on a base. This allows it to be moved as you wish (good for standing on a patio). It does need to be put somewhere safe if high winds are forecast.
• Fix the obelisk to a concrete base. This is easier than it sounds!
Either way, it’s something you need to consider.
Note that I have two obelisks in my garden. One has been ‘planted’ (like a fence post) for 5 years with no issues. The other was planted but when it started to decay at the base I took it out, cut the rotten wood off and then set it on a base. Don’t be too precious about the inevitable = you can always remove the glass panel and set it into new wood!!
Stained Glass
Go and do the bit you really like – turn your pattern into a leaded stained glass panel 😊
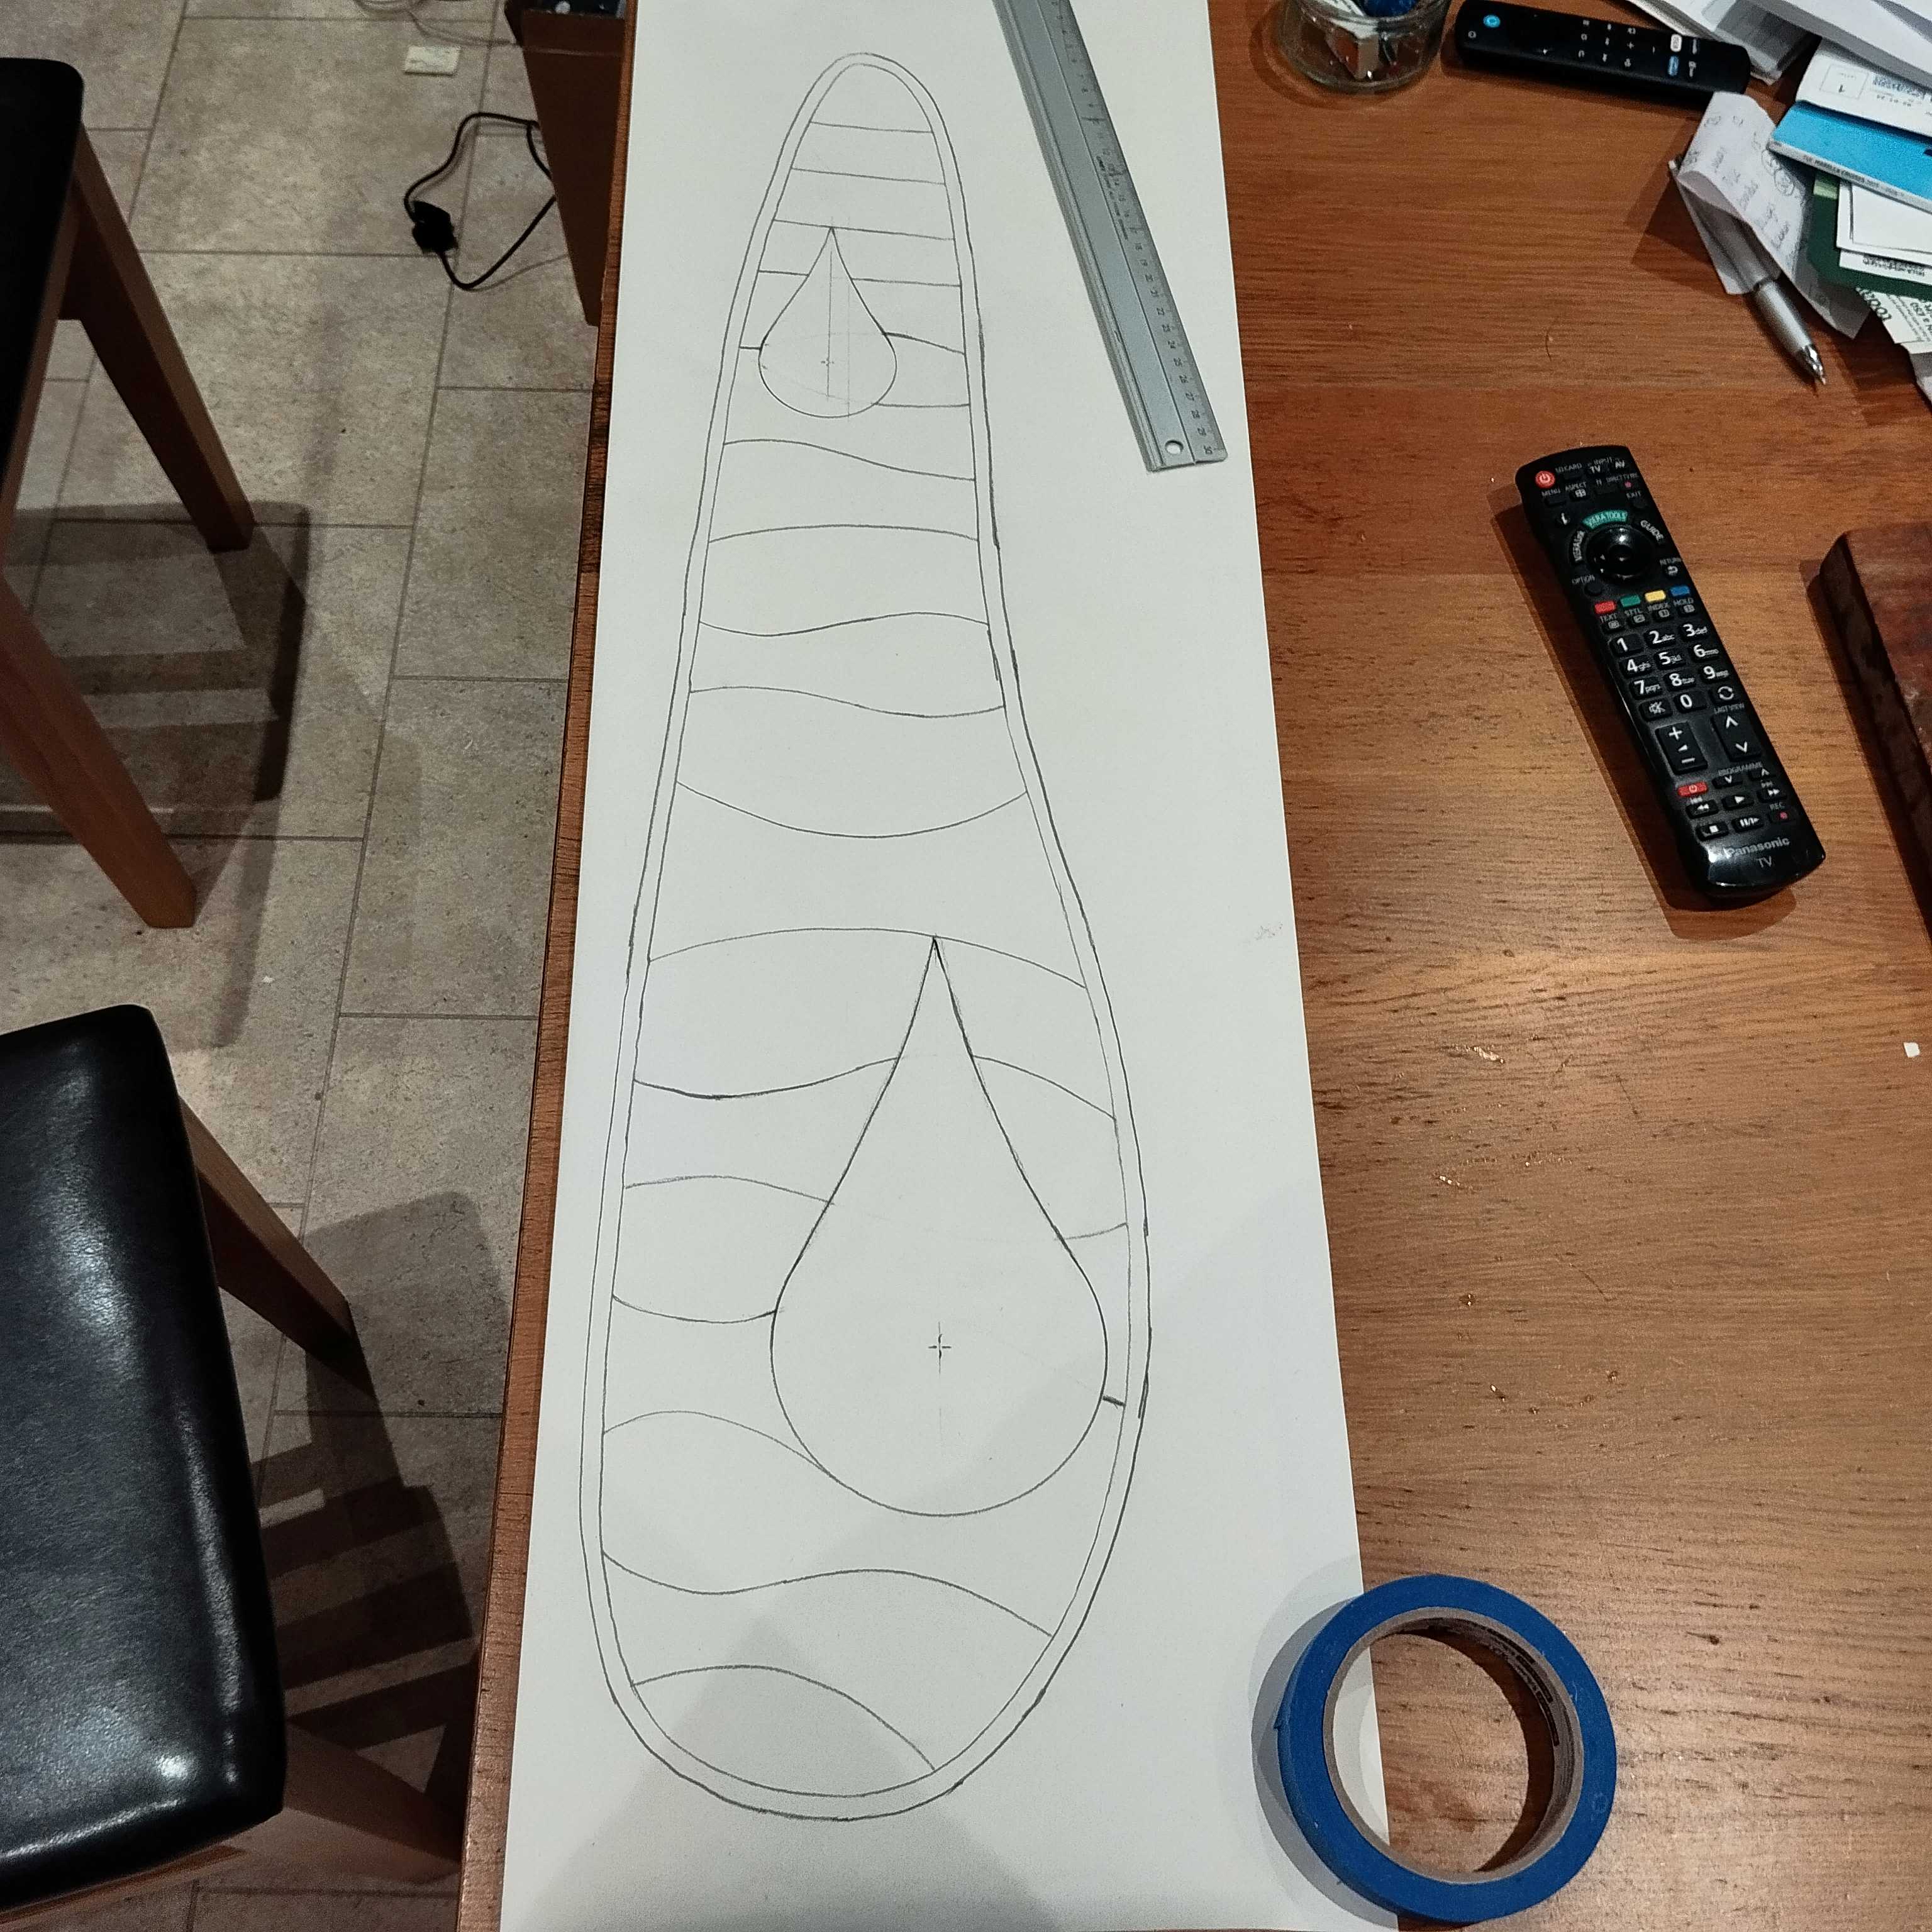
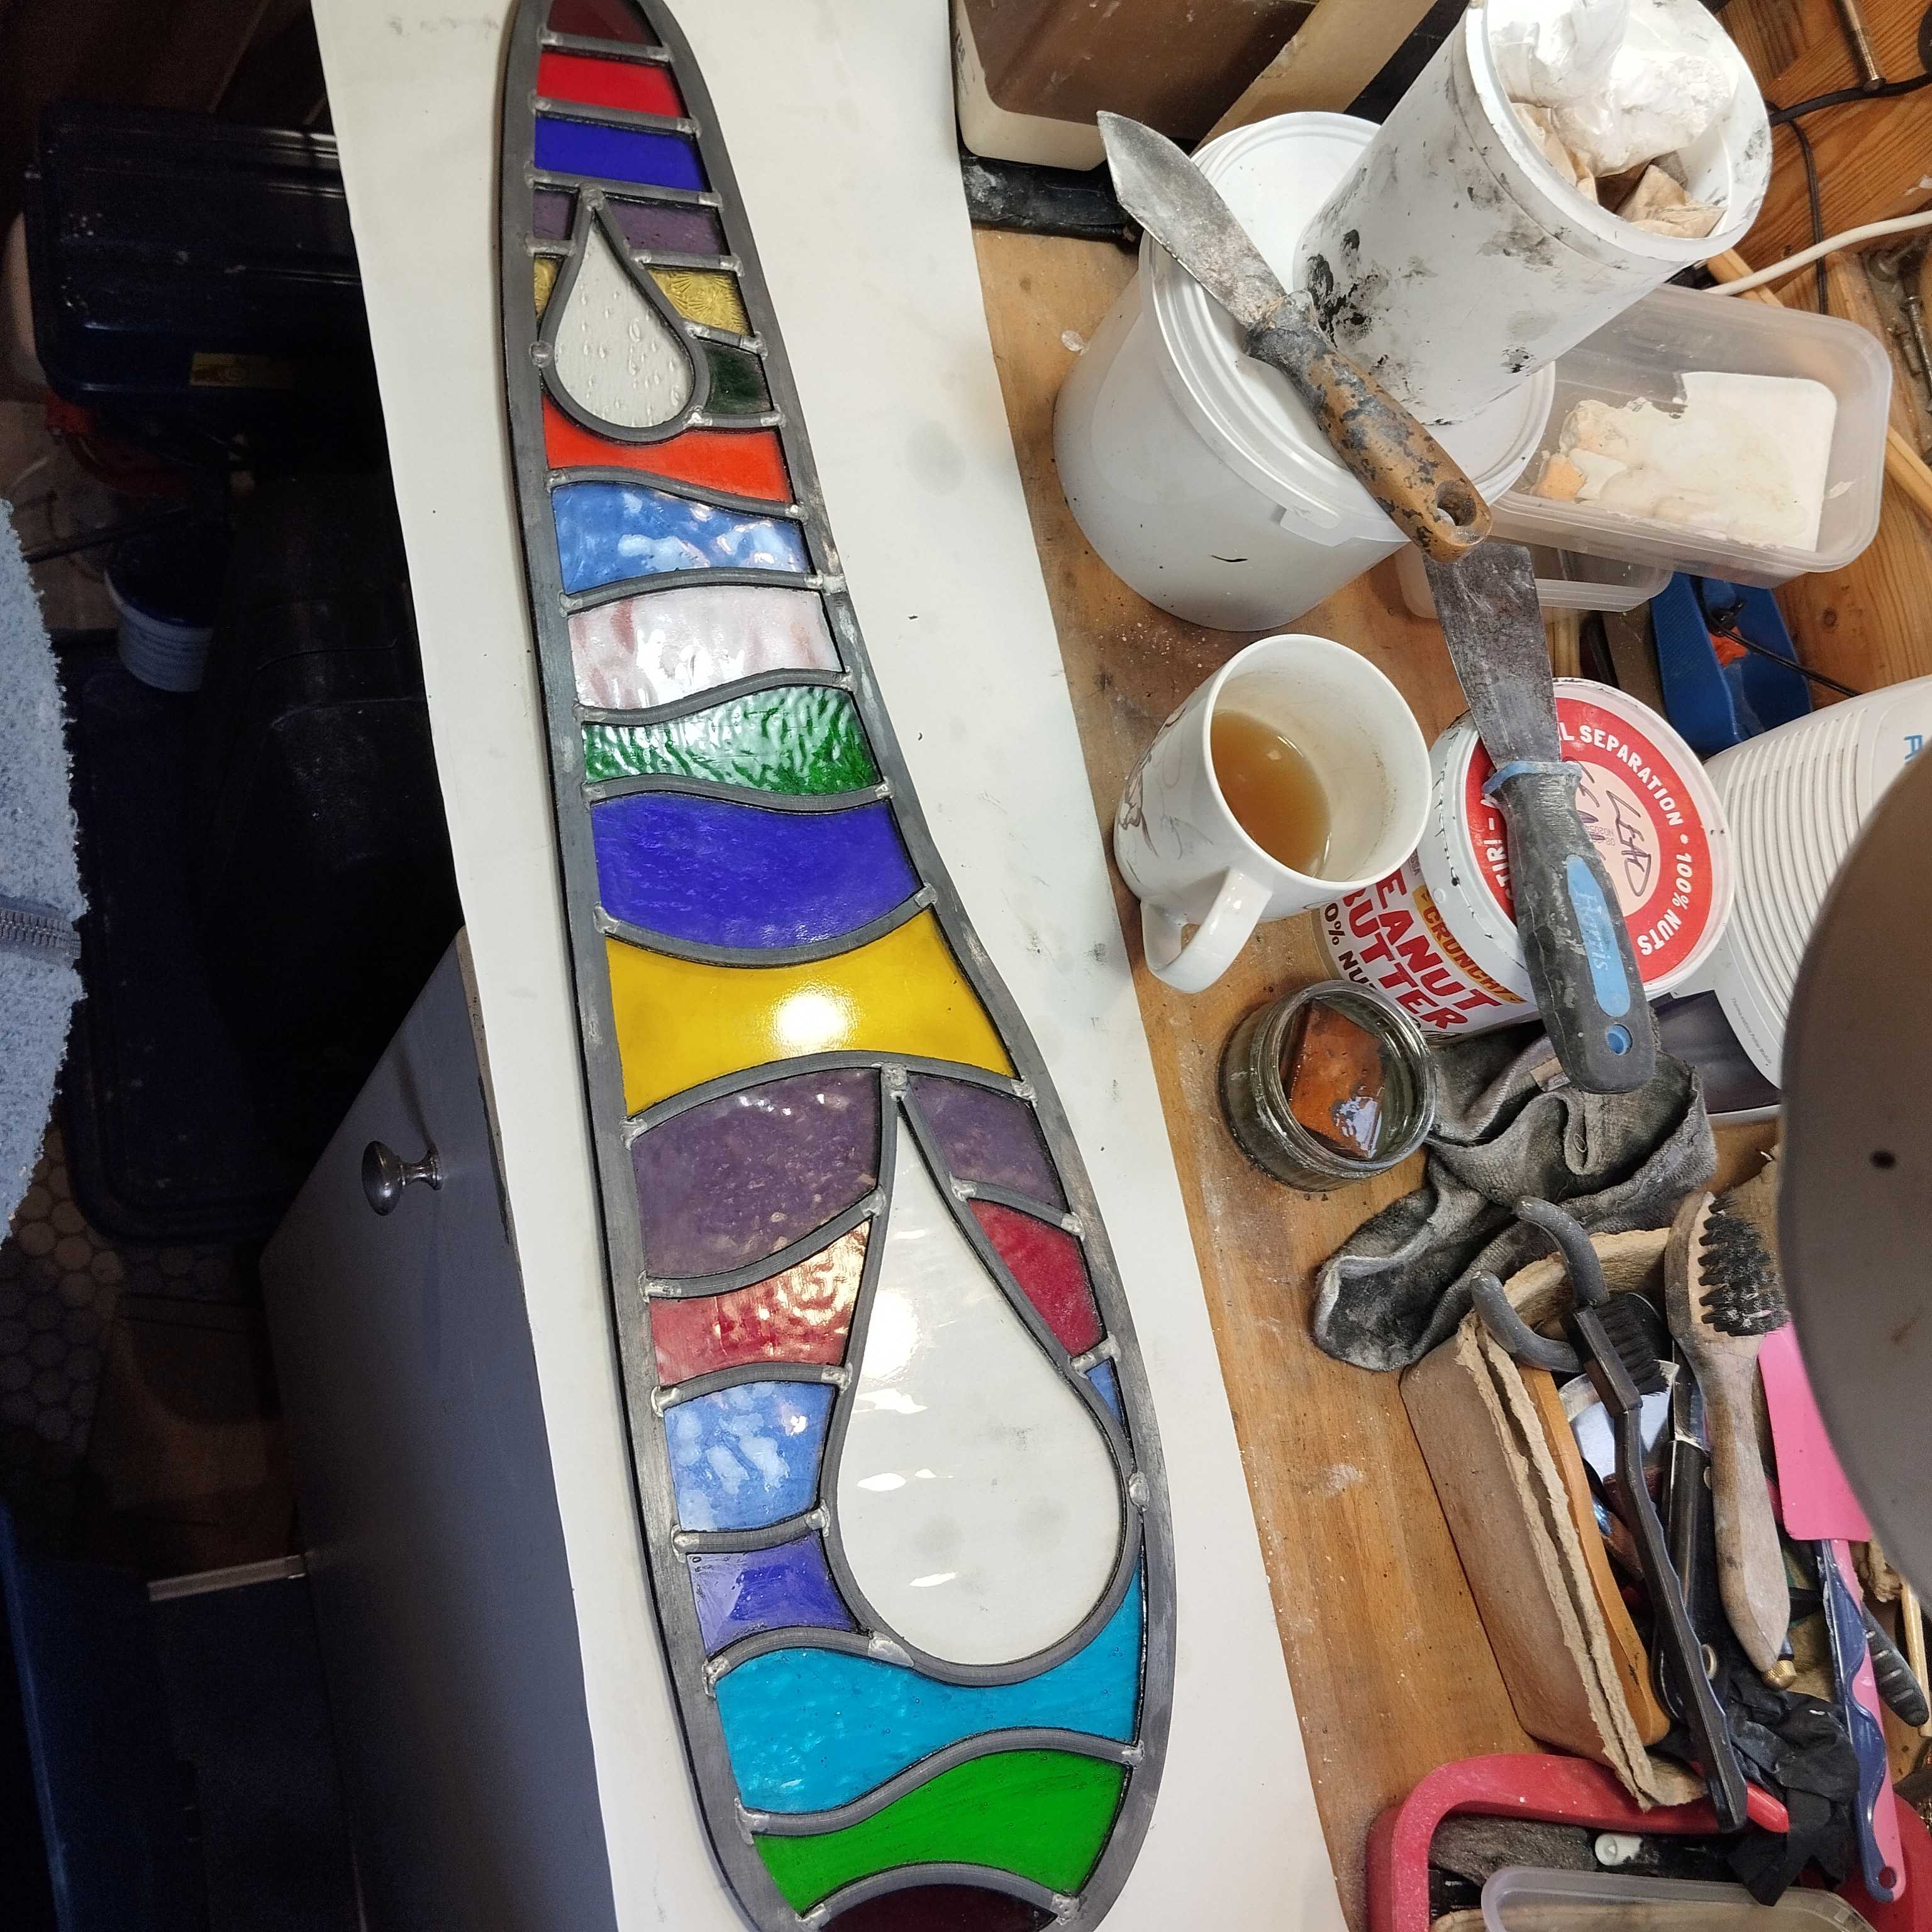
When it’s all done, cemented, cleaned etc, you can fit it to the obelisk!
Fitting the glass
Lay the obelisk face down. Carefully lay your panel into the rebate. If you have cut correctly, patterned properly and built it accurately then it will drop straight in!
There are a couple of ways to fix the glass in place:
You can pin the panel in place using stainless steel panel pins and then run a bead of silicon all the way round. Personally, I find it very difficult to get this looking neat and I suspect that using silicon may not be very long-lived on an obelisk that stays in the garden.
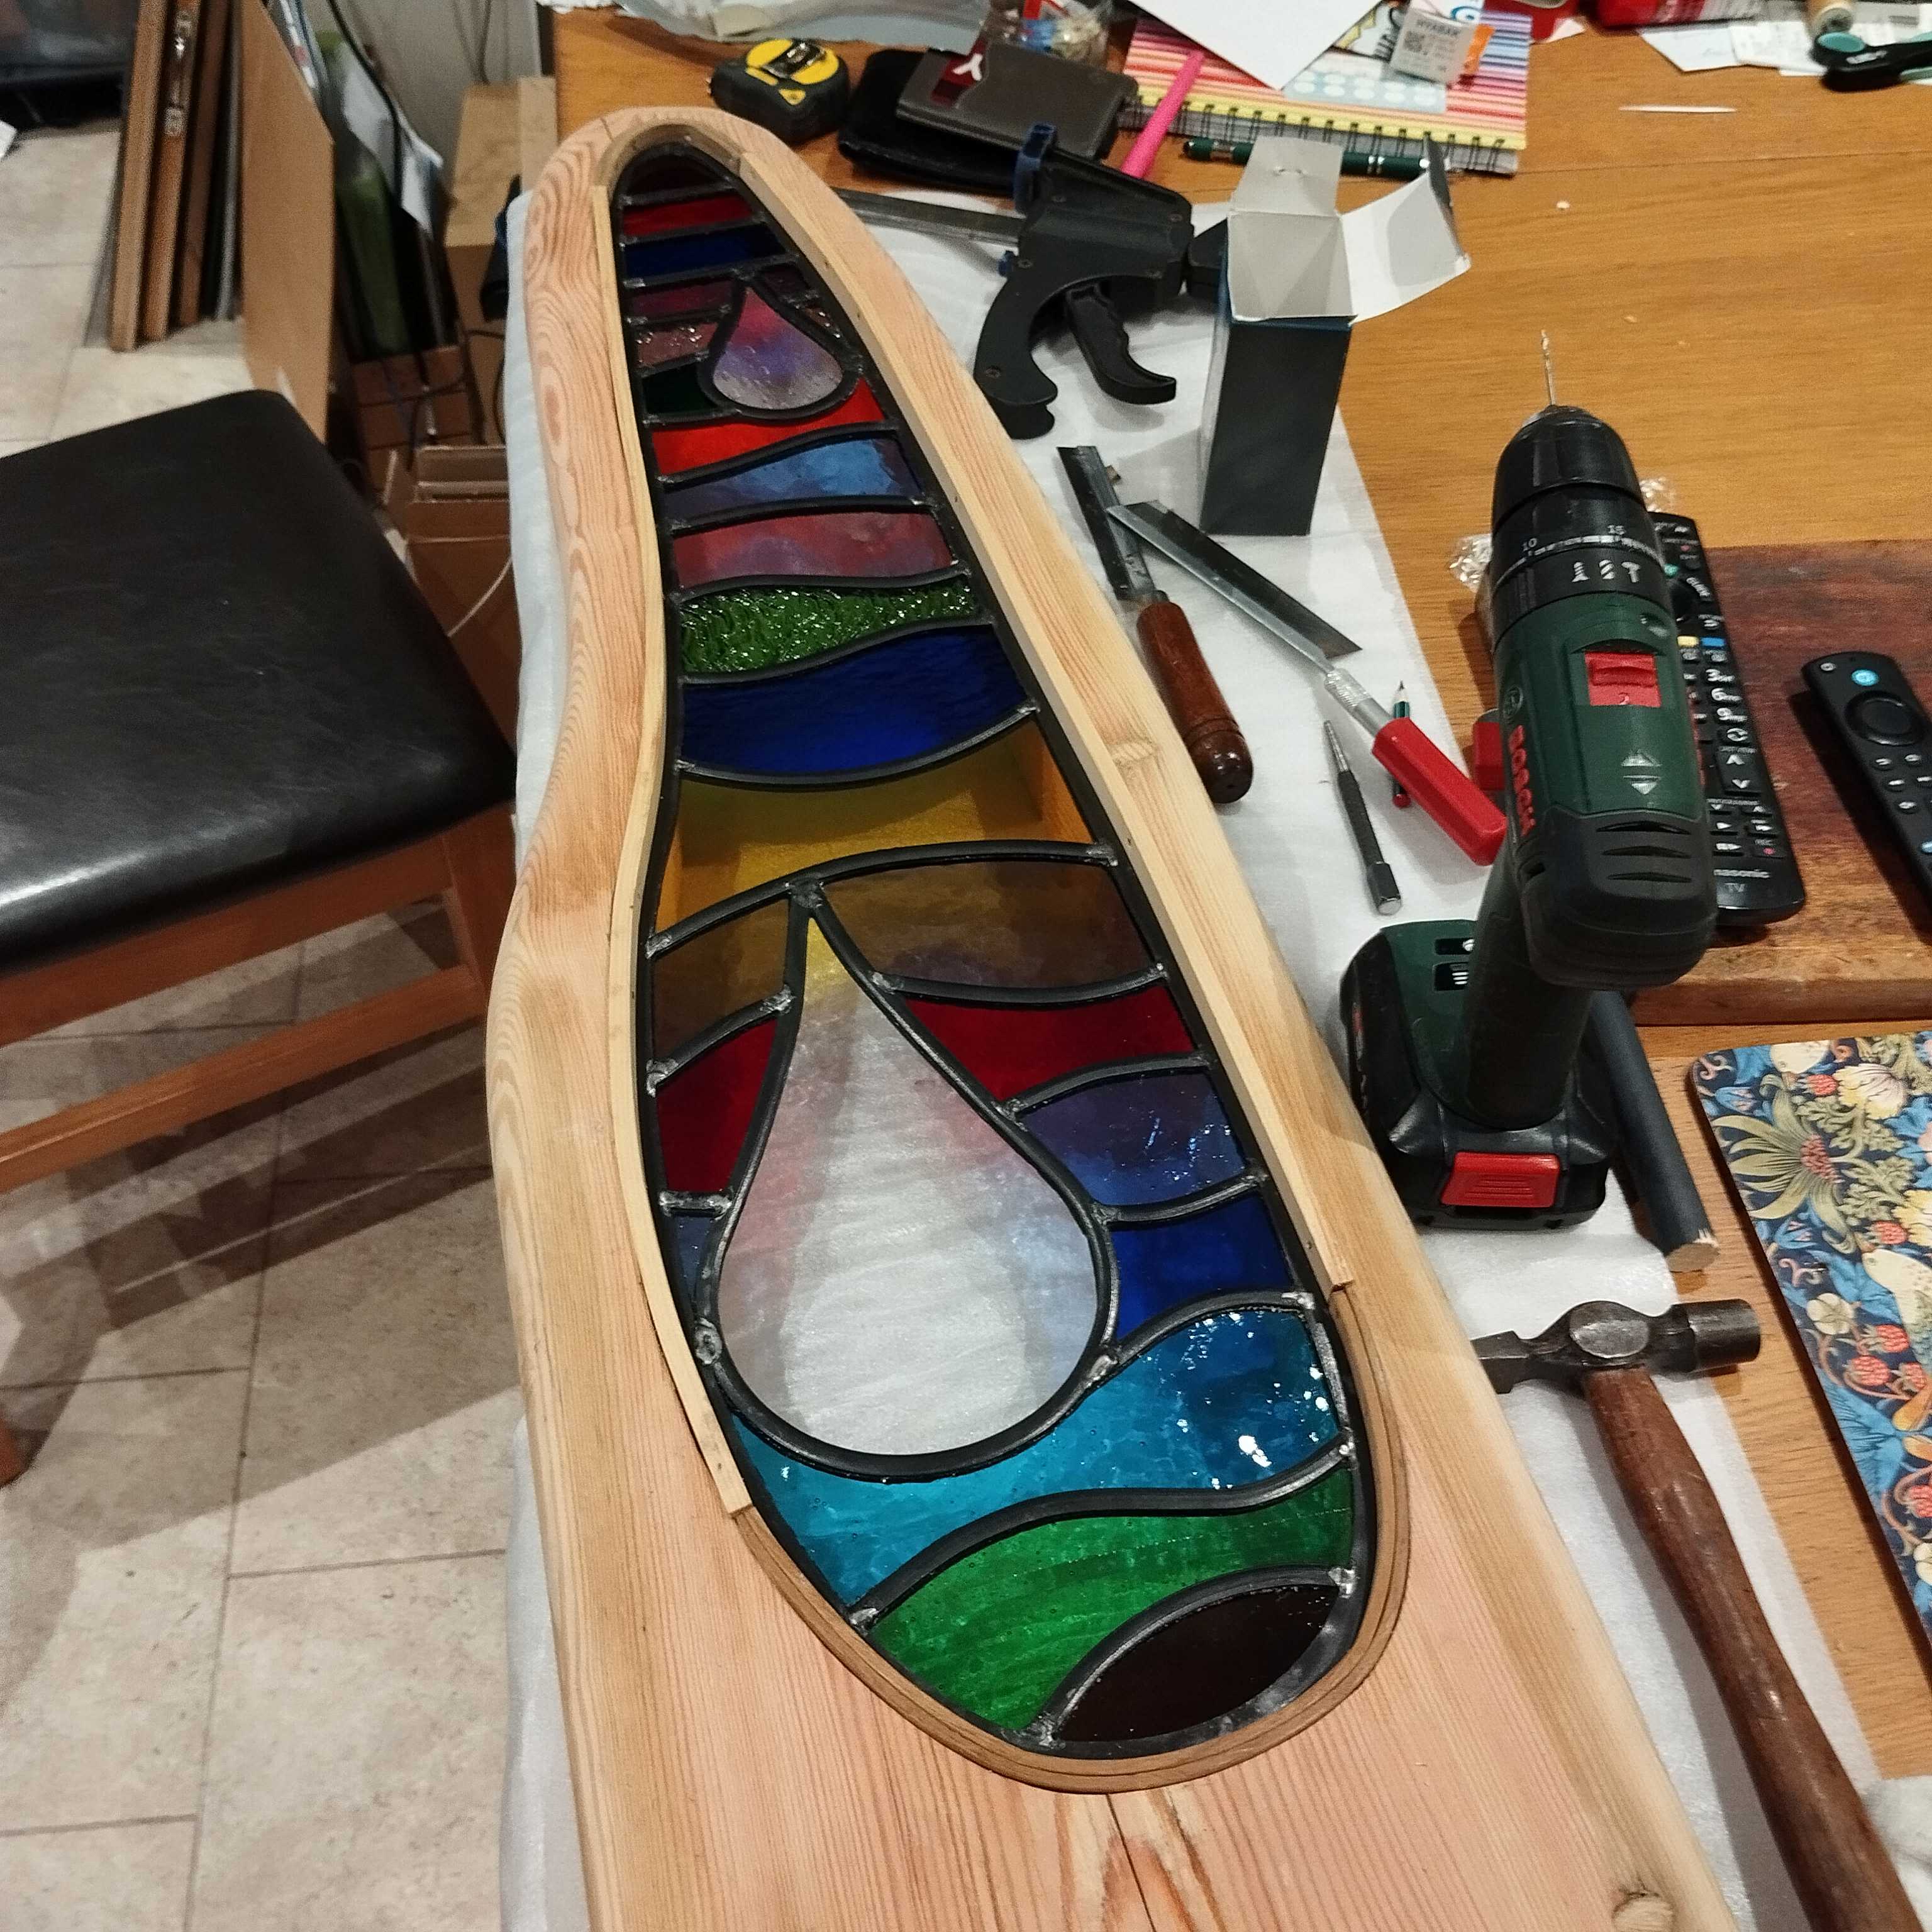
I use wooden beading, typically the 6mm x 12mm softwood bought in 2.4m lengths from the DIY store. For shapes with straight sides simply cut to length and fix to the obelisk using stainless steel panel pins. I predrill the hole through the beading to prevent splits and drive the pin into the wood using a nail-punch.
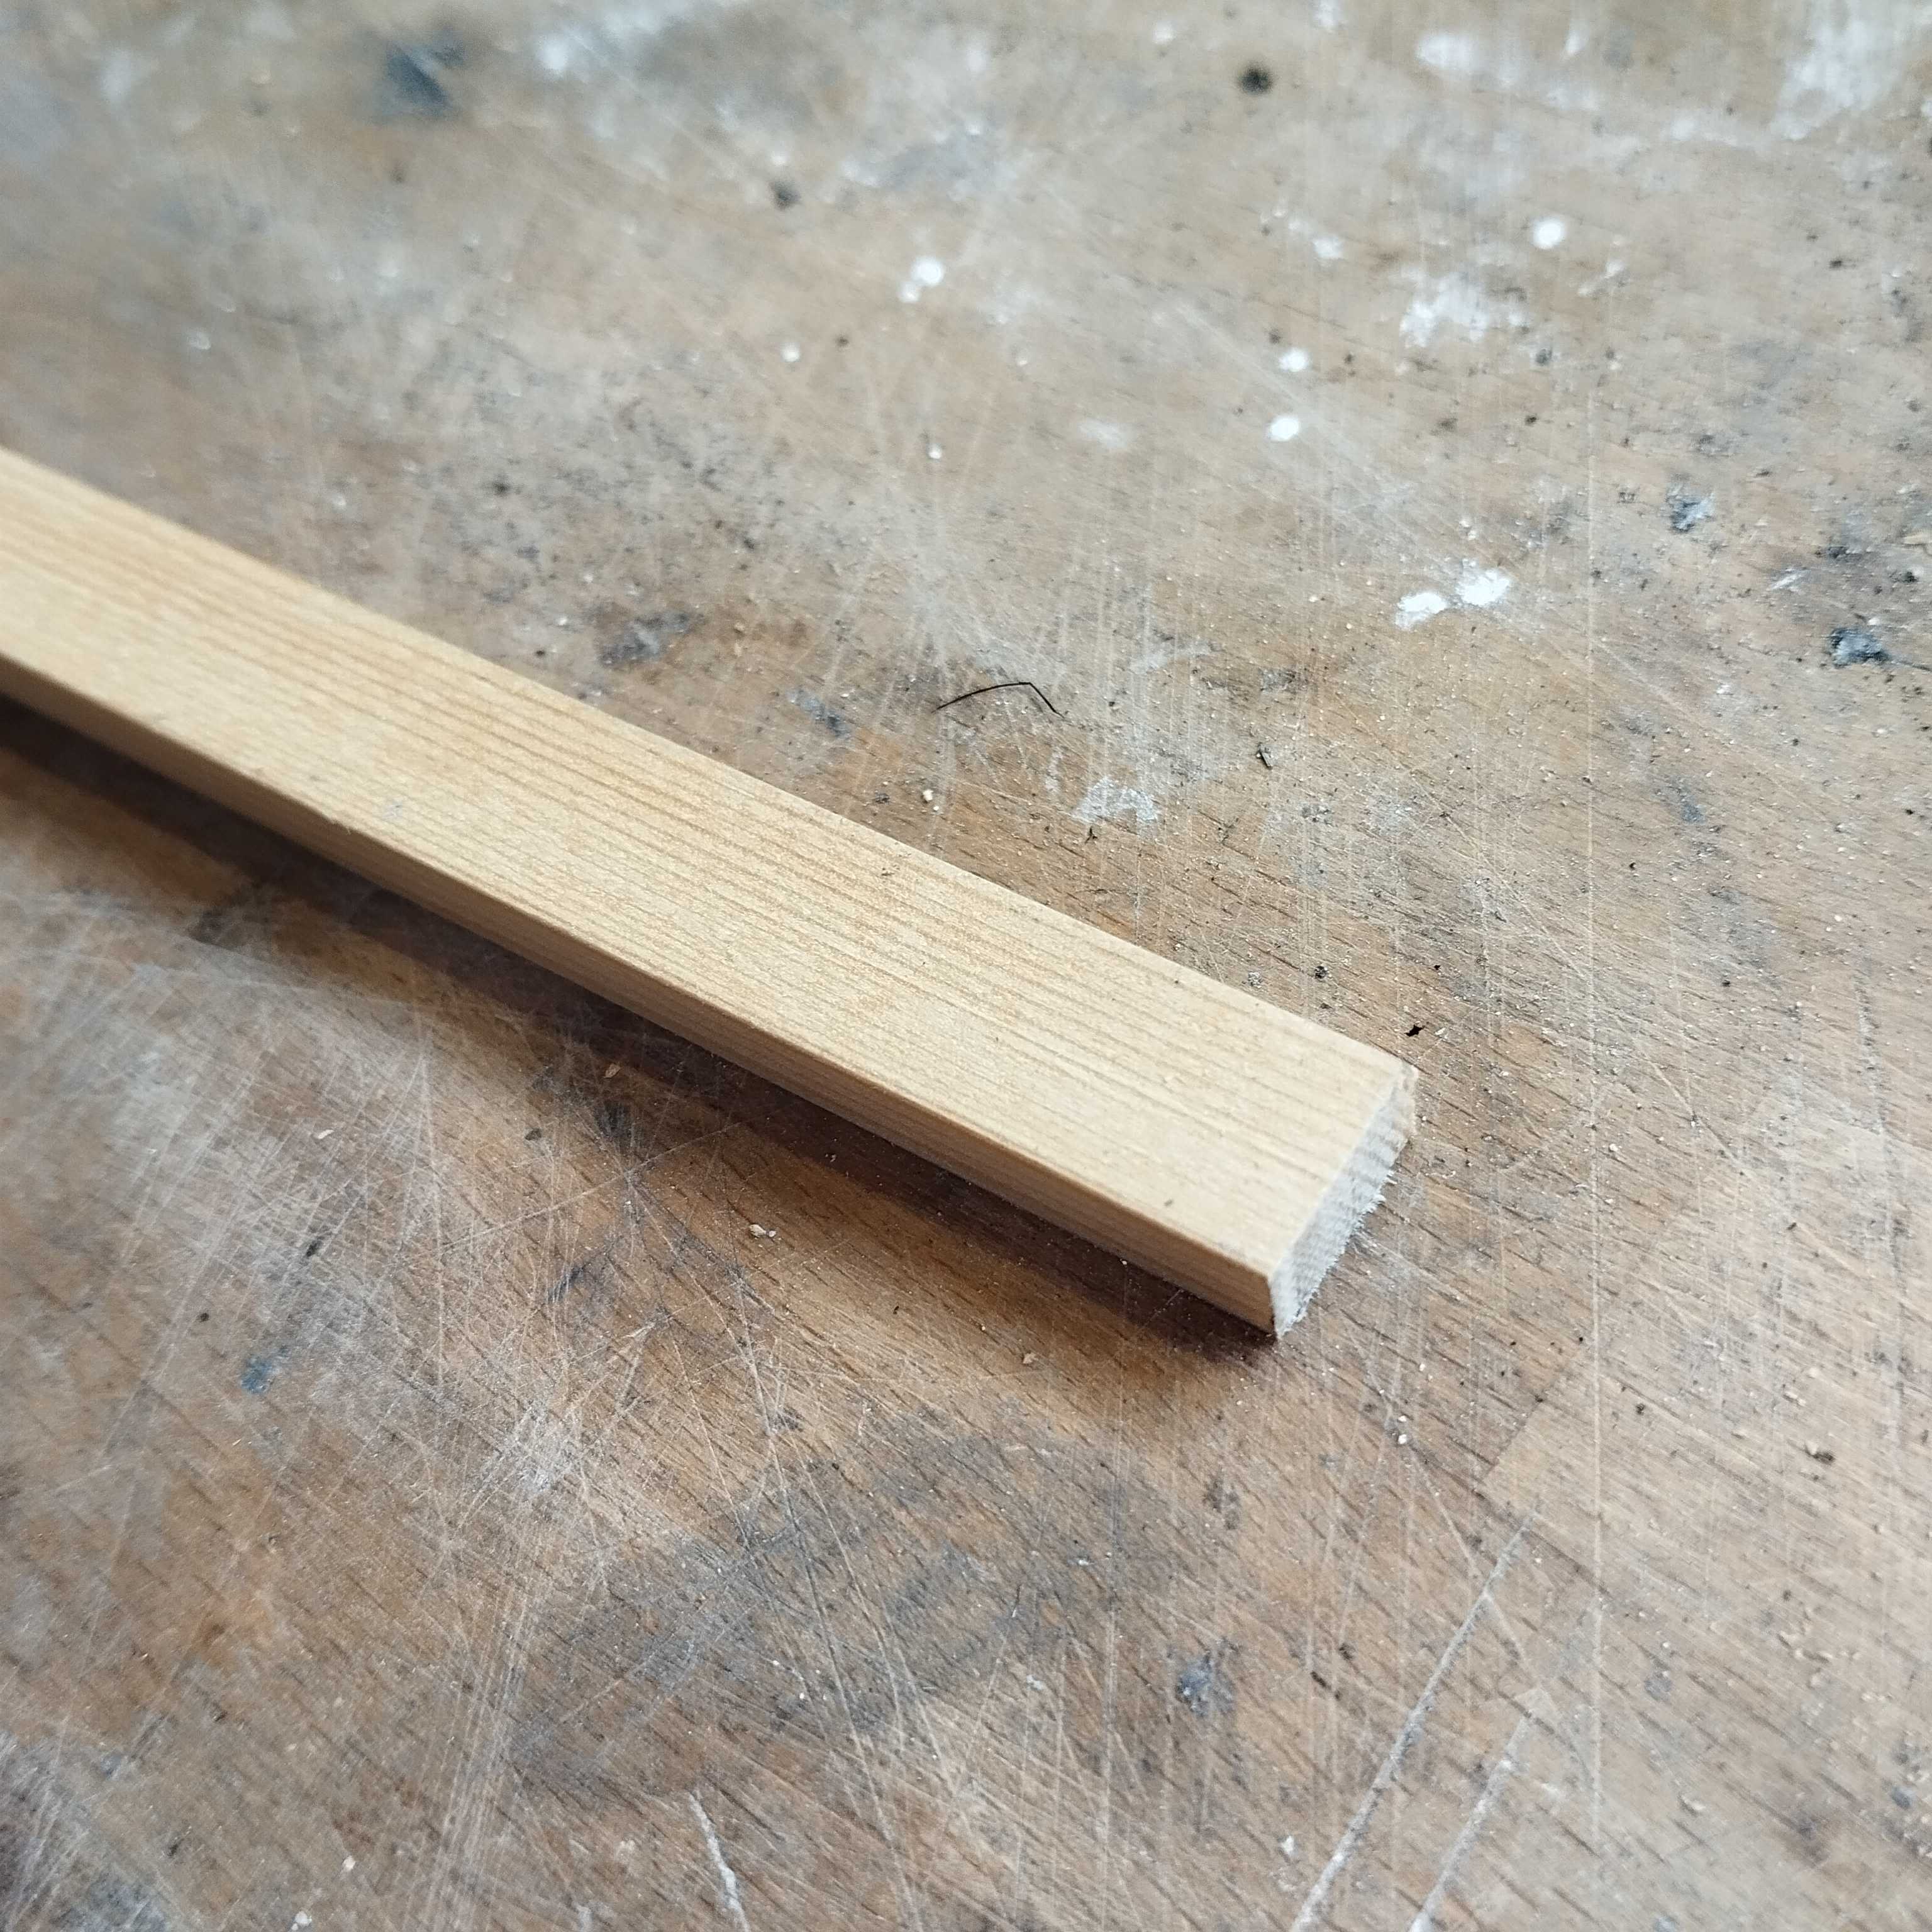
For the organic shapes the beading will bend a limited amount all by itself. If you go too far it will crack! You can soak it in hot water for a few minutes and then it will bend further. For the sharp bends top and bottom I’ve used a couple of solutions to get the beading to bend far enough (doubtless those with wood steamers will be laughing at me at this point but there are things that would be too difficult/expensive for what I want to achieve!).
• Option one is to buy some 2mm thick softwood strips, soak them and then bend them to the curve. 3 times 2mm is 6mm, so when they are bent far enough them glue them together using an exterior pva glue and let it set. I use a variety of clamps to hold them in place to get the desired bend. You can then trim to length and pin them in place.
• Option 2 came about when I was making an obelisk that has two circular holes in it, ‘S’ Obelisk, and was scratching my head on how to fix them. My daughter wandered past and asked if I needed to pinch some embroidery hoops! I use the wooden ones (not the bamboo ones). They are pretty cheap on-line and if you soak them in hot water you can get them to conform to irregular curves really well. You’ll need to use both hoops to get the right thickness and trim the other bead so the thicknesses match. It varies from hoop to hoop! Like the other bead, this needs pre-drilling and fixing using stainless steel panel nails.
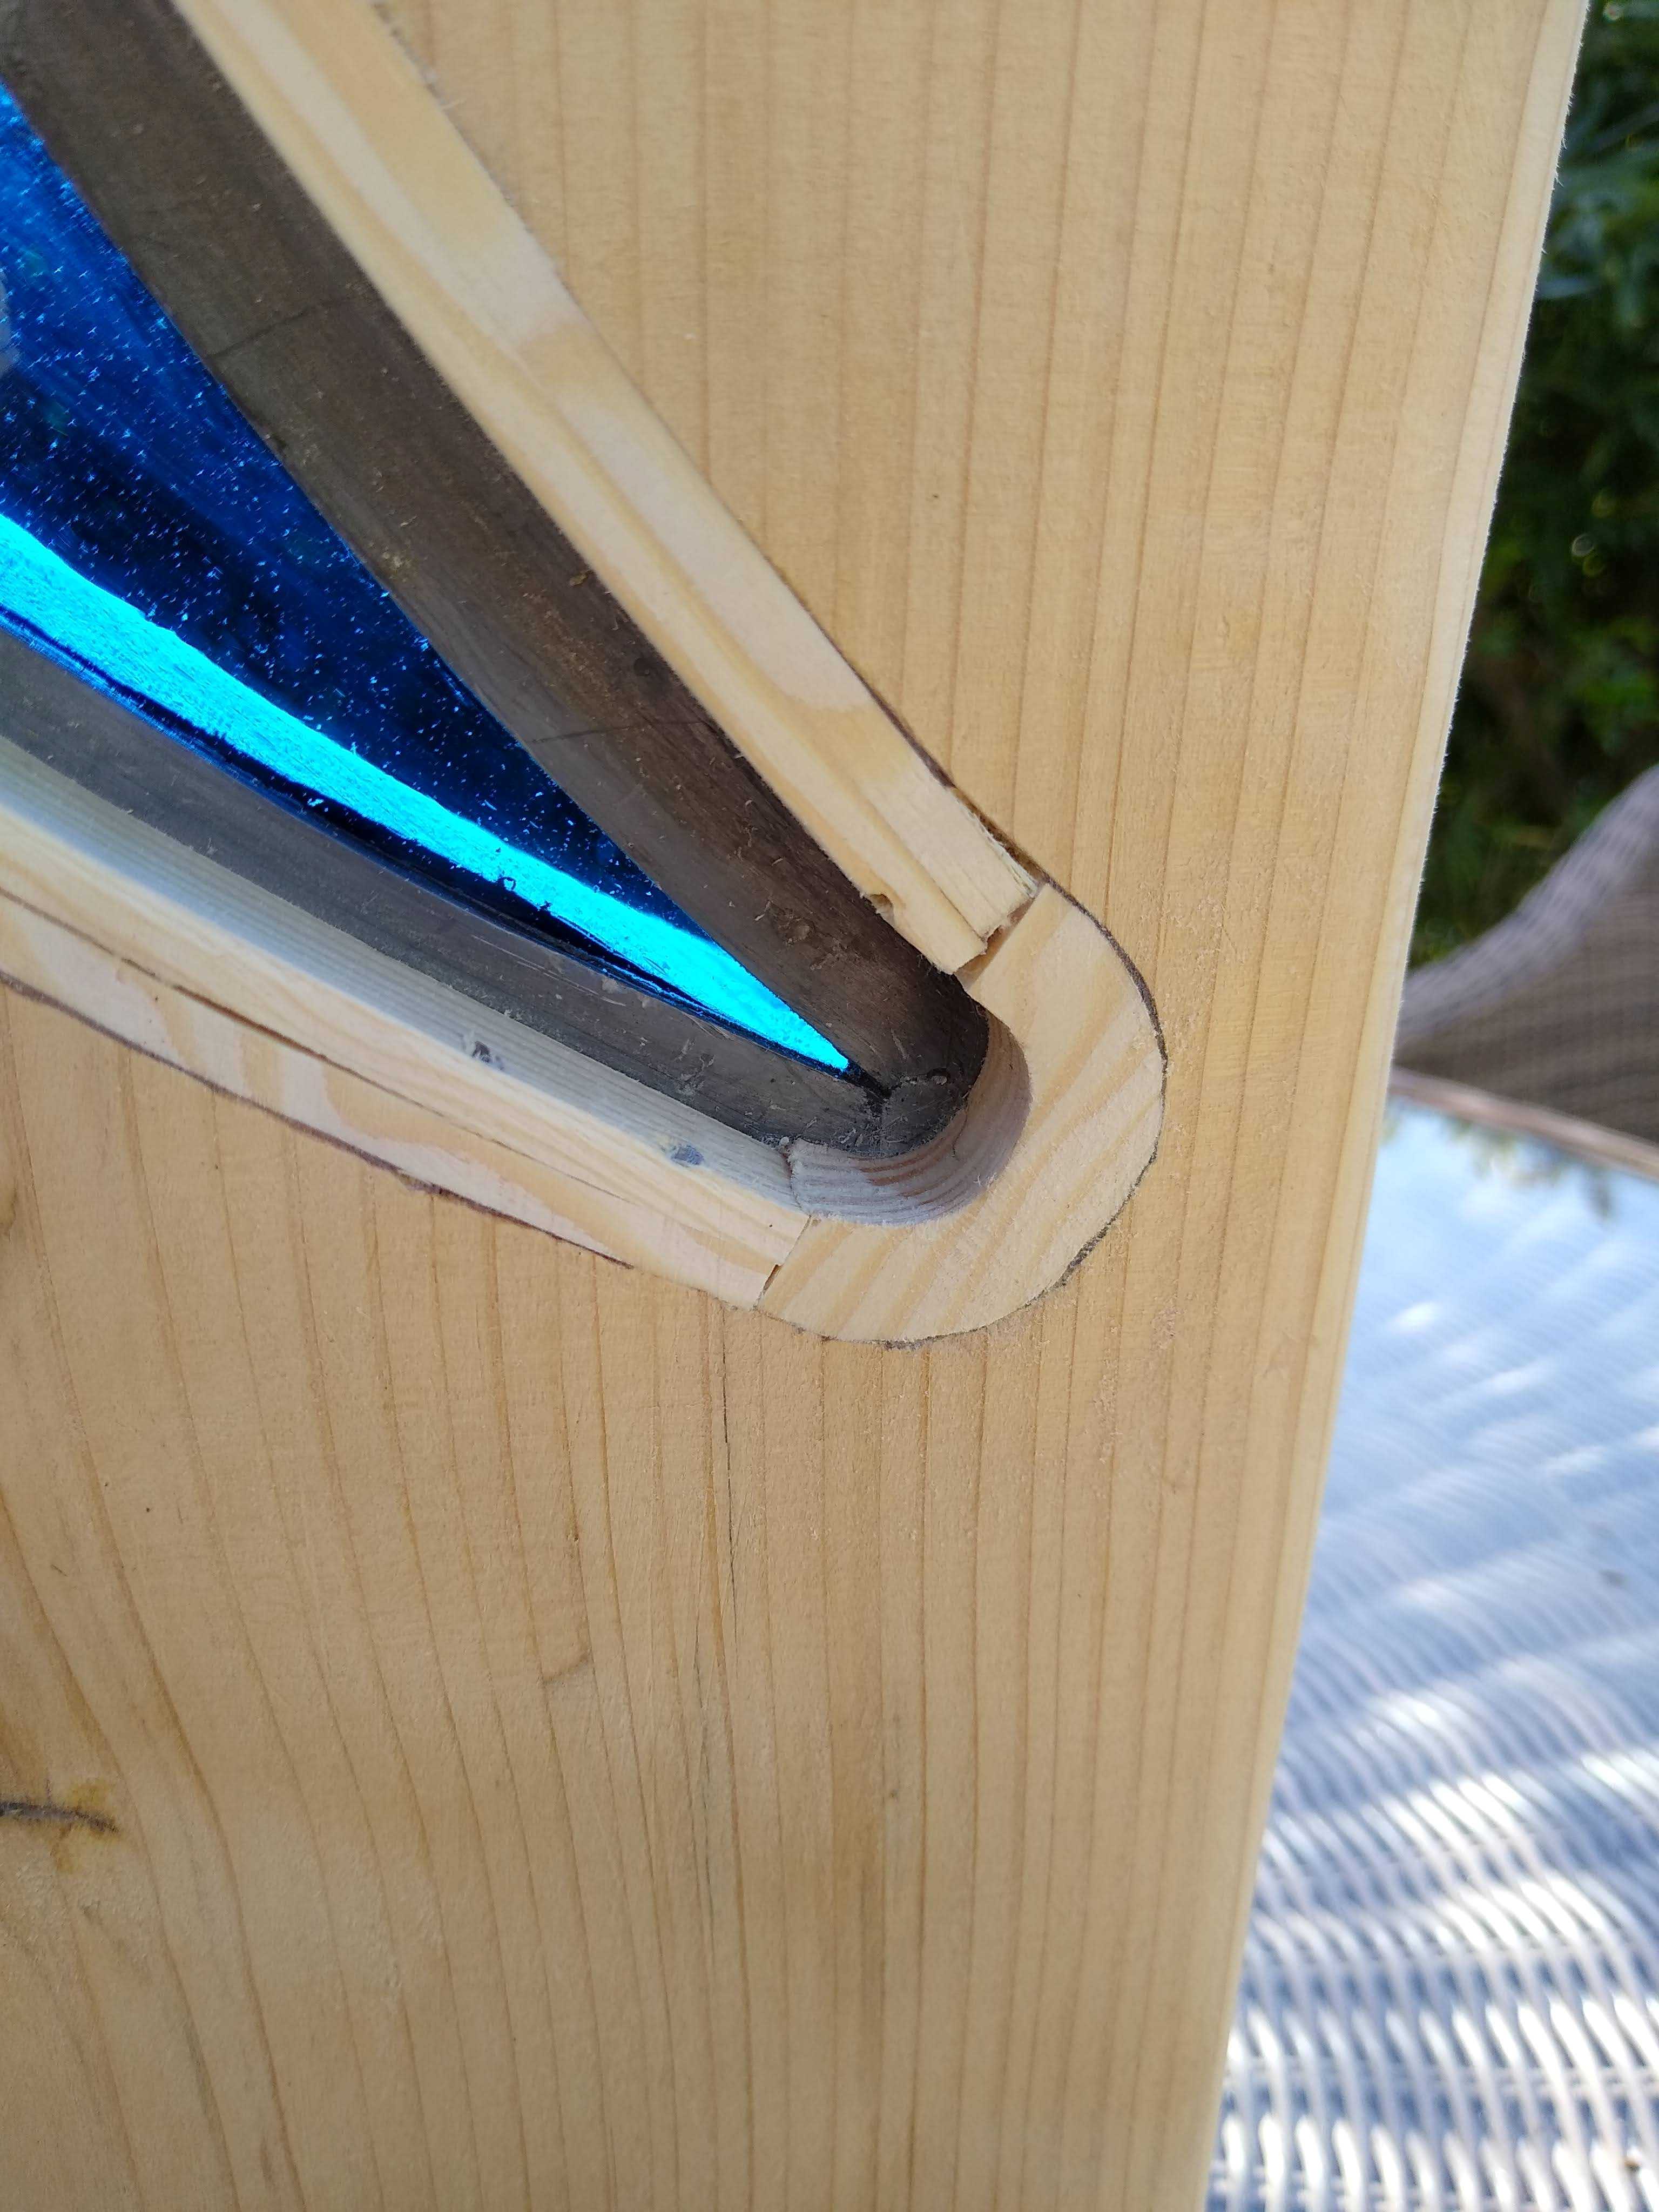
There is always an exception… On the ‘S’ Obelisk the tips of the ‘S’ were tiny so I carved small blocks to take the bead around the tip and glued them in place.
The bead will likely be proud of the surrounding wood by a couple of millimeters. Simply plane/sand it down to make everything smooth.
Finally, put your obelisk on its base and enjoy!
